Replacing Consumables
207
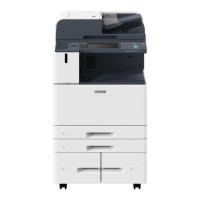
3
Take the new toner cartridge of the box, and shake the cartridge up and down and left and
right for five or six times.
4
Hold the cartridge with the arrow facing up, and push the cartridge in slowly until it stops.
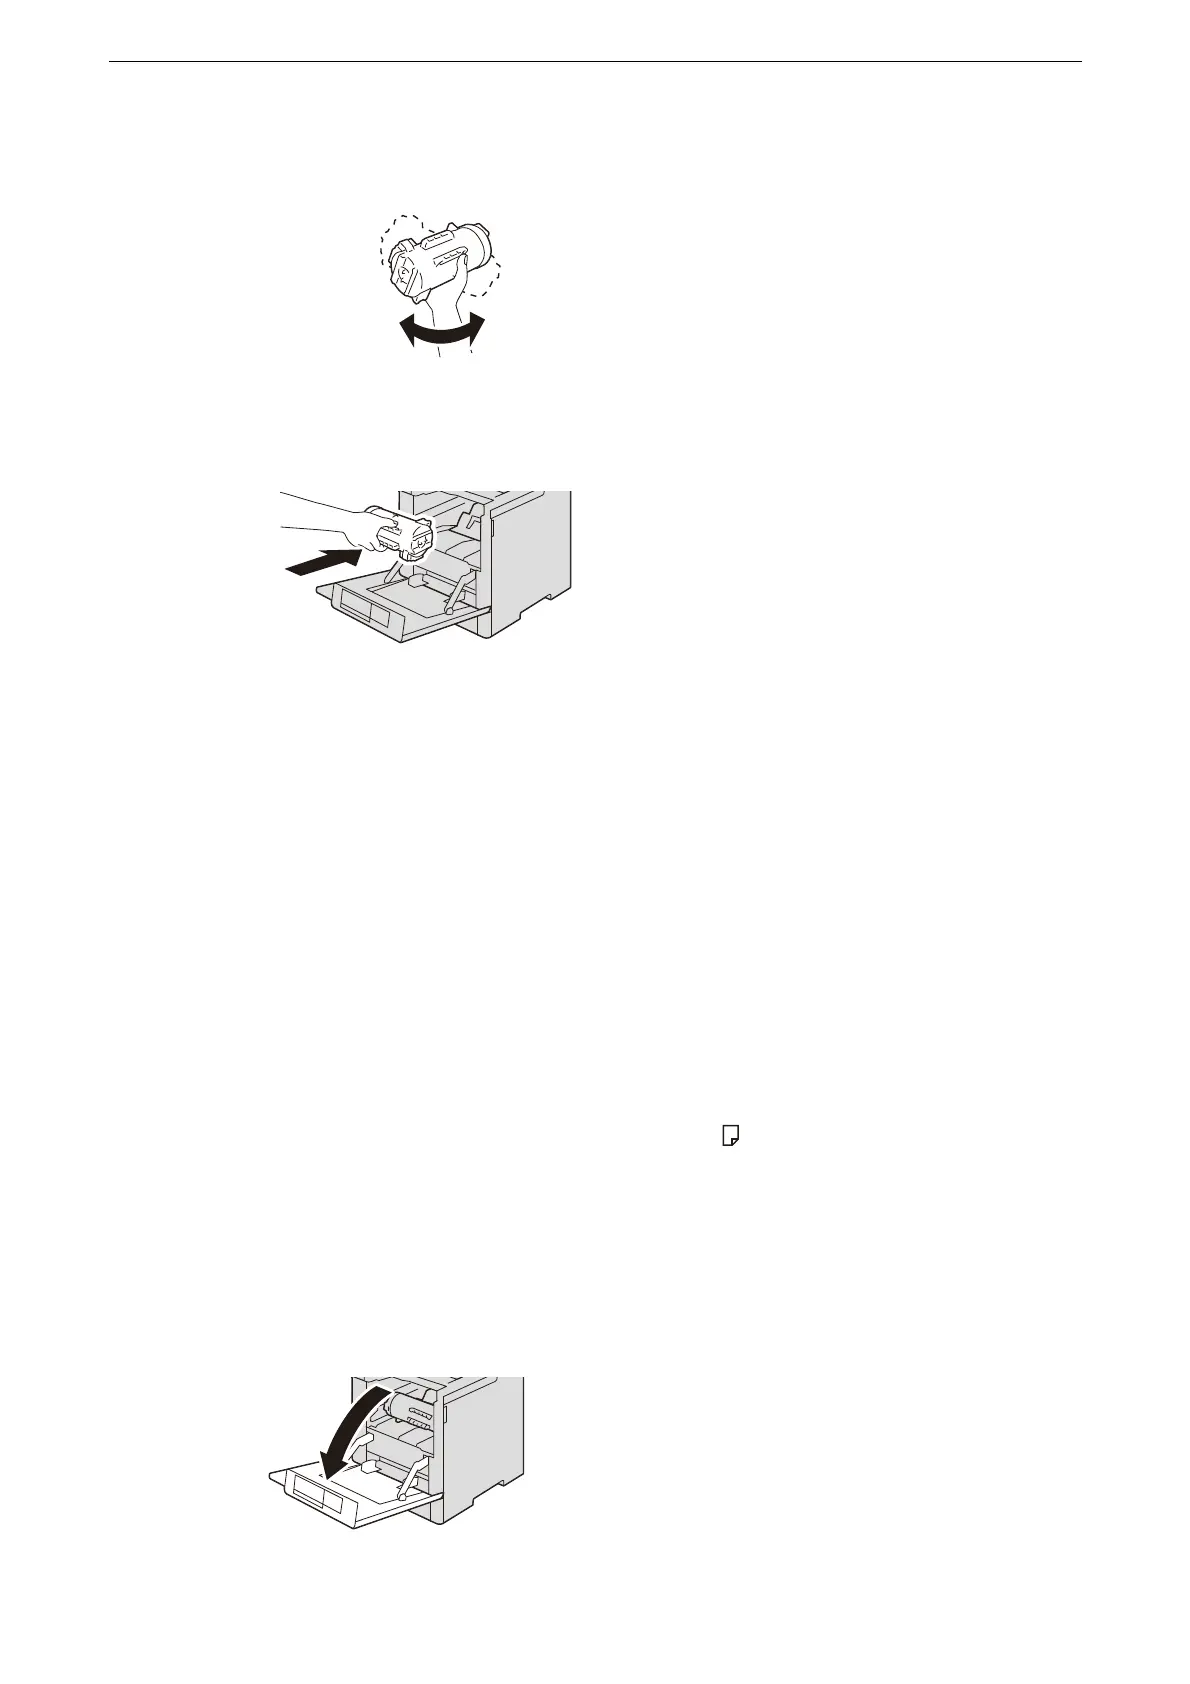
5
Close the front door.
Replacing Drum Cartridges
The device displays a message when a drum cartridge needs to be replaced. When the
message is displayed, replace the drum cartridge.
Replace the drum cartridge if the message is displayed.
If you continue to use without replacing the drum cartridges after the message is displayed,
the device will stop after printing about 12,000 pages.
When replacing a drum cartridge, clean the LED printhead with the supplied cleaning bar to
prevent inconsistencies in density or color in outputs.
Do not expose drum cartridges to direct sunlight or strong light from indoor fluorescent lighting. Do not touch
or scratch the surface of the drum. Doing so may result in unsatisfactory printing.
The remaining page yield is applicable when A4 paper LEF ( ) is used. The value is an estimate and varies
depending on the conditions such as the paper size, the paper orientation, the number of pages continuously
print, and the device operating environment.
Images output from the device may get dirty after the message appears on the touch screen.
When replacing the drum cartridge, tap [Device] on the Home screen then [Supplies] to check the current
status for the drum cartridge even when the touch screen is lit.
1
Make sure that the device is not operating, and open the front door.
 Loading...