GE PROPRIETARY TO GE
D
IRECTION 5308917-100, REVISION 8 LOGIQ P3 SERVICE MANUAL
Chapter 8 Replacement Procedures 8-91
8-13-1 CWD Assy (FRU No: 5124847)
Purpose: This is a description on how to remove and replace the CWD Assy.
8-13-1-1 Tools
• Common phillips screwdrivers
• Allen/Unbraco wrench
8-13-1-2 Needed Manpower
• 1 person, 30 minutes + travel
8-13-1-3 Preparations
• Shutdown the system and switch off the main Circuit Breaker at the bottom rear side of the system.
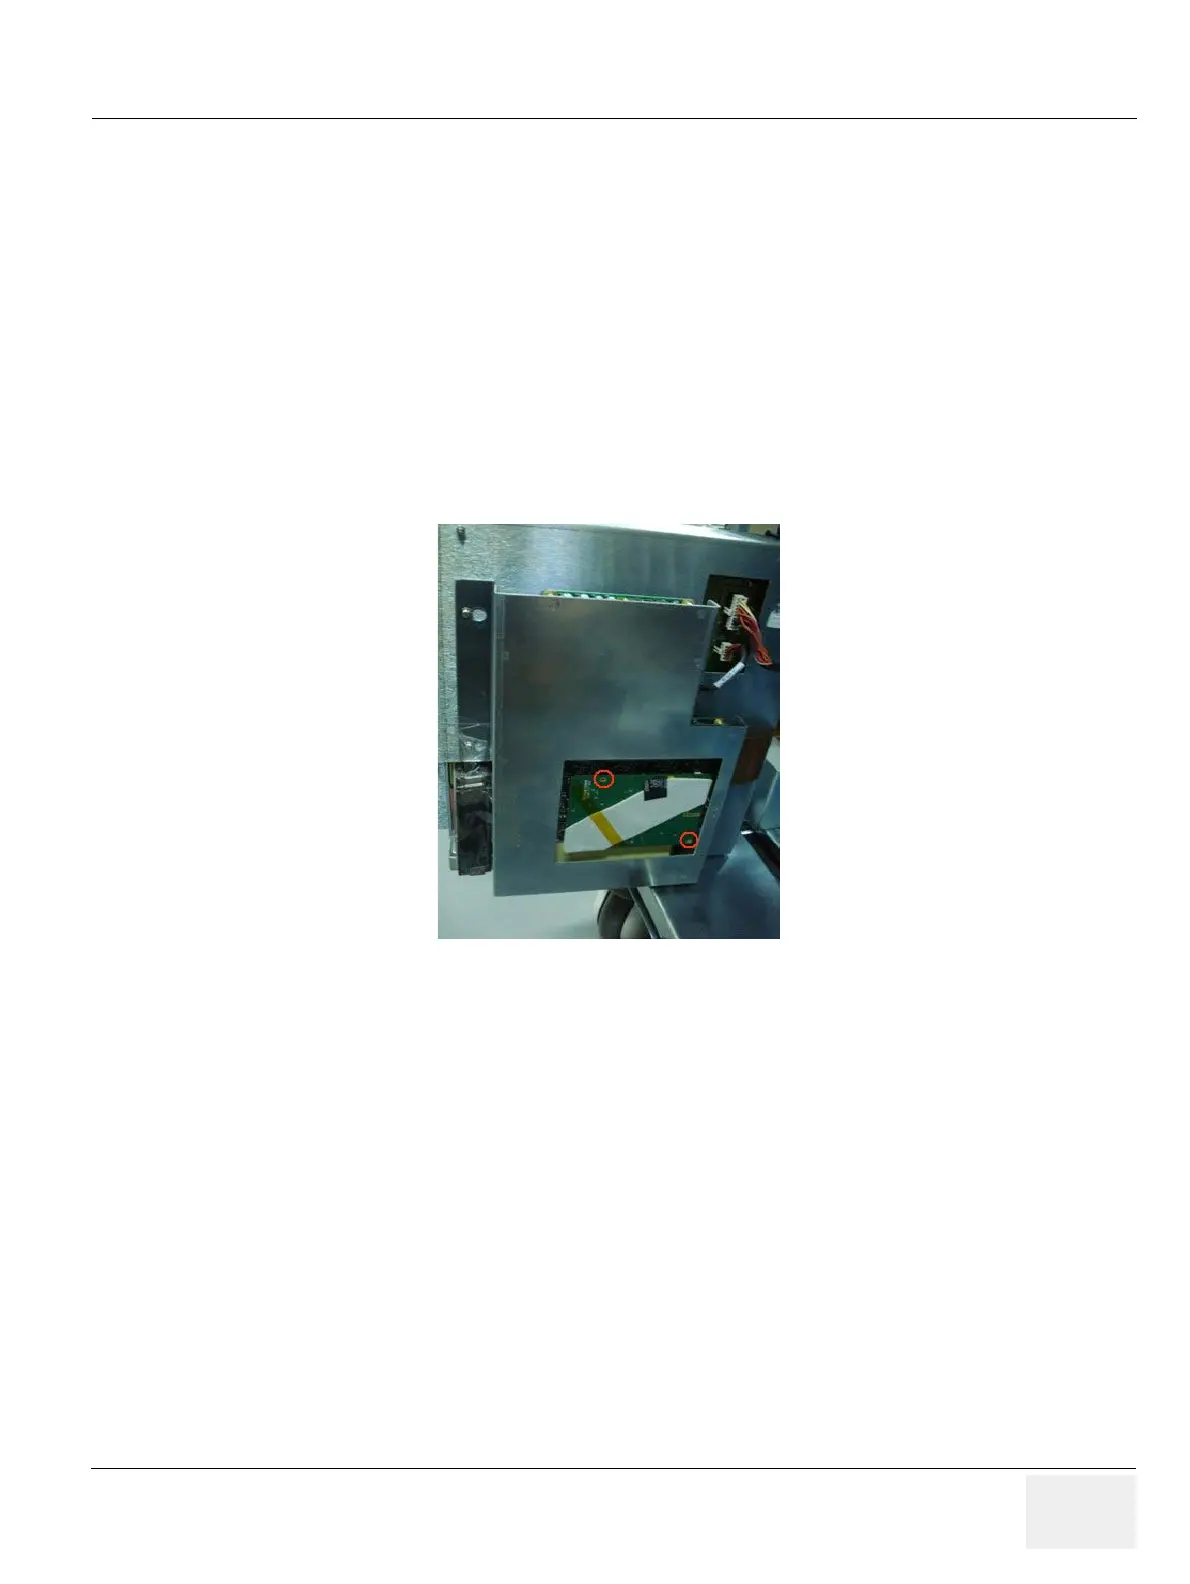
Figure 8-92 Removal Procedure of cwd Refer to 8-13-1 on page 8-91 .
1.) Unscrew two screws(1-2).
2.) Disconnect the CWD assy.
8-13-1-4 Removal procedure
Refer to 8-13-1 on page 8-91 .
1.) Unscrew two screws (1-2) to remove the CWD cover. see 8-13-1 on page 8-91 ]
2.) Connect the CWD assy to RX64. [See 8-13-1 on page 8-91 ]
3.) Press the CWD assy tightenedly, refer to 8-13-1 on page 8-91 .
4.) Screw two screws (1-2) to fix the CWD assy on RX64 assy., see 8-13-1 on page 8-91 ]
 Loading...


