4-22 MAC™ 800 2031504-159D
Maintenance
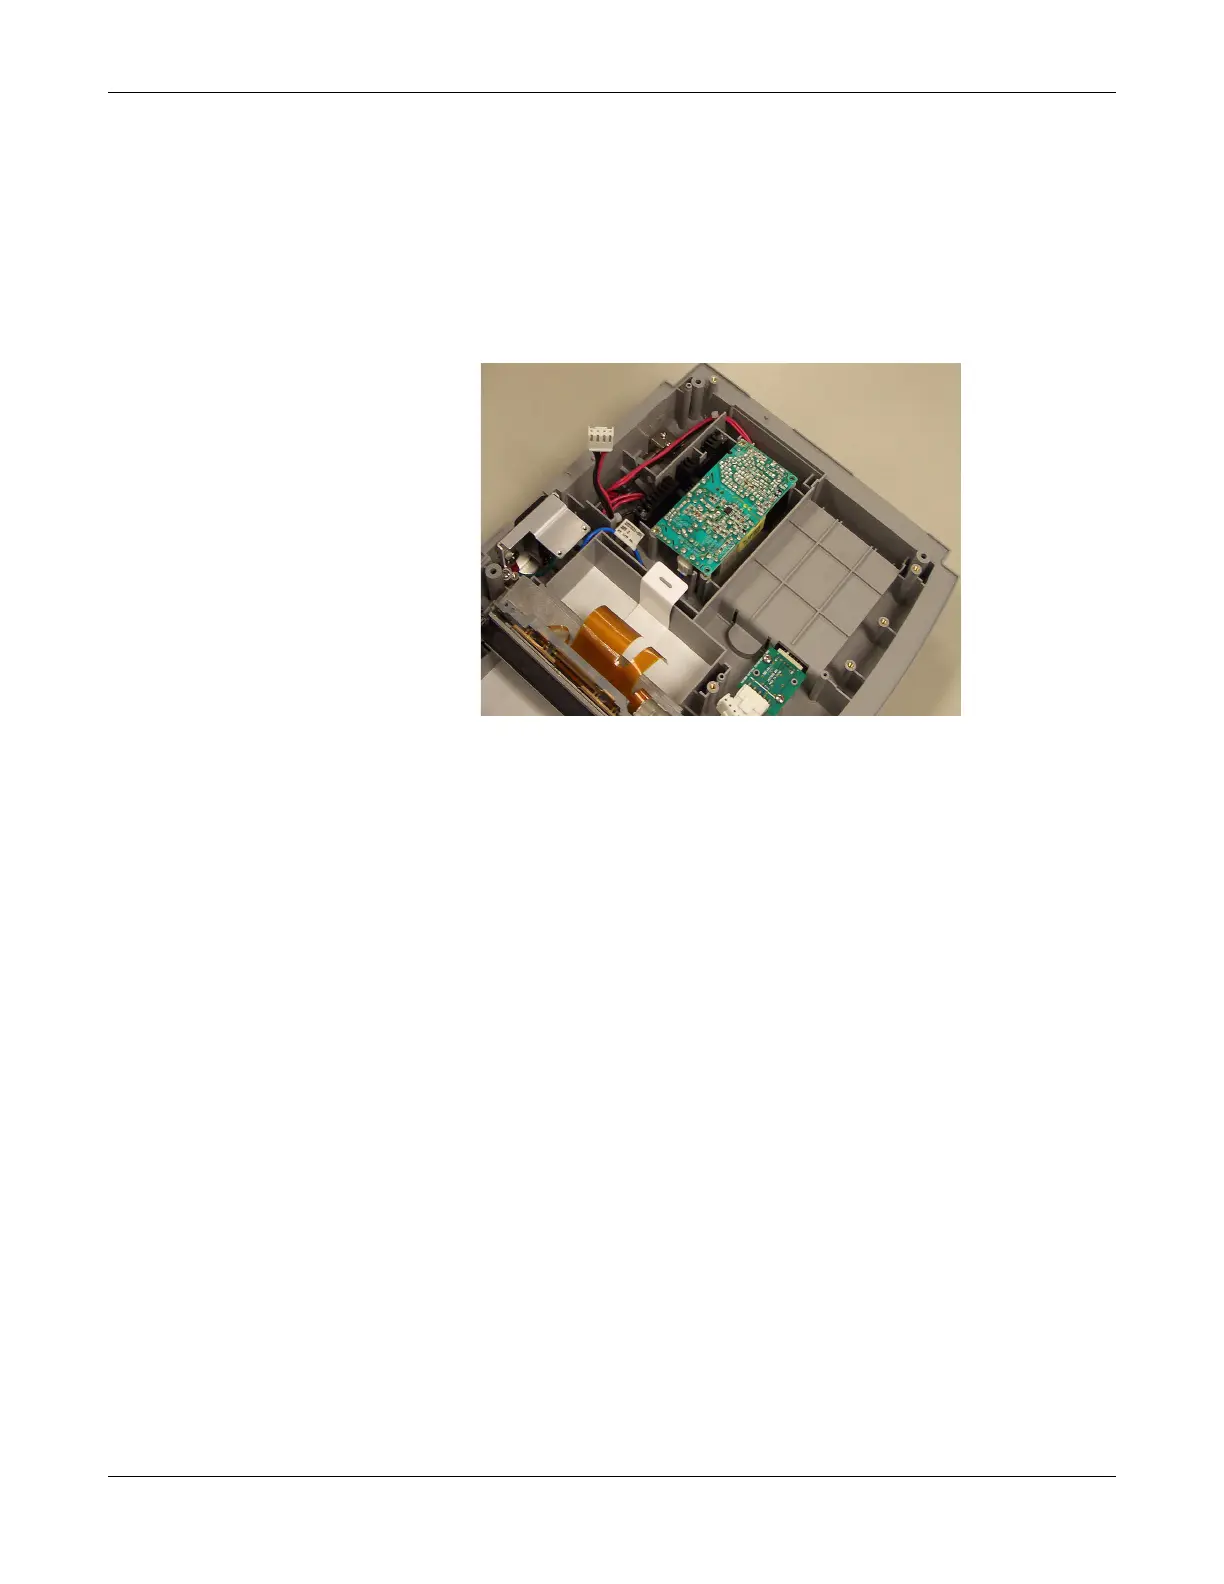
Reassembling the Power Supply Assembly
1. Connect the AC inlet cable to the new AC/DC.
2. Place the new AC/DC in the bottom cover assembly.
3. Replace the four hexagon screws.
4. Route the AC/DC cable for mainboard as shown.
5. Replace the shield plate.
6. Replace the six M3X8 screws, two M3X12 flat screws, and four
hexagon screws on the shield plate.
7. Reassemble the mainboard assembly.
8. Reassemble the printer assembly.
9. Reassemble the LCD assembly.
10. Reassemble the top cover assembly.
11. Reassemble the battery assembly.
12. Perform the applicable checkout procedures.
Refer to “Functional Checkout” on page 4-24.
Replacing the Bottom Cover Assembly
1. Disconnect the system from AC power.
2. Remove the battery assembly as described in “Replacing the Battery
Assembly” on page 4-7.
3. Remove the top cover assembly as described in “Replacing the Top
Cover Assembly” on page 4-9.
4. Remove the LCD assembly as described in “Replacing the LCD
Assembly” on page 4-12.
 Loading...