DS-7700NI-SP/9000/9600 Series HDVR/NVR User’s Manual
107
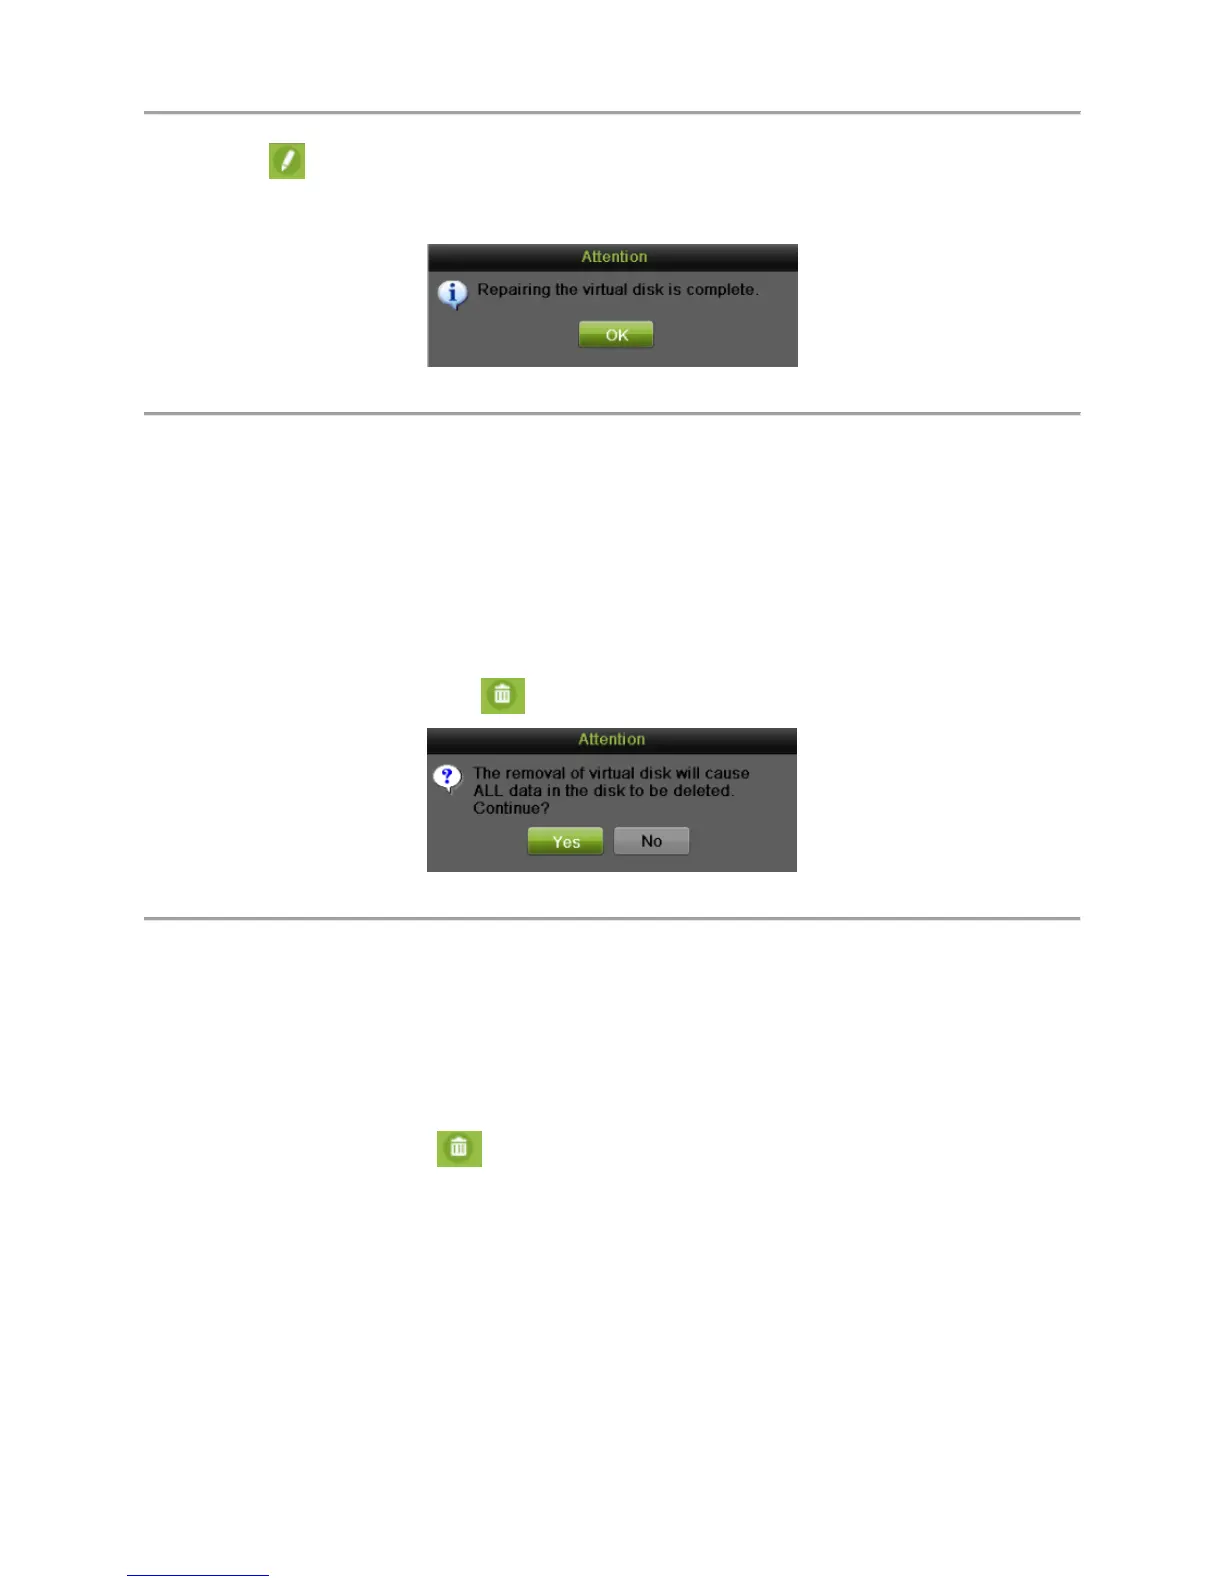
2. Click to repair the virtual disk.
3. After successfully repairing, the following attention box will pop up. Click OK to finish the
settings.
Figure 115 Repair Attention Message
4. You can see the disk again in the HDD Information interface.
Deleting Array / Vitual Disk
You can delete the array and virtual disk. Before deleting the array, the virtual disk(s) under this array
must be deleted first.
Deleting the Virtual Disk
To delete the virtual disk:
1. Enter the Virtual Disk interface by going to Menu > System Configuration > RAID > Virtual
Disk.
2. Select a virtual disk and click to delete the virtual disk.
Figure 116 Attention Message
3. Click the Yes button to confirm the virtual disk deletion.
Note:
Deleting virtual disk will cause to delete all the data saved in the disk.
Deleting the Array
If all the virtual disks under an array have been deleted, then you can delete that array. To delete the array:
1. Enter the Array interface by going to Menu > System Configuration > RAID > Array.
2. Select an array and click to delete the array.
3. In pop-up attention box, click the Yes button to confirm the array deletion.
Note:
Deleting array will cause to delete all the data in the array.
Migrating and Expanding
When the remaining storage space is lower than the actual needs, you can take array migration and online
expansion to enlarge the capacity of the virtual disk. At least one available physical disk should exist for
the array migration.
 Loading...