DS-7700NI-SP/9000/9600 Series HDVR/NVR User’s Manual
85
Enable Attached Picture: Enabling will attach a small picture segment (Interval can be set
below the Enable Attached Picture checkbox) to the out-going e-mail.
Receiver: Click to edit Receiver Settings. Input the receiver’s name and address. Click
Apply to save the settings. The e-mail address will be added to the Recipients list. You can
also delete the receiver by clicking .
4. You may now test the e-mail settings by clicking the Test button.
5. Select the Apply button to save the e-mail settings and select to return to the previous
menu. Selecting without clicking Save will quit out of the menu without saving settings.
Configuring Hot Spare Settings
If there are a group of DVRs working in the same net, we can use the hot spare function to increase the
reliability of the whole system.
To setup hot spare settings:
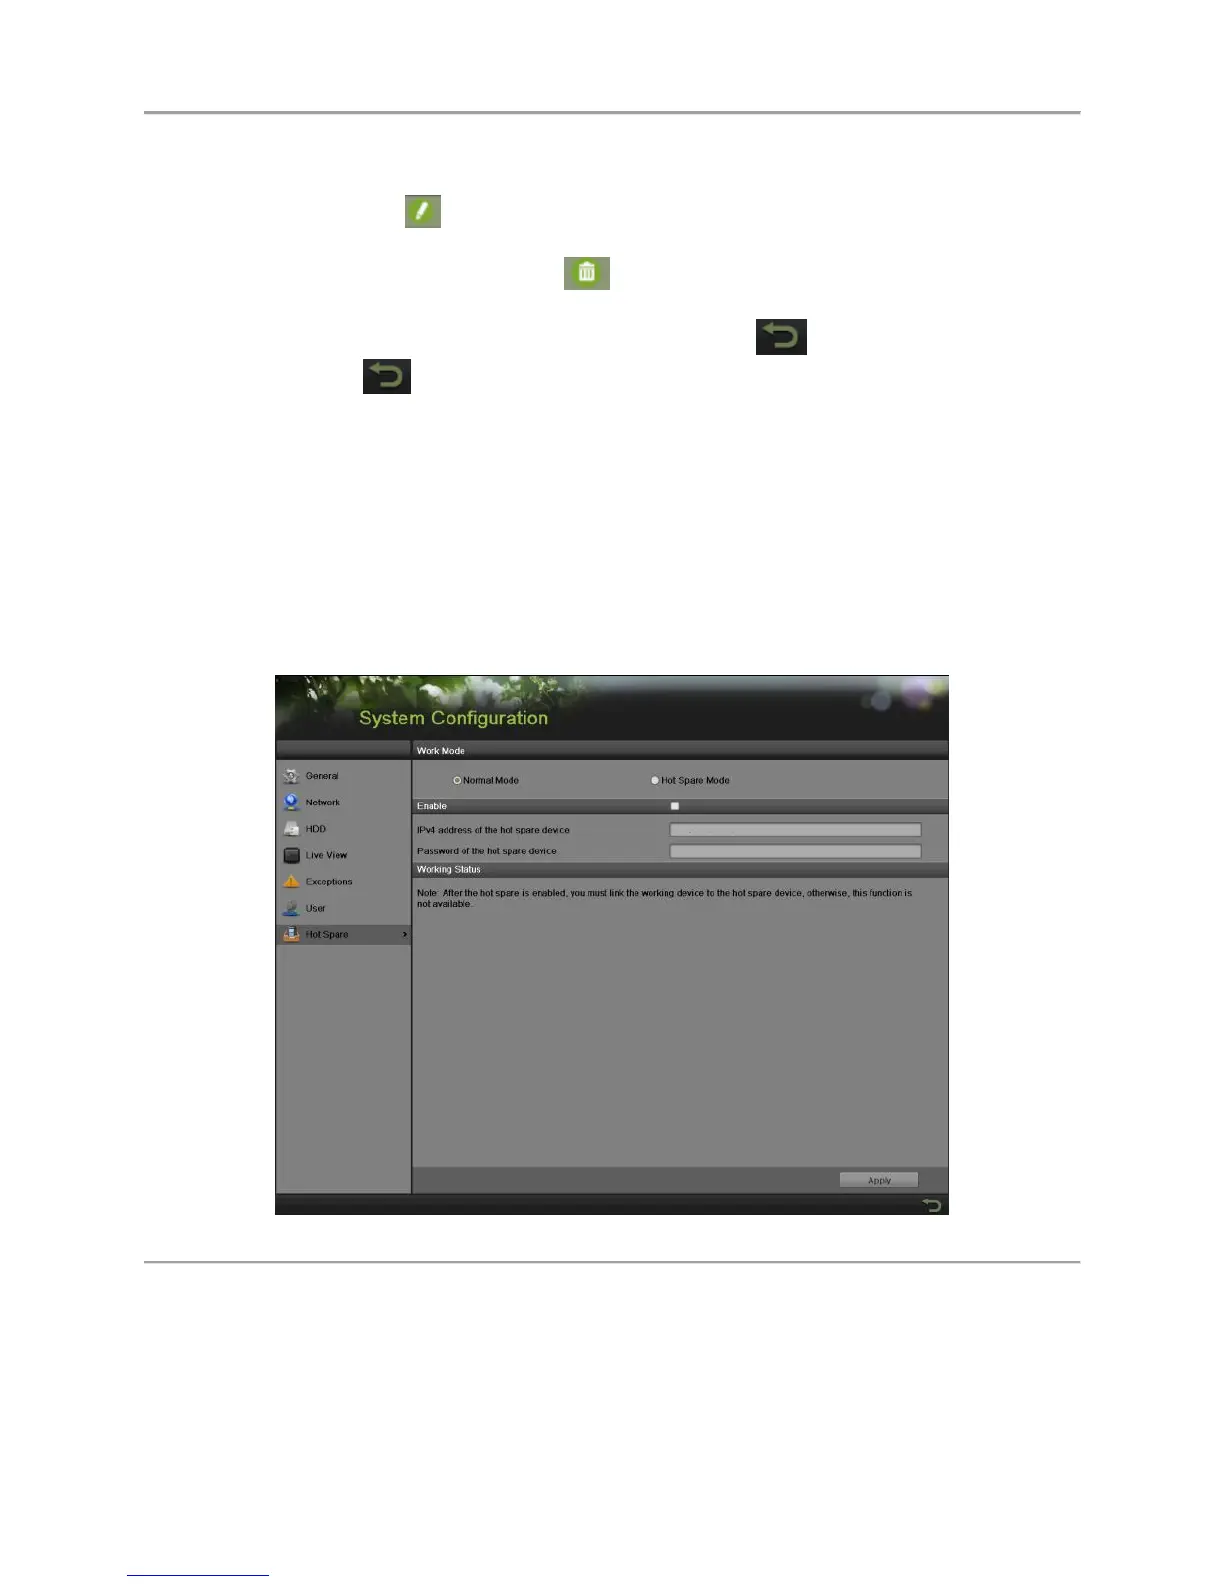
1. Enter the Hot Spare Configuration menu by going to Menu > System Configuration > Hot Spare.
As shown in Figure 88.
Figure 88 Hot Spare Configuration Menu
2. Choose the work mode of current DVR. Normal Mode indicates this DVR work as usual way.
Hot Spare Mode means this DVR work as a hot spare device.
3. Once selected the normal mode, enter all the information required in the Enable tab, including:
IPv4 address of the hot spare device, and the Password of the hot spare device.
 Loading...