76
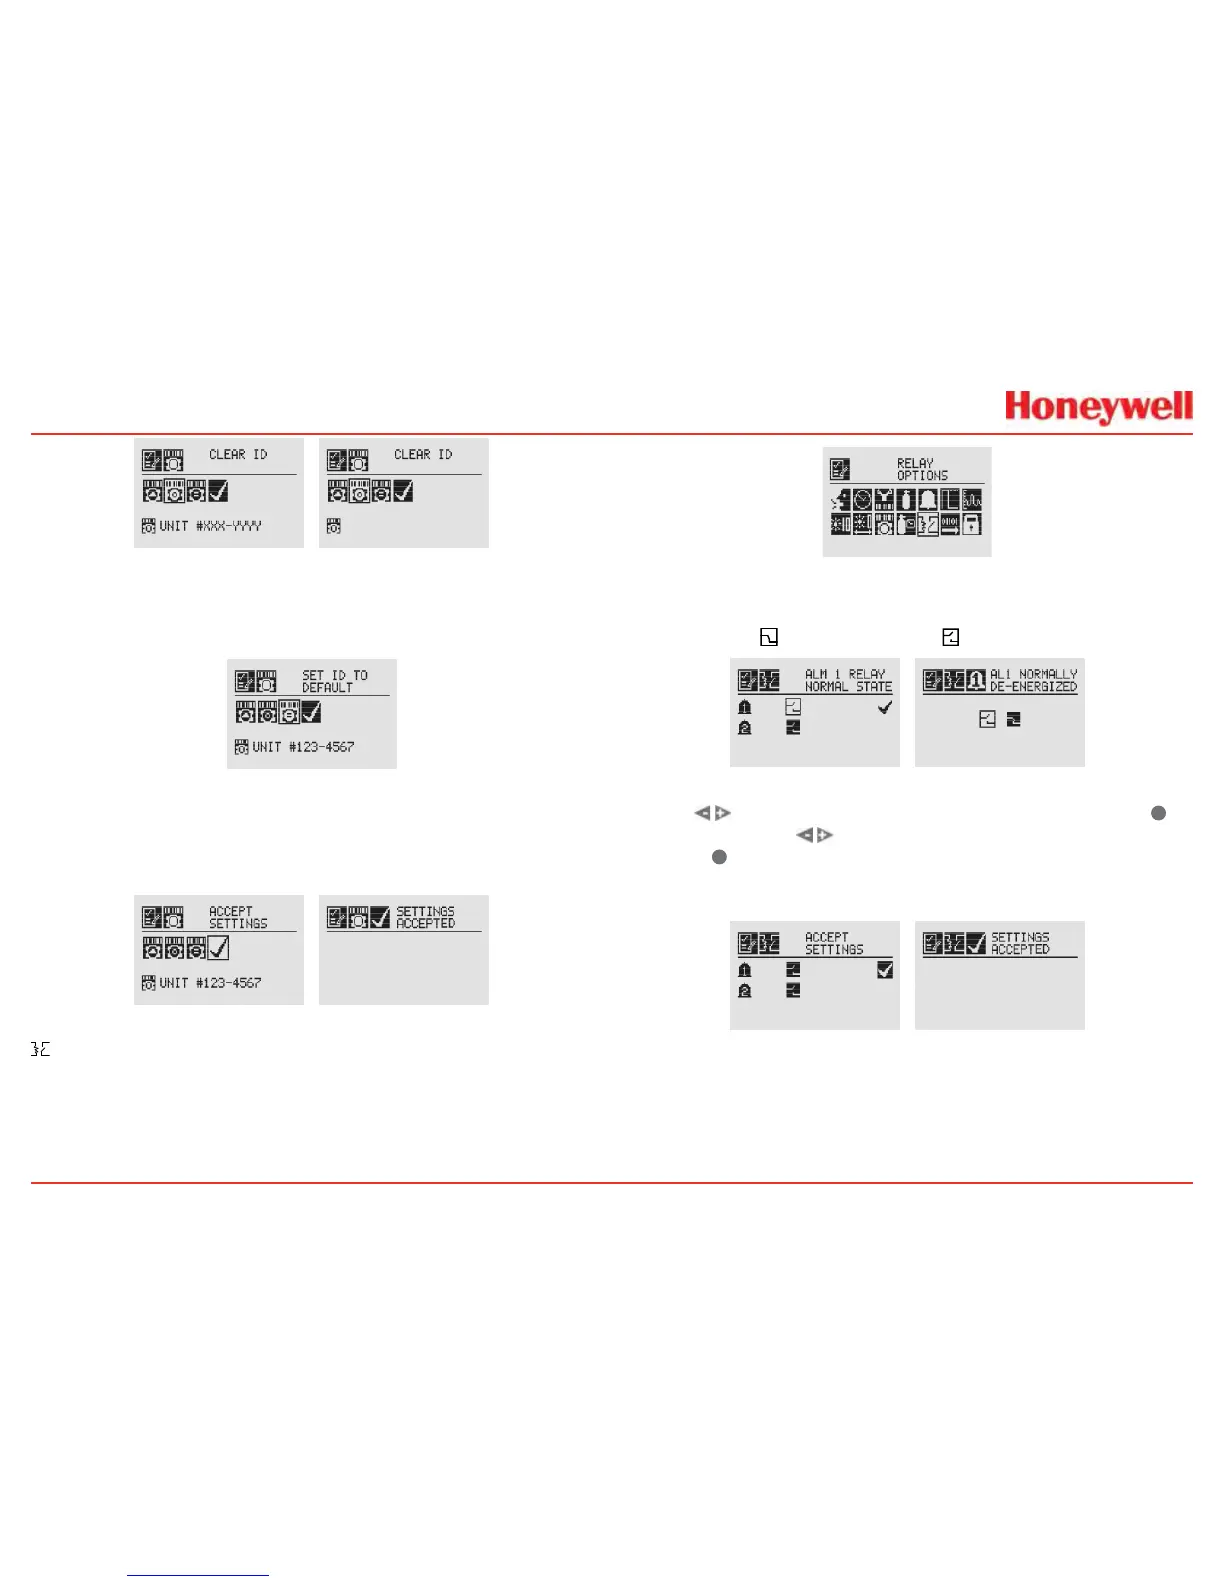
Figure 128. Clear Unit ID and Cleared Unit ID Screens
Set ID to Default
TheSetIDtoDefaultoptionreturnstheUnitIDtothefactory
default�
Figure 129. Set ID to Default Screen
Onceallchangeshavebeenmade,AcceptSettingsmustbe
selectedbeforeexitingtheUnitIDmenu�Whenallchanges
aresaved,thetransmitterwilldisplaytheSettingsAccepted
screen�
Figure 130. Accept Settings and Accepted Screens
Relay Options
TheRelayOptionsmenuallowstherelaysforbothalarm
levelstobecongured�ThismenuisavailableonlyiftheXNX
transmitterisequippedwiththeoptionalrelays�
Figure 131. Relay Options Screen
XNXrelayscanbesettoEnergizedorDe-energized�Thedefault
isDe-energized�Thetwostatesforeachrelayarerepresented
bythesymbols
forenergizedand forde-energized�
Figure 132. Alarm 1 Relay Current State and Setting New State
Usethe switchestomovetothedesiredalarmanduse
✓
toselectit�Usethe
switchestochangethestateofthe
relay�Use
✓
toacceptthenewstate�OncetheXNXtransmitter
hasacceptedthenewinformation,aSettingsAcceptedscreen
appears�
Figure 133. Accept New Alarm Relay Settings and new Settings Accepted

 Loading...


