6-14
AF610D
AF897D
4. Install the brake calipers and secure with the
patch-lock cap screws tightened to 20 ft-lb.
AF894D
5. Install the wheels and tighten to 40 ft-lb.
6. Pour 275 ml (9.3 fl oz) of SAE 80W-90 hypoid
gear lubricant into the differential and install the
filler plug. Tighten to 16 ft-lb.
7. Remove the ATV from the support stand.
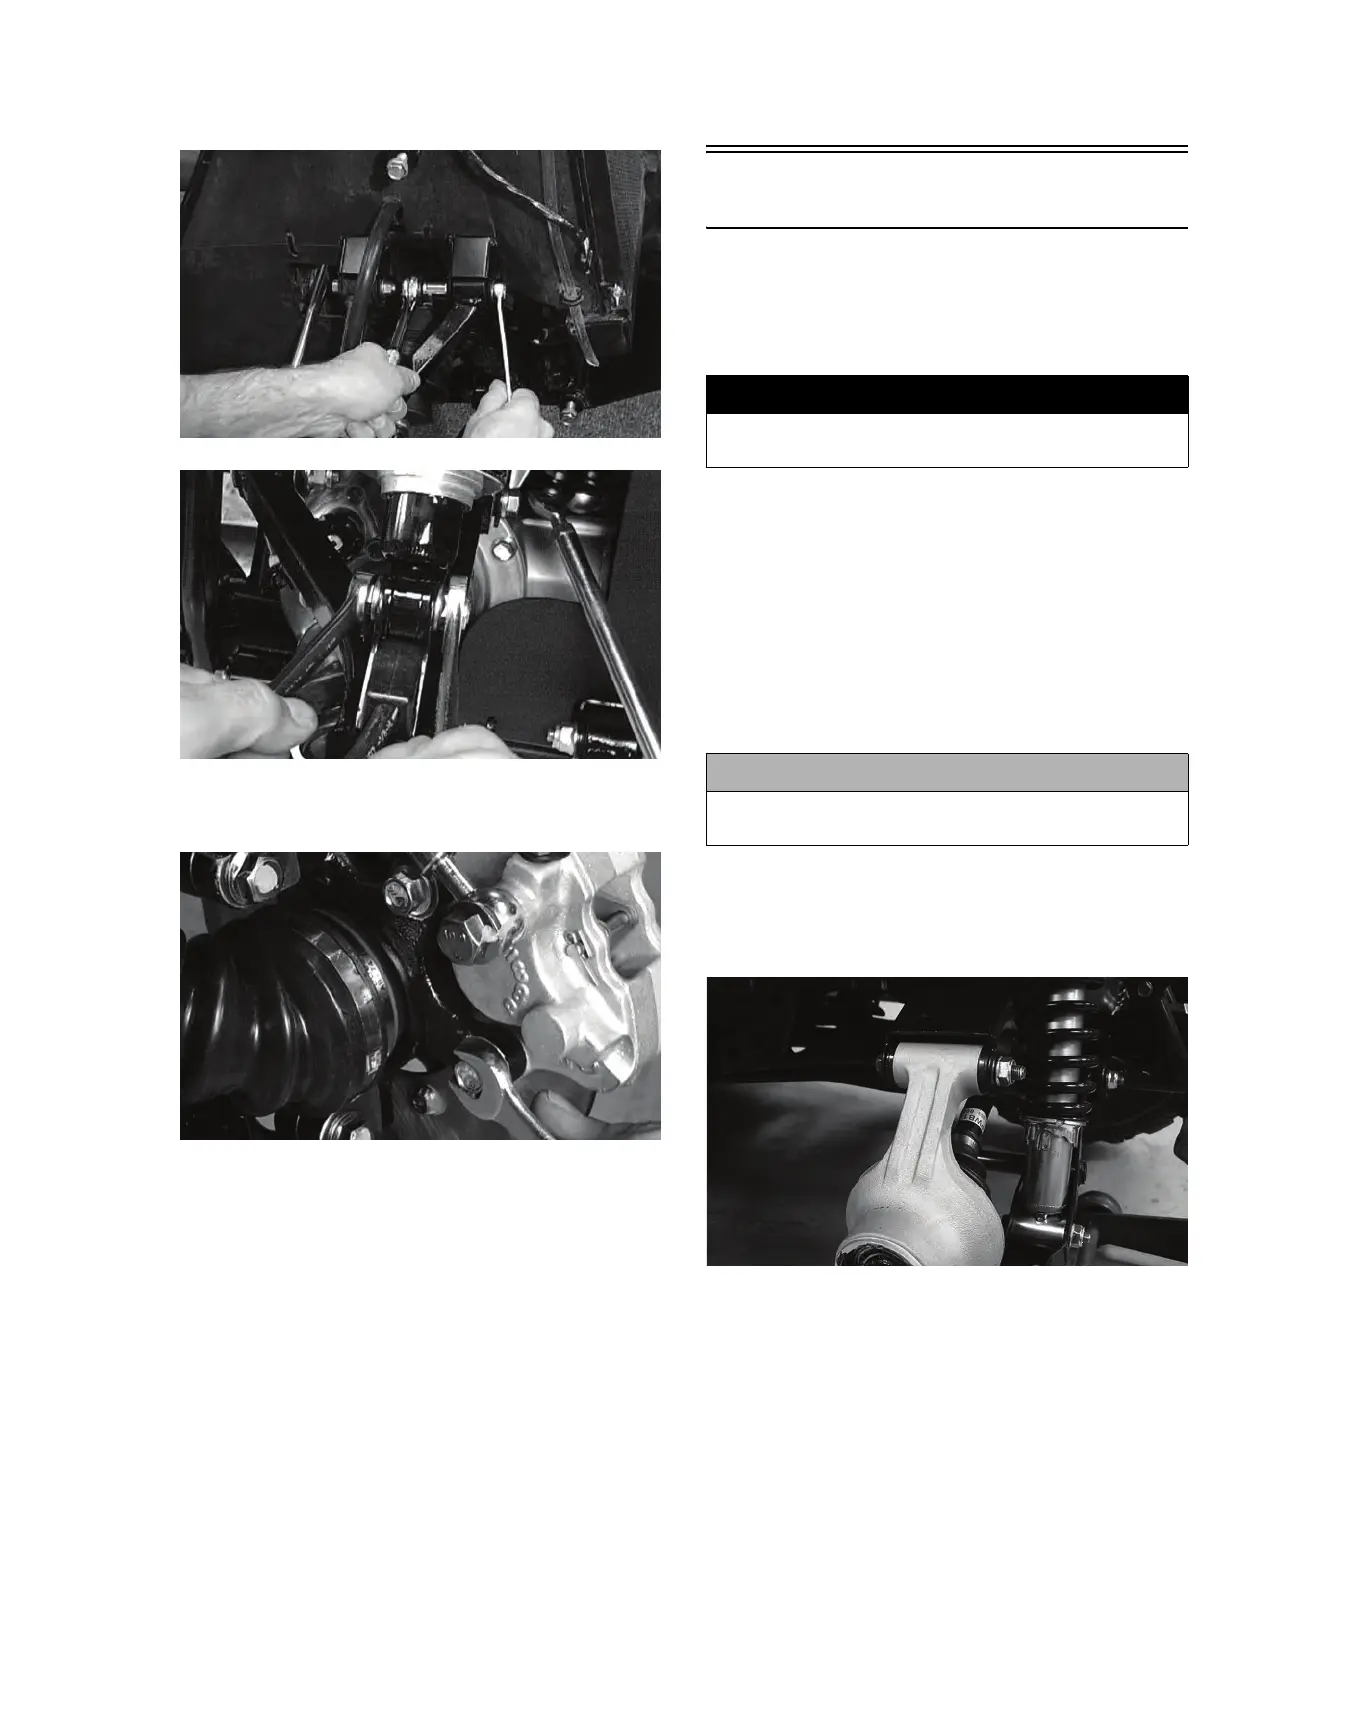
Drive Axles
REMOVING REAR DRIVE AXLES
1. Secure the ATV on a support stand to elevate the
wheels.
2. Pump up the hand brake; then engage the brake
lever lock.
3. Remove the rear wheels.
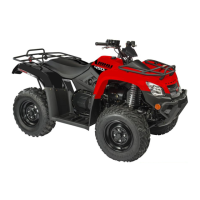
4. Remove the cotter pin securing the hex nut; then
remove the hex nut. Release the brake lever lock.
5. Remove the brake caliper (right side only).
NOTE: Do not allow the brake caliper to hang
from the hose.
6. Slide the hub off the shaft and set aside.
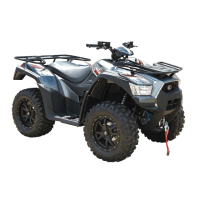
7. Remove the cap screw and lock nut securing the
knuckle to the upper A-arm. Discard the lock nut.
KC284
NOTE: Never reuse a lock nut. Once a lock nut
has been removed, it must be replaced with a new
lock nut.
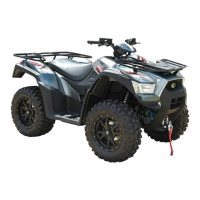
8. While holding the drive axle stationary, pull the
top of the knuckle out and down until it is free of
the drive axle.
! WARNING
Make sure the ATV is solidly supported on the sup-
port stand to avoid injury.
! CAUTION
The caliper should be supported. If the calipers are
allowed to hang from the hose, damage may occur.
 Loading...