•NOTE:
Make sure
that
the
ignition
switch
is
in '
the
ON
position
,
transmission
in neutral,
b1rake
lock
released, and
the
emergency
stop
switc:h in
the
RUN
position.
3. Depress the starter button while obse:rving the
multimeter. The multi meter should drop to
0 volts,
a
"click" should be heard from the relay, and the
starter motor should run.
•NOTE:
If
a
"click"
is heard and any volta!)e
is
indi-
cated by
the
multimeter, replace
the
startor
relay.
If
no
"click" is heard and
the
multimeter continues
to
indicate battery voltage, test
the
neutral start relay.
Starter
Motor
•NOTE:
The
starter
is
a
non-serviceabh~
compo-
nent.
If
the
following
test
does
not
result
as
speci-
fied,
the
starter
must
be replaced.
TESTING
VOLTAGE
Perfonn this test on the starter motor positive terminal.
To access the terminal, slide the boot away.
•NOTE:
The ignition
switch
must
be
in
the
ON
position
,
the
emergency
stop
switch
in the
RUN
position, and
the
shift
lever in
the
NEUTF~AL
posi
·
tion.
I. Set the meter selector to the DC
Vo
ltage position.
2. Connect the red tester lead to the starter tenninal;
then co1mect the black tester lead to
groumd.
3. With the starter button depressed, the meter must
show approximately
12.0
DC
volts and the starter
motor should operate.
•NOTE:
If
the
meter showed
correct
voUage but
the
starter
did
not
operate
or
operated sllowly,
the
starter
motor
is
defective.
5-10
•NOTE
:
If
the
meter showed
no
voltage,
inspect
ground
connections,
starter
motor
lead, battery
voltage (at
the
battery),
starter
relay,
or
the
neutral
start
relay.
REMOVING
1. Disconnect the battery.
~
CAUTION
Always disconnect the negative battery cable from
the battery first; then disconnect the positive
cable.
2. Remove the nut securing the positive cable to the
start
er
; then remove the cable from the starter.
3. Remove the two cap screws securing the starter to
the crankcase: then remove the starter. Account for
an
0-ring.
·
INSTALLING
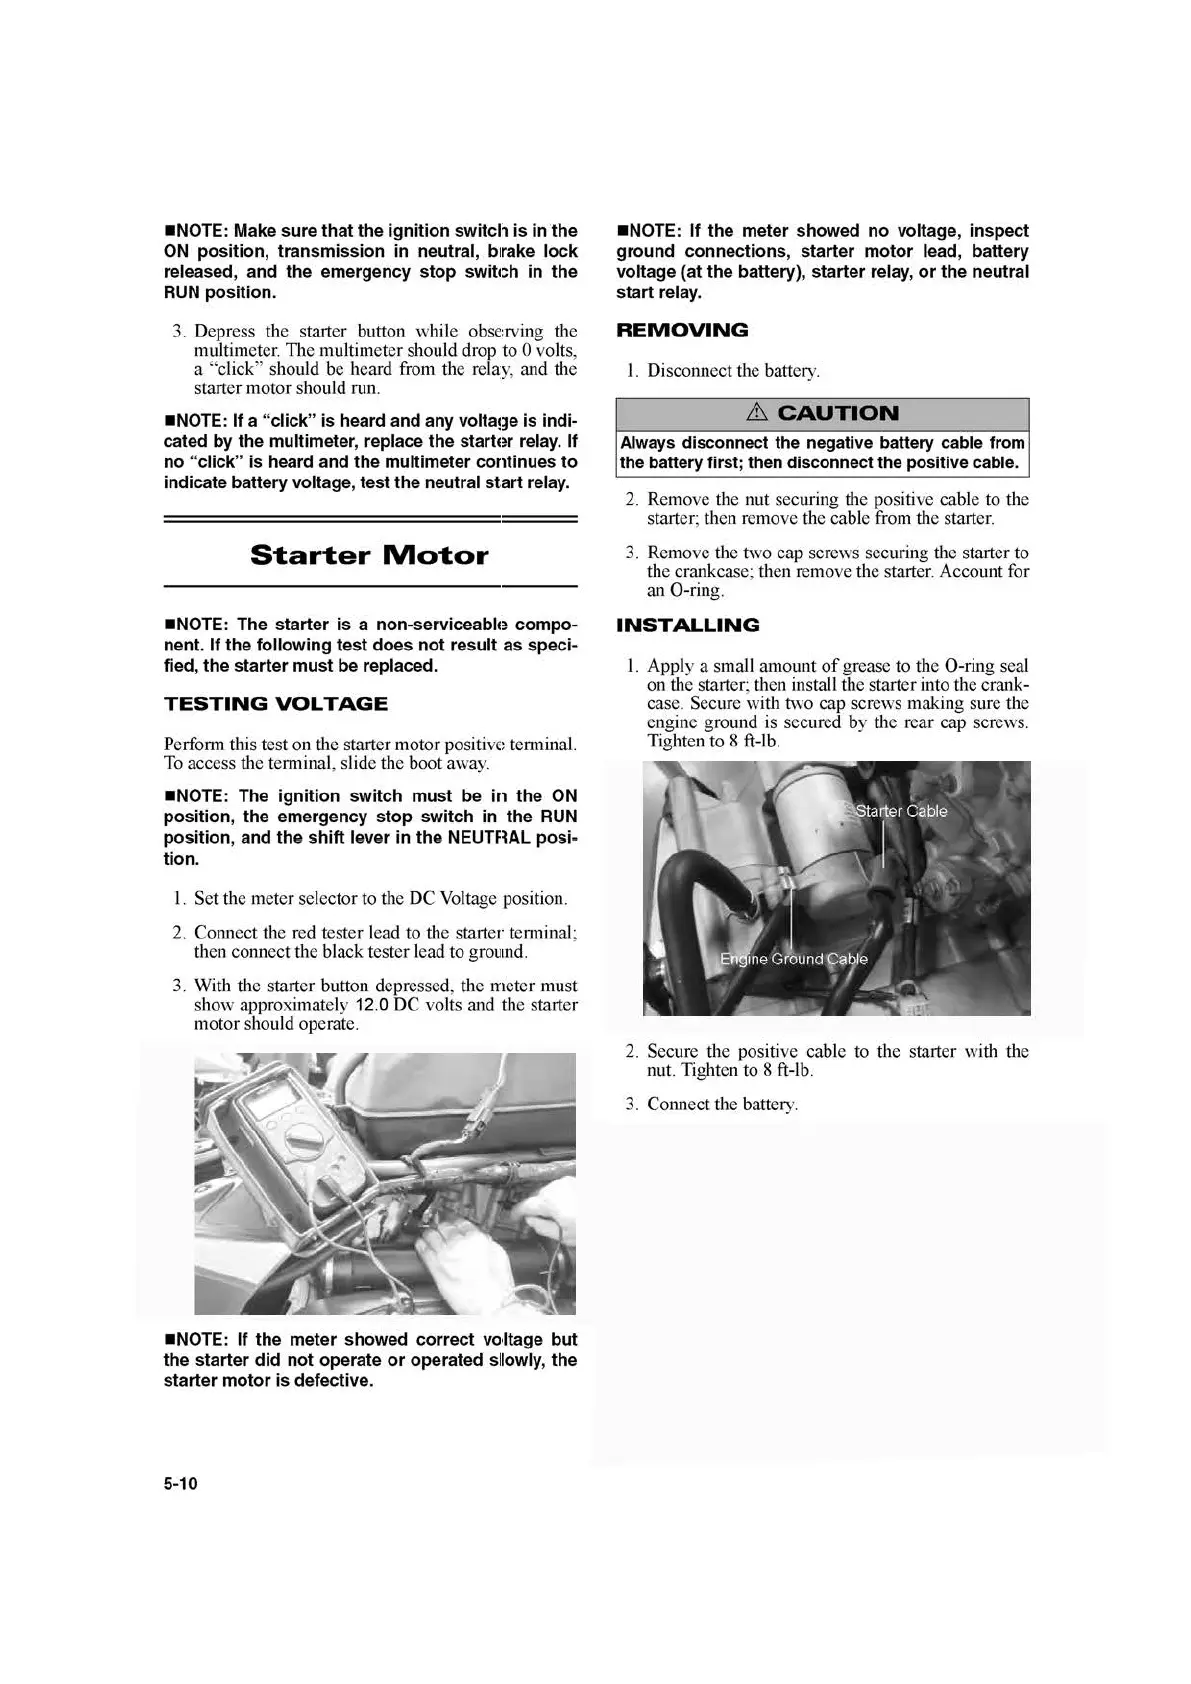
1.
Apply a small amount
of
grease to the
0-ring
seal
on the starter; then install the starter into the
crank-
case. Secure with two cap screws making sure the
engine ground is secured by the rear cap screws.
Tighten to 8
ft
-lb.
2.
Secure the positive cable to the starter with the
nut.
lighten
to 8 ft-lb.
3. Connect the battery.

 Loading...