6-20
3. Install the hub assembly onto the shaft.
4. Secure the hub assembly with the nut. Tighten
only until snug.
5. Secure the brake caliper to the knuckle with the
two cap screws. Tighten the caliper to 20 ft-lb.
KC283
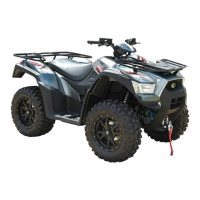
6. Tighten the hub nut (from step 4) to 200 ft-lb; then
install and spread a new cotter pin making sure
each side of the pin is flush to the hub nut.
KC305
7. Install the wheel and tighten to 40 ft-lb.
8. Remove the ATV from the support stand.
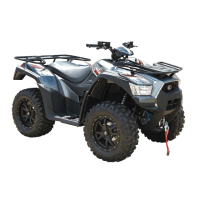
Hydraulic Brake Caliper
NOTE: The brake calliper is a non-serviceable
component; it must be replaced as an assembly.
REMOVING/DISASSEMBLING
1. Secure the ATV on a support stand to elevate the
wheel; then remove the wheel.
2. Drain the brake fluid from the caliper, hose, and
master cylinder.
3. Remove the brake hose from the caliper; then
remove the caliper and plug the brake fluid port.
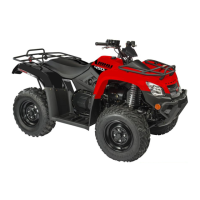
4. Compress the caliper holder against the caliper
and remove the outer brake pad; then remove the
inner brake pad.
PR237
PR238
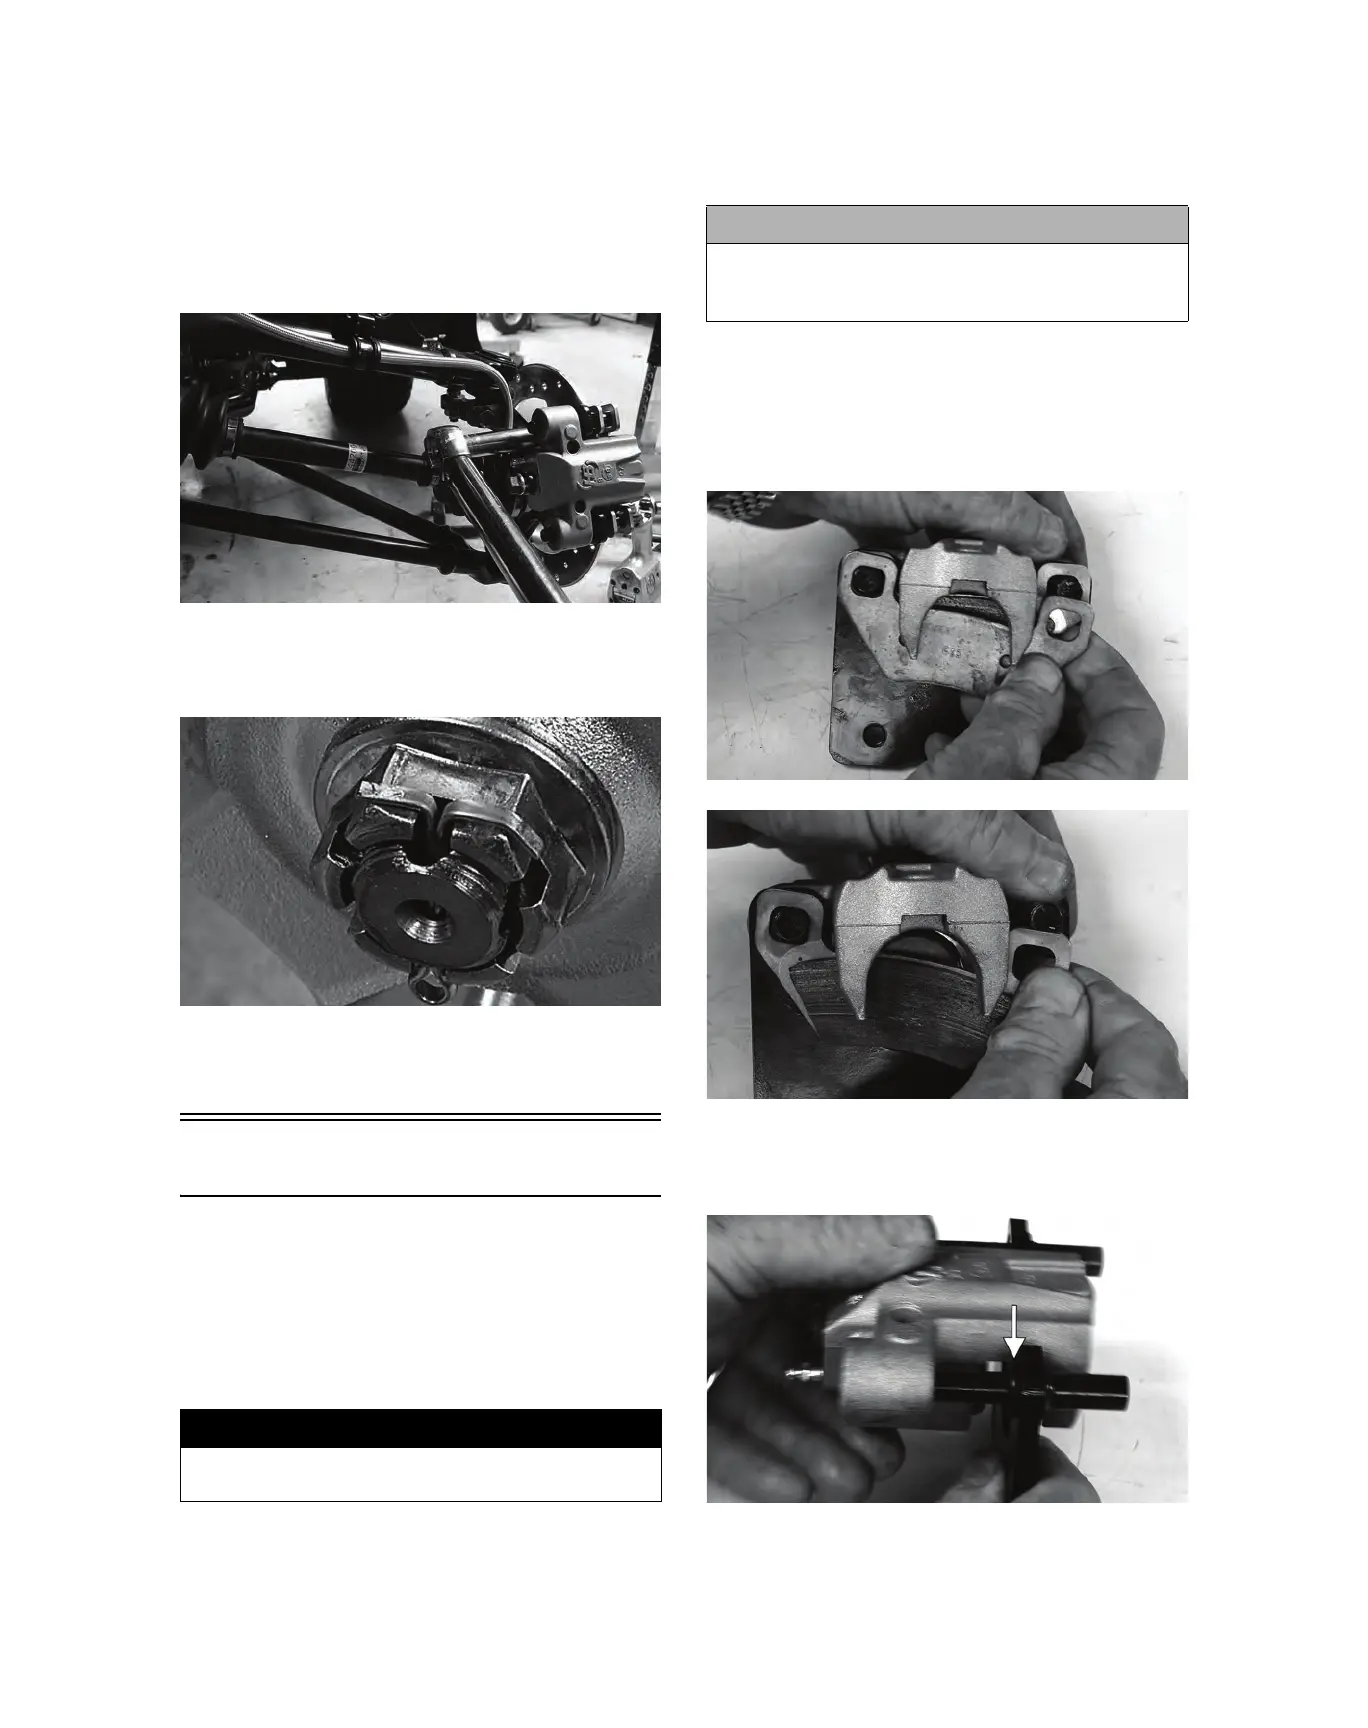
5. Remove the caliper holder from the caliper and
account for the brake caliper O-ring. Do not
remove the piston from the caliper.
PR239B
6. Plug the fluid port with a suitable plug to prevent
contamination during cleaning.
! WARNING
Make sure the ATV is solidly supported on the sup-
port stand to avoid injury.
! CAUTION
Brake fluid is highly corrosive. Do not spill brake
fluid on any surface of the ATV and do not reuse
brake fluid.
 Loading...