10-2
* The coolant level should
be
checked
periodically.
RADIATOR
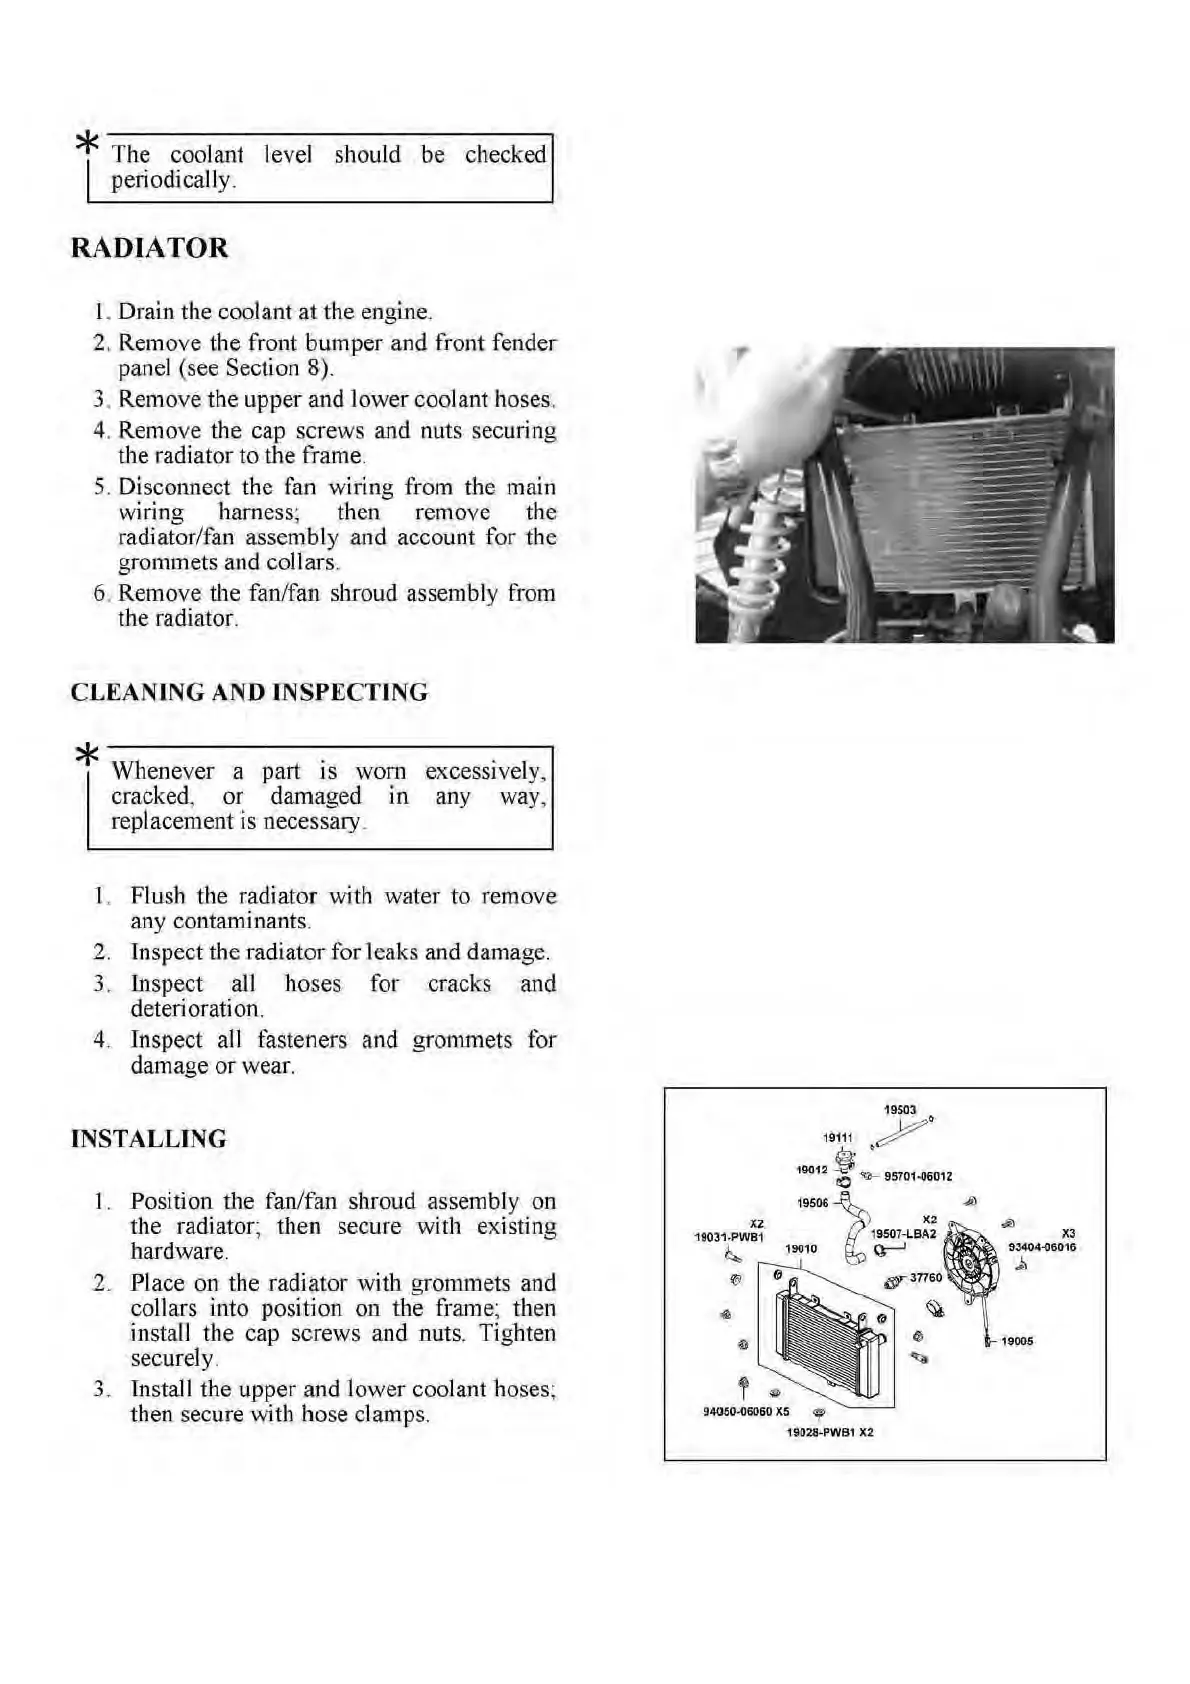
L Drain the coolant at the engine.
2, Remove the front bumper and front fender
panel (see Section 8).
3. Remove the upper and lower coolant hoses.
4. Remove the cap screws and nuts securing
the radiator to the frame.
5. Disconnect the fan wiring from the main
wir
in
g
harness
~
then remove the
radiator/
fan
assembly and account for the
grommets and
col
lars.
6. Remove the fan/fan shroud assembly from
the radiator.
CLEANJNG AND INSPECTING
* Whenever a patt is wom
cracked, or damaged in
replacement is necessary.
excessively,
any way,
1. Flush the radiator with water to remove
any contaminants.
2. Inspect the radiator for leaks and damage.
3. Inspect all hoses for cracks and
deterioration.
4. Inspect
all
fasteners and grommets for
damage
or
wear.
INSTALLING
1. Position the fan/fan shroud assembly on
the radiator; then secure with existing
hardware.
2. Place
on
the radiator with grommets and
collars into position on the frame; then
install the cap screws and nuts. Tighten
securely.
3. Install the upper and lower coolant hoses;
then secure with hose clamps.
)(2
19031-PWB1
~
IllY
'
19503
19111
~
·
19012
-t
~
95701·06012
19506
i
19507·LB:;
¥ JiJ
.li>
X3
19010
~
93404.06016
~
,;b
5
Jn6o
19005
94050.06060
X5
~
1902l!-PWB1
X2

 Loading...