2. Inspect the muffi
cr
internally
by
sbaking
th
e muf-
fler back and forth and Jjstening for rattles
or
loose
debris inside the muffler.
•NOTE
: For additional
det
ails on cleaning the muf-
fler/spa
rk
arrester, see Section
2.
INSTALLING
MUFFLER
1.
Using a new grafoil seal. place the muffler iuto
position engaging
th
e mounting lugs into
th
e
gro
mm
ets: then slide
tl1c
muffler forward.
2. ln.stall
th
e two exhaust springs.
Rear
Body
Panel/Rack
REMOVING
I. Remove
th
e rear rack;
tlt
en remove a cap screw
securing the rear body panel/fender
to
the side
frante and
Ute
cap sc
re
ws securing the rear fenders
to
lli
c footwclls.
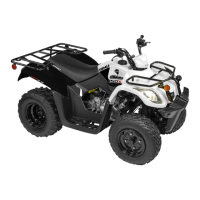
2.
Di
sc
01m
cct the battery (negative cable first) and
remove
from
the batte
ry
compartment: then dis-
connect the starter relay wires and route t
he
wiring
out
of
the compartment.
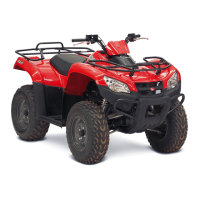
3. Remove the
a.u,,;Jiarv brake reservoir from the
body but do not
di
sco
nn
ect the
ho
se;
th
en route
a11d
secure the hose and reservoir out
of
the way
making sure
uot
to spill brake flwd.
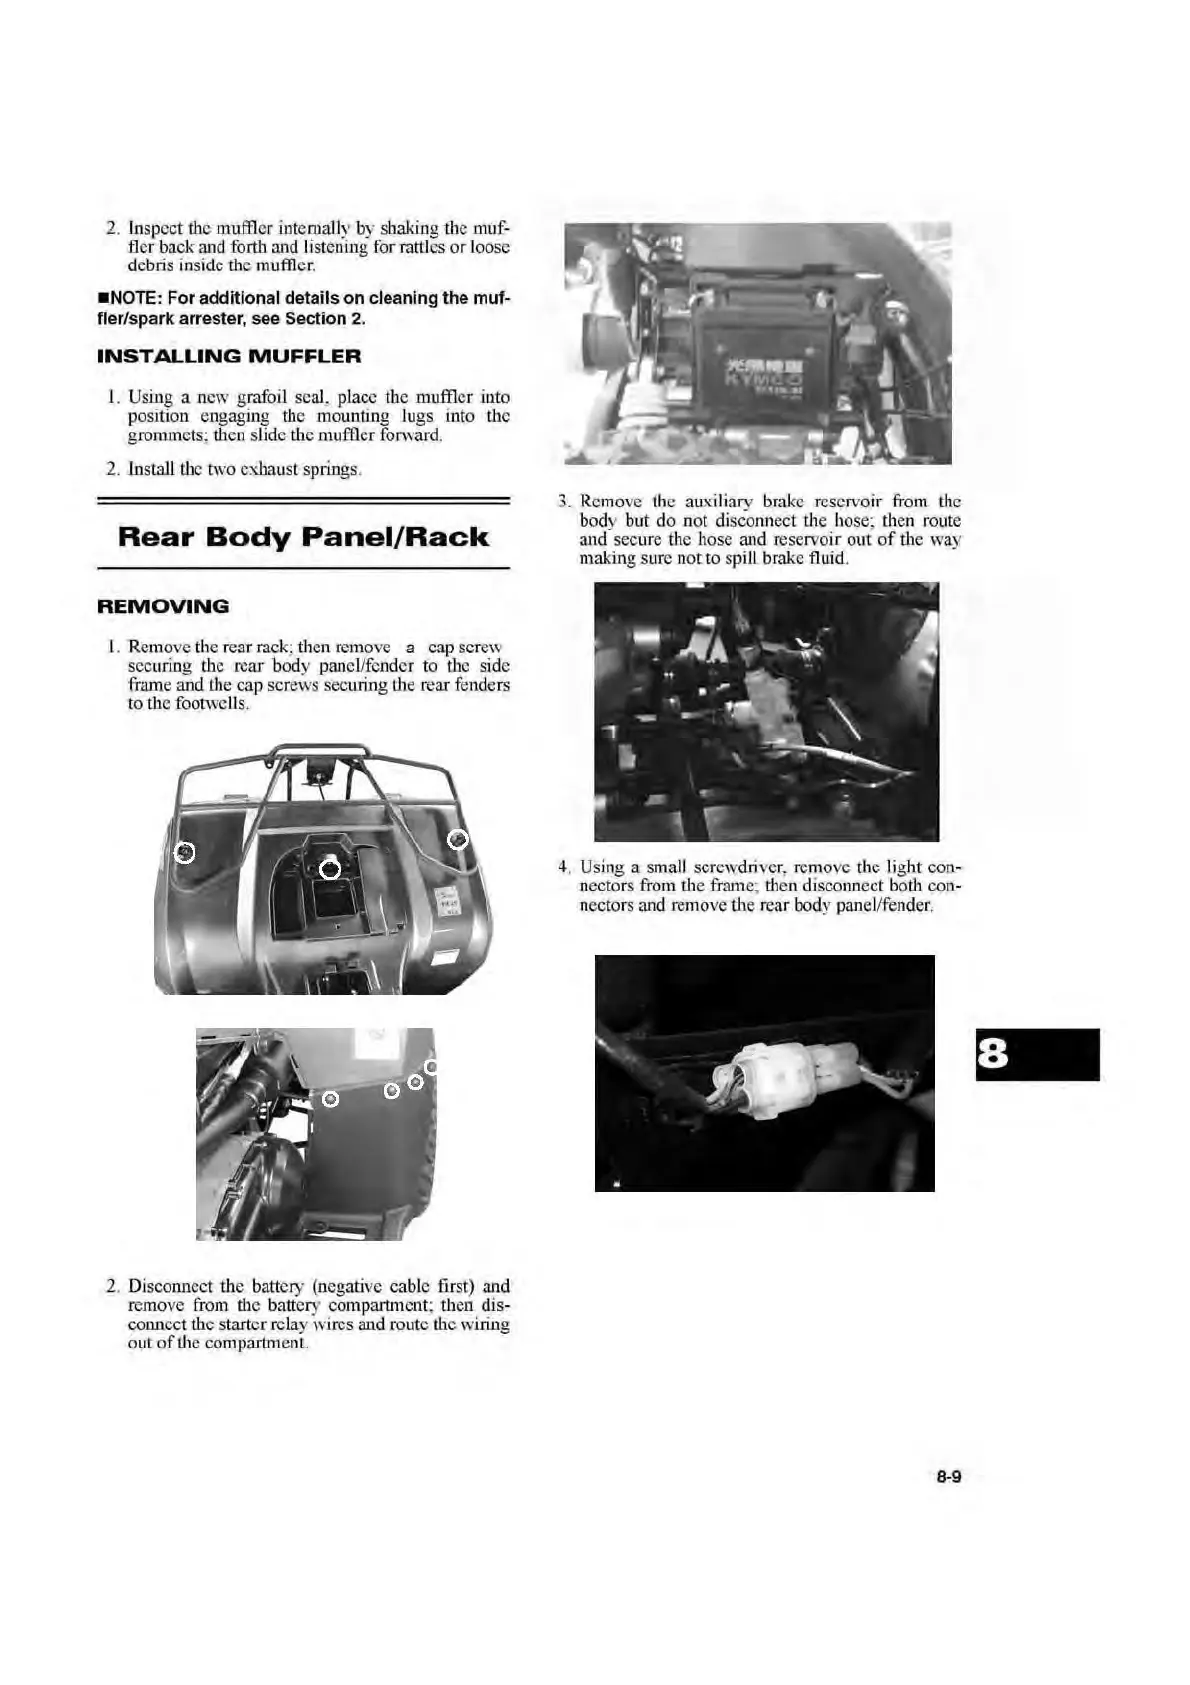
4. Using a s
ma
ll
screwdri
ve
r, remove tbe
li
g
ht
con-
nectors from
ch
e frame;
th
en rusconnect boili con-
nectors and remove dte rear body panel/fender,
8-9
 Loading...