System Preparation 3-9
Image print
For DICOM image printing, refer to “11 DICOM”.
Modify print service:
a) Select an existed printer service in the list.
b) Select the printer type in the Property box.
c) Set the attribute: paper size, orientation, etc.
d) Click [OK] to confirm.
Image print
Select the image to be printed on the iStation or Review screen, and click [Send To]
to select the printer to print.
Please refer to the accompanying manuals of the printers for more details.
3.9 Analog Video Printer
1. Connect the printer (video input port) and the ultrasound system (video output on IO
panel) with the signal cable;
2. Connect the Remote cable on printer to the Remote port on the ultrasound system.
3. Connect the power cord to a power supply receptacle that is well grounded.
4. Install the printer driver (steps are the same as of graph/text printer” for details). And you
need not install the driver of the printer listed in section “2.5.4 Peripherals Supported”.
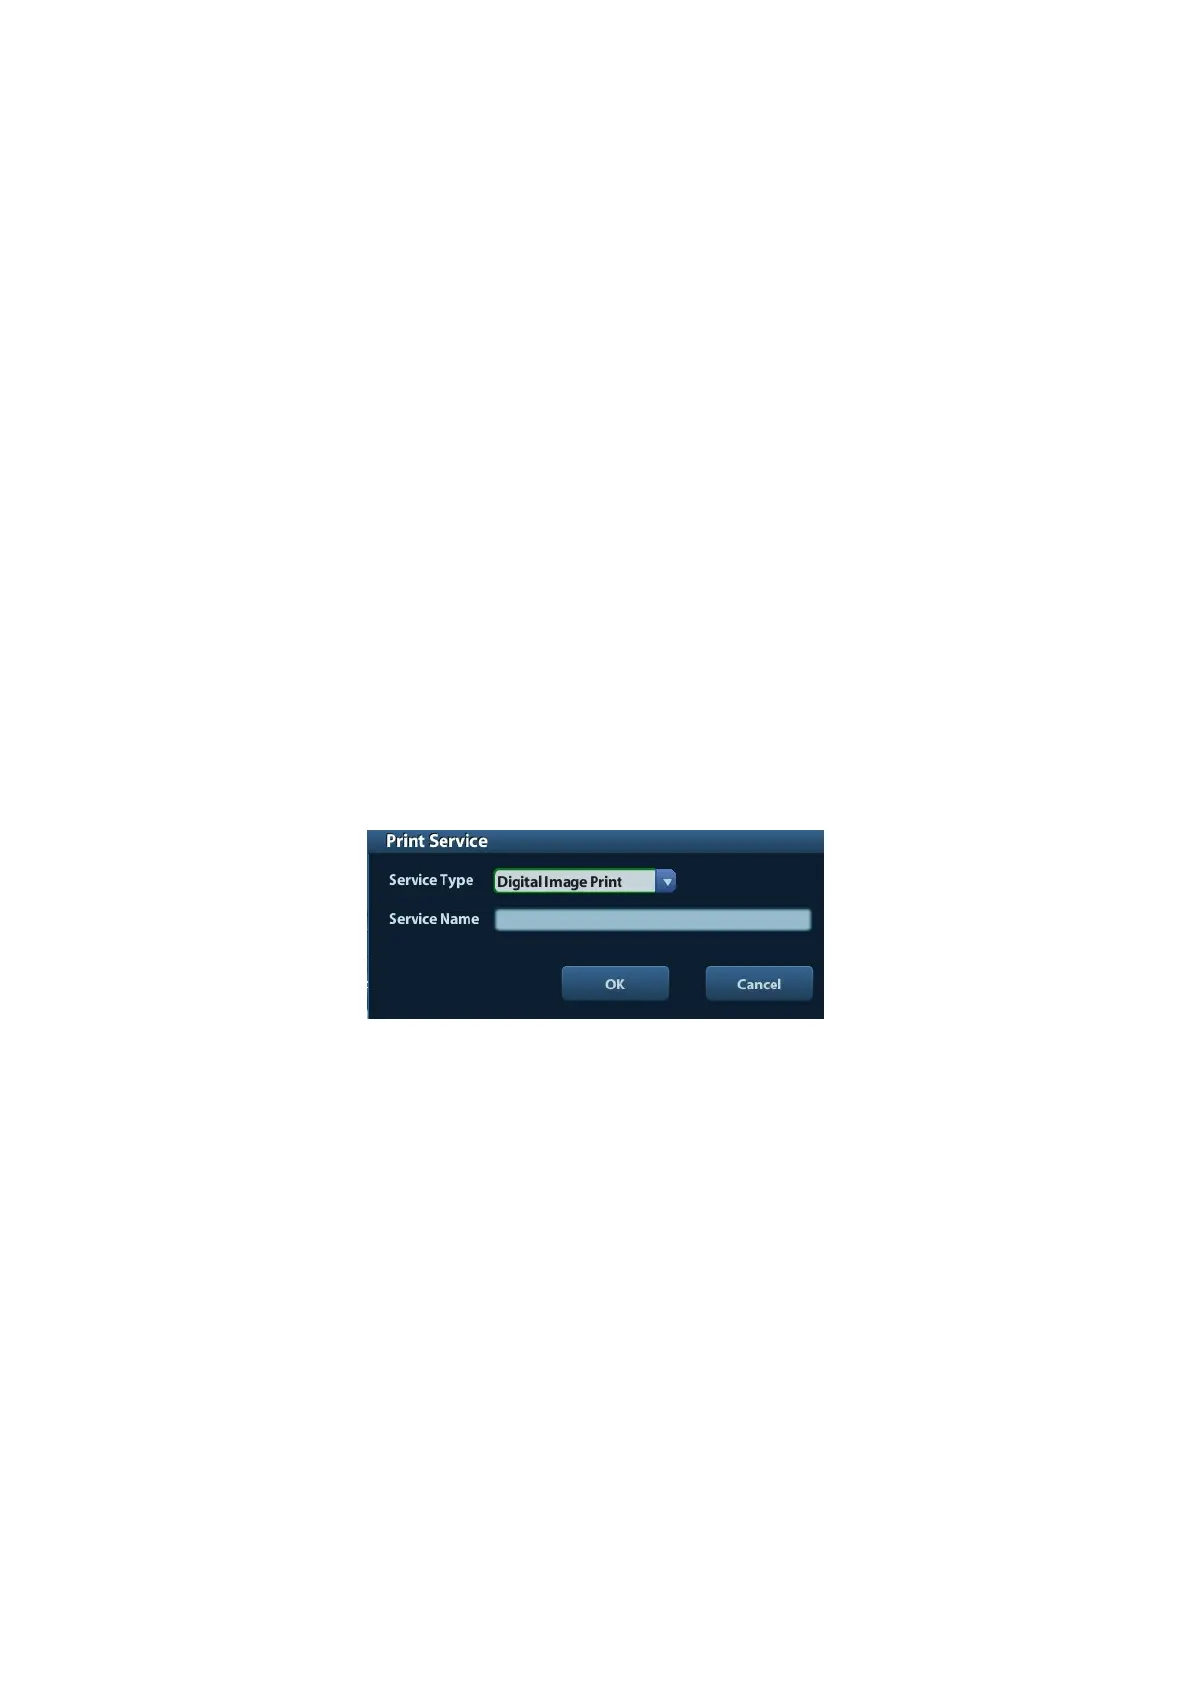
5. Add a print service.
(1) Open [Setup]-> [Print Preset]->[Print Service].
(2) Click [Add Service] to enter the following page.
(3) Select the service type as "Analog Image Print" and enter the service name manually.
(4) Click OK to return to the Printer Service page.
(5) Set the items in the Property box and click [Save] to save the settings.
3.10 External DVD
1. Connect the USB cable of the DVD recorder to the USB port on the ultrasound system
(all USB ports available).
2. Connect the power adapter of the DVD on the power supply.

 Loading...


