Getting Started 1 - 7
Spare Battery Charging
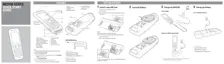
To charge a spare battery:
1. Connect the Four-slot Battery Charger to the appropriate power source. See Chapter 6, Accessories for
setup instructions.
2. Insert the spare battery, bottom first, into the spare battery charging slot and gently press down on the
battery to ensure proper contact.
The battery starts to charge automatically. The LED Indicator blinks amber to indicate the battery is charging.
See Chapter 6, Accessories for charging indications. The battery usually fully charges in less than four hours.
Starting the MC21XX
Press the Power button to turn on the MC21XX. If the MC21XX does not power on, perform a cold boot. See
Resetting the MC21XX on page 2-12.
When the MC21XX is powered on for the first time, it initializes. The Splash screen appears for a short period
of time. On the MC2180 the Calibration screen appears.
If the MC21XX does not power on, see Resetting the MC21XX on page 2-12.
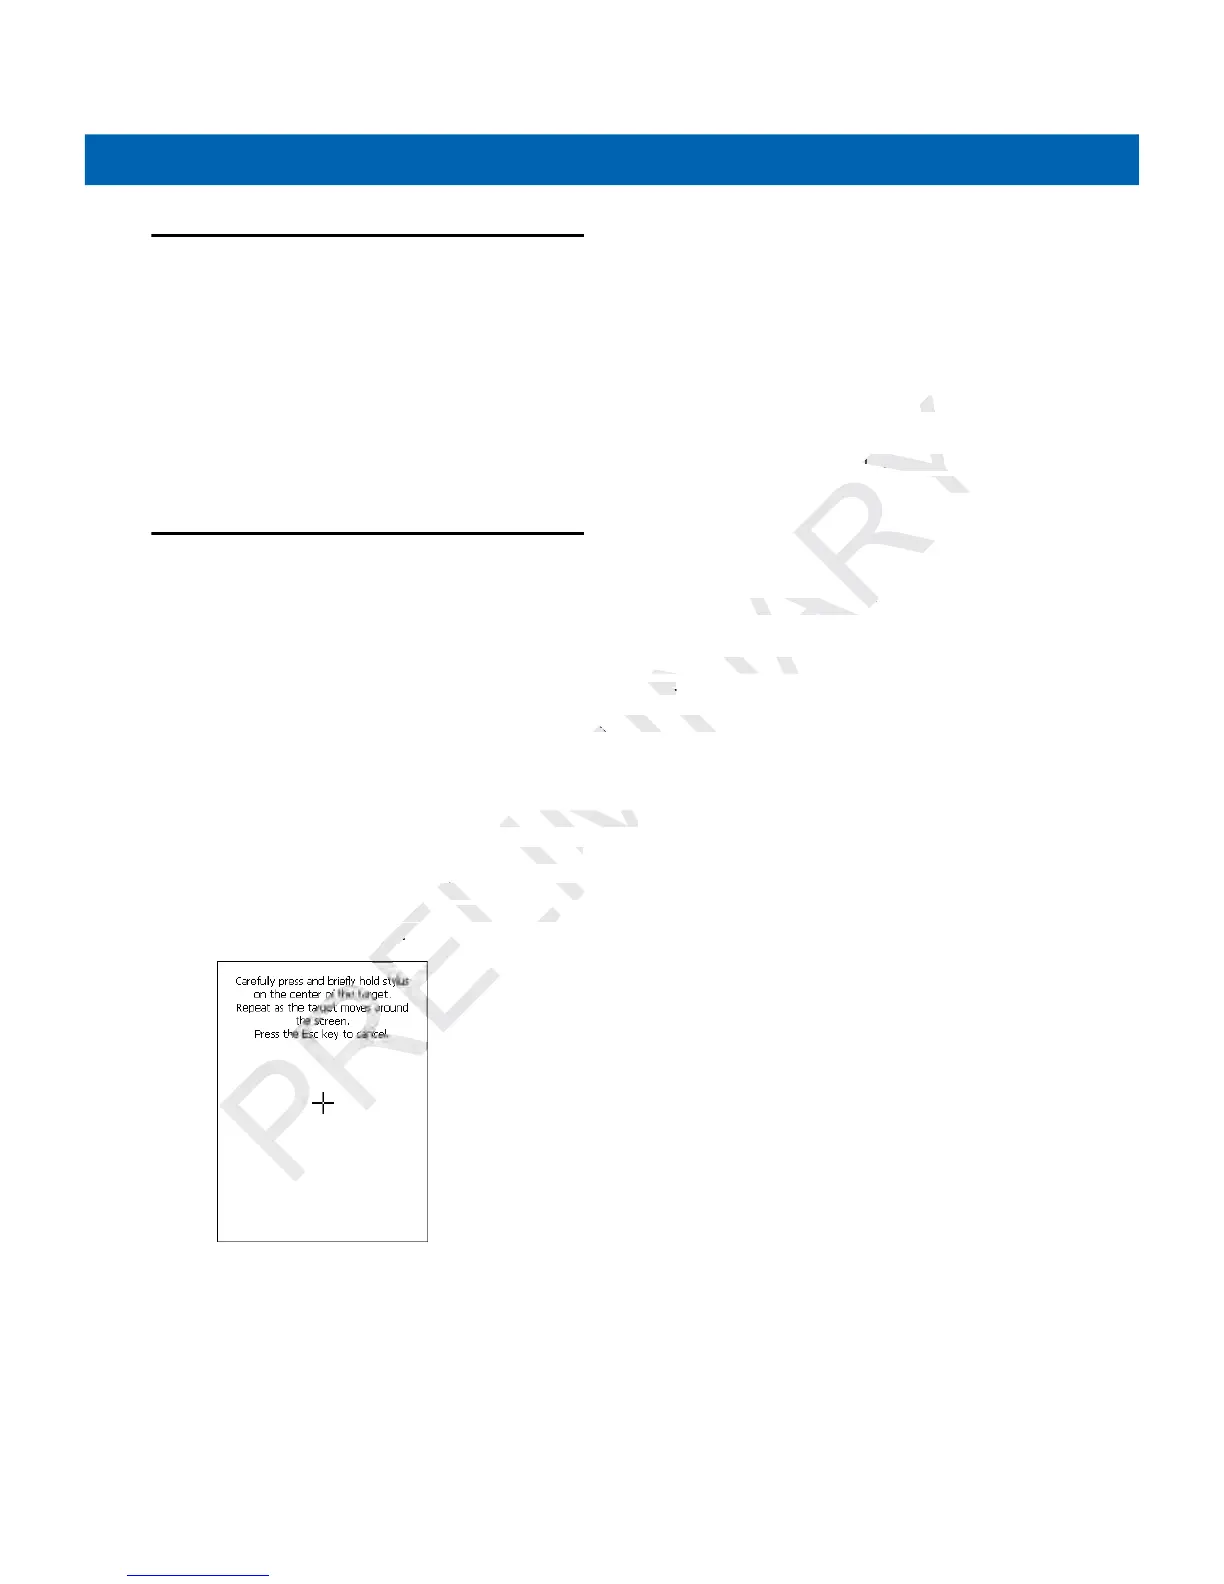
Calibration Screen
Use the Calibration screen to align the touch screen:
1. Remove the stylus from the stylus holder.
2. Carefully press and briefly hold the stylus tip on the center of the Calibration screen target. Repeat the
procedure as the target moves and stops at different locations on the screen. This enters the new
calibration settings.
Figure 1-7
Calibration Screen
3. Once all of the new calibration settings are input, tap the screen or press the ENTER button to save the
new calibration settings. Press
ESC to discard the new calibration settings.
 Loading...