You can save two custom preset modes, one in each slot.
8. Click the APPLY button.
Your settings are saved. The preset custom mode is displayed on the PRESET MODES page.
Apply a Custom Preset Mode
If you previously saved QoS, port prioritization, multicast, flow control, IGMP snooping, and rate limiting
settings as a custom preset mode (see Save Your Quality of Service Settings as a Custom Preset Mode on
page 28), you can apply the preset mode.
To apply a previously saved custom preset mode:
1. Open a web browser from a computer that is connected to the same network as the switch or to the
switch directly through an Ethernet cable.
2. Enter the IP address that is assigned to the switch.
The login page displays.
3. Enter the switch password.
The default password is password. The password is case-sensitive.
The HOME page displays.
4. From the menu at the top of the page, select SETTINGS.
The PRESET MODES page displays.The LOAD tab is automatically selected.
5. Select a custom preset mode.
The PREVIEW section shows the settings for the custom preset mode.
6. Click the APPLY button.
Your settings are saved.
Rename a Custom Preset Mode
After you save a custom preset mode, you can rename the mode.
To rename a custom preset mode:
1. Open a web browser from a computer that is connected to the same network as the switch or to the
switch directly through an Ethernet cable.
2. Enter the IP address that is assigned to the switch.
The login page displays.
3. Enter the switch password.
The default password is password. The password is case-sensitive.
The HOME page displays.
4. From the menu at the top of the page, select SETTINGS.
The PRESET MODES page displays.The LOAD tab is automatically selected.
Optimize the Switch Performance
29
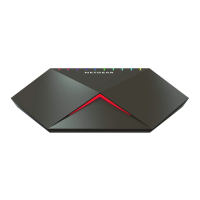
Nighthawk Pro Gaming SX10 Switch Model GS810EMX
 Loading...