NXAMPMK2 USER MANUAL PAGE 15 / 80
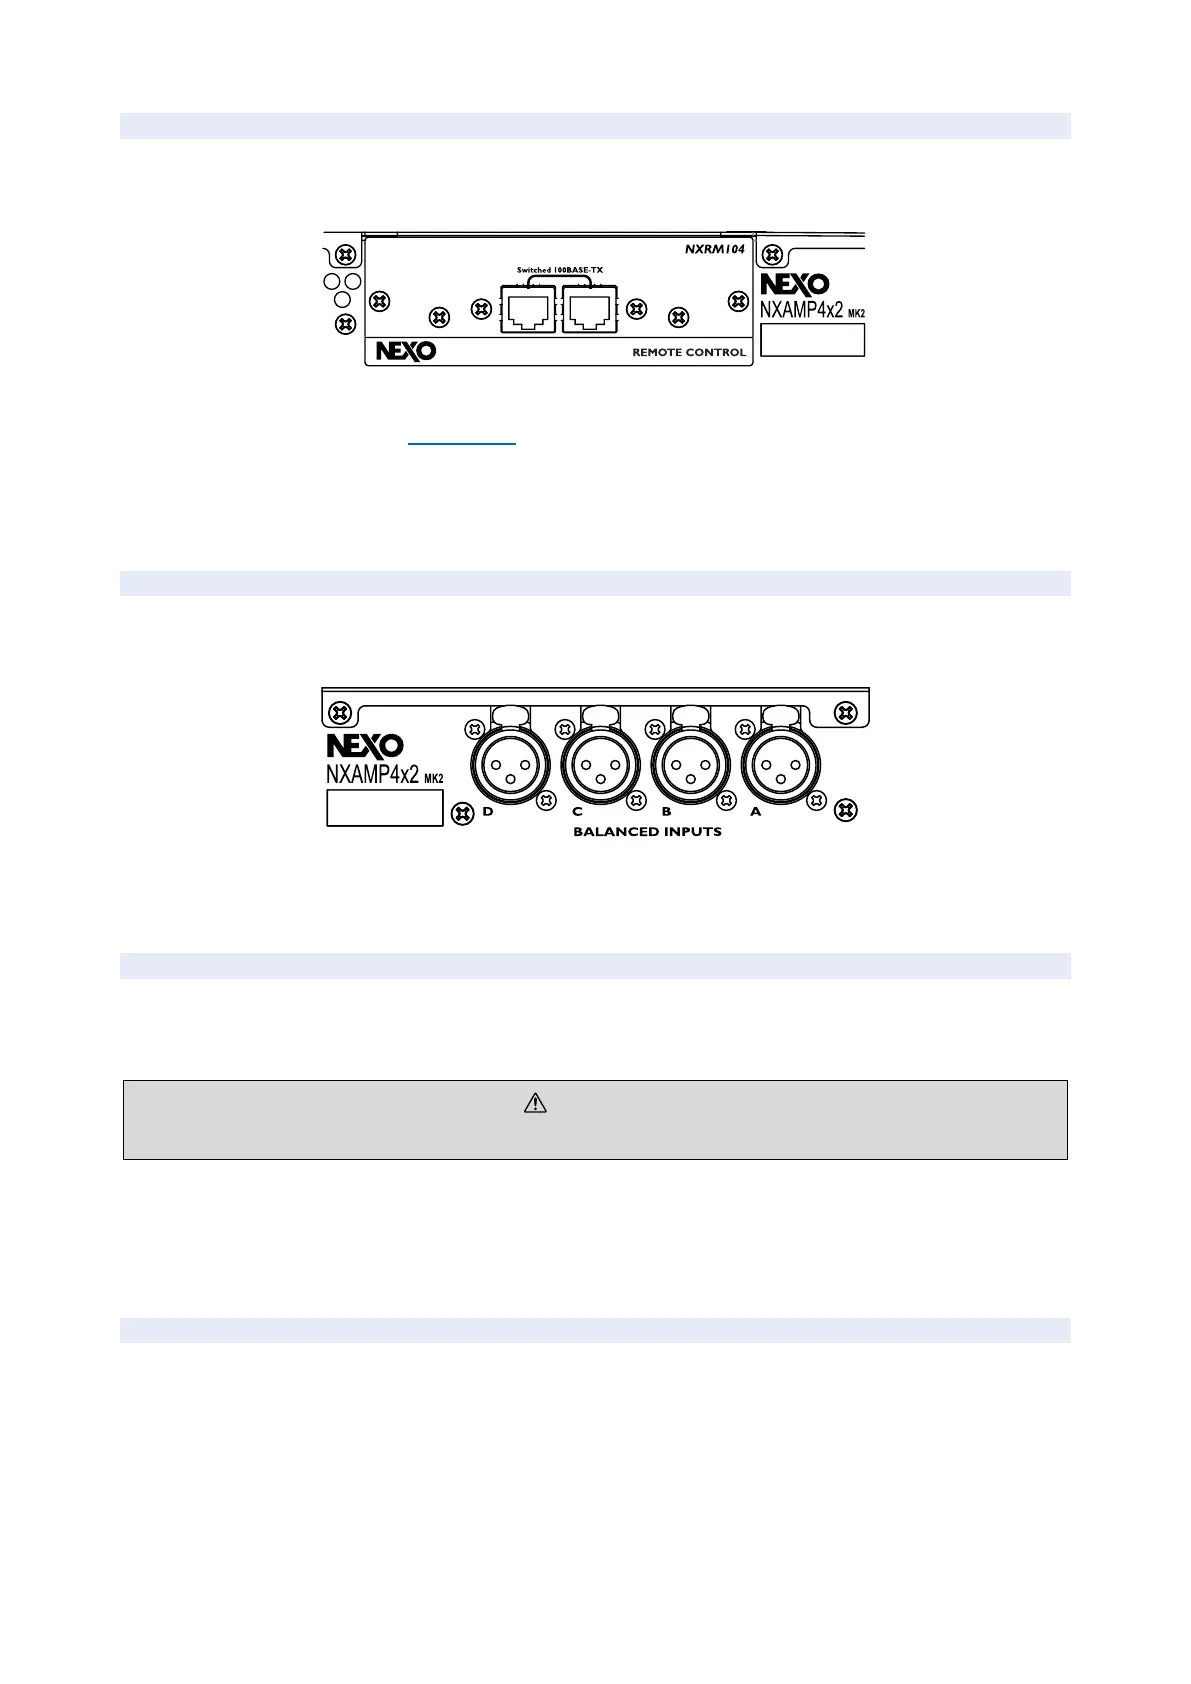
B: EXPANSION SLOT
Through the expansion slot located in the middle of the back panel of the NXAMPmk2, the default network
based remote control card can be replaced by a digital audio input and network remote control card.
At the time of writing, AES/EBU, EtherSound
TM
, Dante
TM
(and AES67) digital audio format are supported
through expansion boards (See Accessories section).
Use STP (Shielded Twisted Pair) cable to prevent electromagnetic interference. Make sure that the metal
parts of the plugs are electrically connected to STP cable shield by conductive tape or comparable means.
C: BALANCED AUDIO INPUTS
Use the back panel female XLR3 connectors to connect the balanced analog input signal, typically from an
audio mixer output.
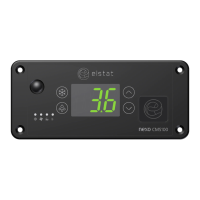
To help you connect seamlessly the NXAMPmk2 to your analog or network inputs, including metering, a
Digital Metering Unit (reference DMU) is available.
D: MAINS CONNECTORS
The NXAMPmk2 can accept Mains from 100 to 240 Volts, both 50 to 60 Hz, thanks to its high efficiency
active PFC (Power Factor Correction) system.
Refer to the specification page of this document to know the main power requirement of the NXAMPmk2
depending on the NXAMPmk2 model and the load connected.
The mains connection is done through standard PowerCon 20 connector.
E: AIR EXHAUST
The NXAMPmk2 uses forced-air cooling. The variable speed cooling fan draws air in from the front and
exhausts it through the rear. Please be sure that you do not block the air intakes or exhaust vents.
 Loading...