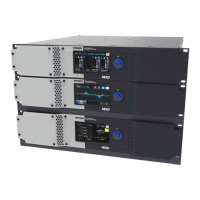
PAGE 56 / 80 NXAMPMK2 USER MANUAL
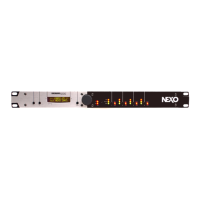
C: LCD DISPLAY
There are four LCDs like this one on the DPU. These LCDs indicate which speaker should be connected on
which output. See further in the manual to have the actual displayed information.
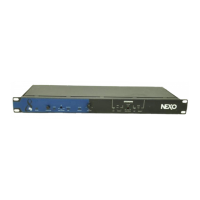
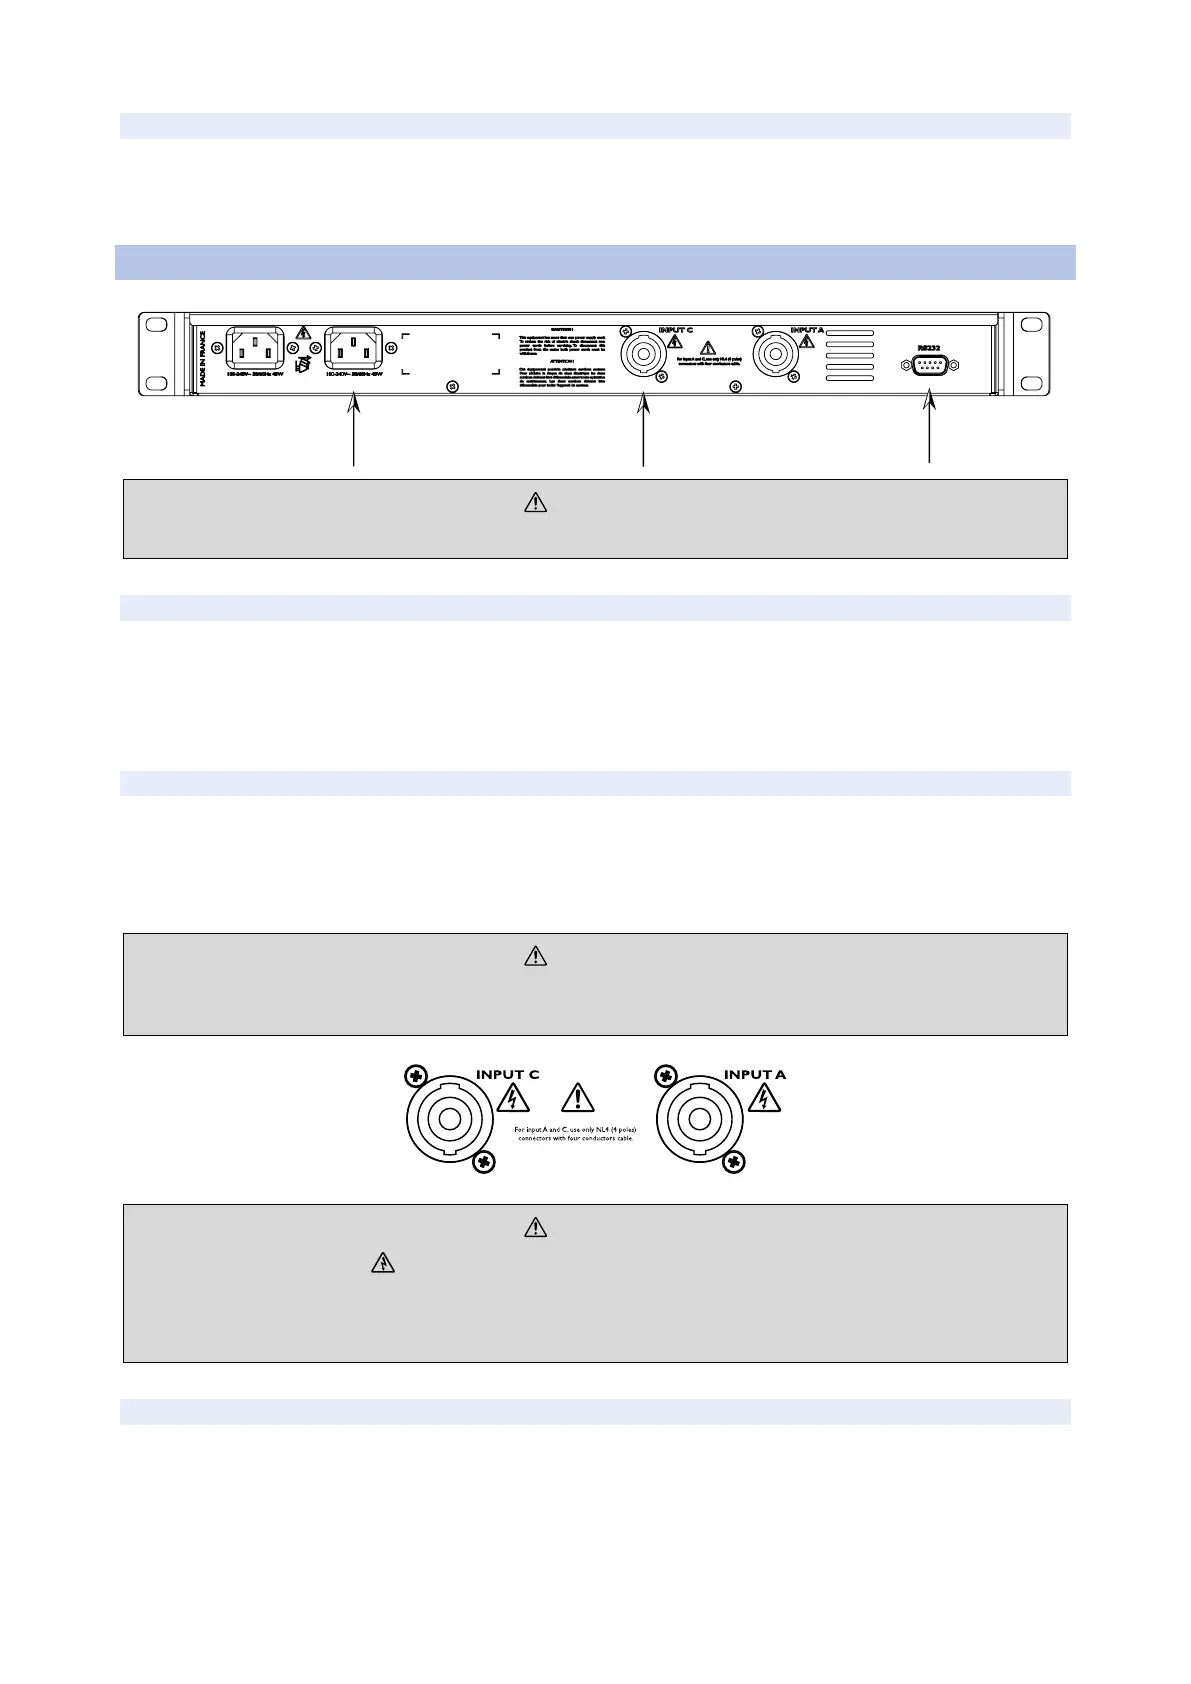
BACK PANEL DESCRIPTION
WARNING!
Unplug the device from mains before connecting or disconnecting any cable to or from it.
C: MAINS CONNECTORS
There are two mains connectors on the DPU. These two connectors lead to two fully redundant power
supplies for redundancy purpose, meaning that the DPU can still work even if one main is missing or in the
very unlikely case that a power supply fails.
Be sure to connect the two mains inputs to separate mains circuit and to ensure maximum redundancy.
D: SPEAKON 4 POLES INPUTS
These power inputs must be connected to the power outputs of the NEXO NXAMP or NXAMPmk2 powered
TDController.
• Connect the NXAMPmk2
• Connect the NXAMPmk2
WARNING!
Use 4 x 4 mm2 (AWG11) cable and four poles speakON to connect NXAMPmk2 power outputs to DPU
inputs (2 meters / 16 feet max).
WARNING!
This mark indicates a dangerous electrically live terminal.
person who have
been manufactured in such way that the connection can be made simply and without problem.
E: RS232 PORT
Connect this serial port to NXAMPmk2 RS232 port using a shielded crossover (null-modem) cable only (2
meters / 16 feet max) with female db9 connectors on each side. Below is the cable to be used to connect
NXAMPmk2 to DPU pinout.
 Loading...