114 LD Platform OEM User's Guide 11970-000 Rev H1
8.6 Replacing Non-Periodic Parts
Panel connector on the core.
Wheels and Tires
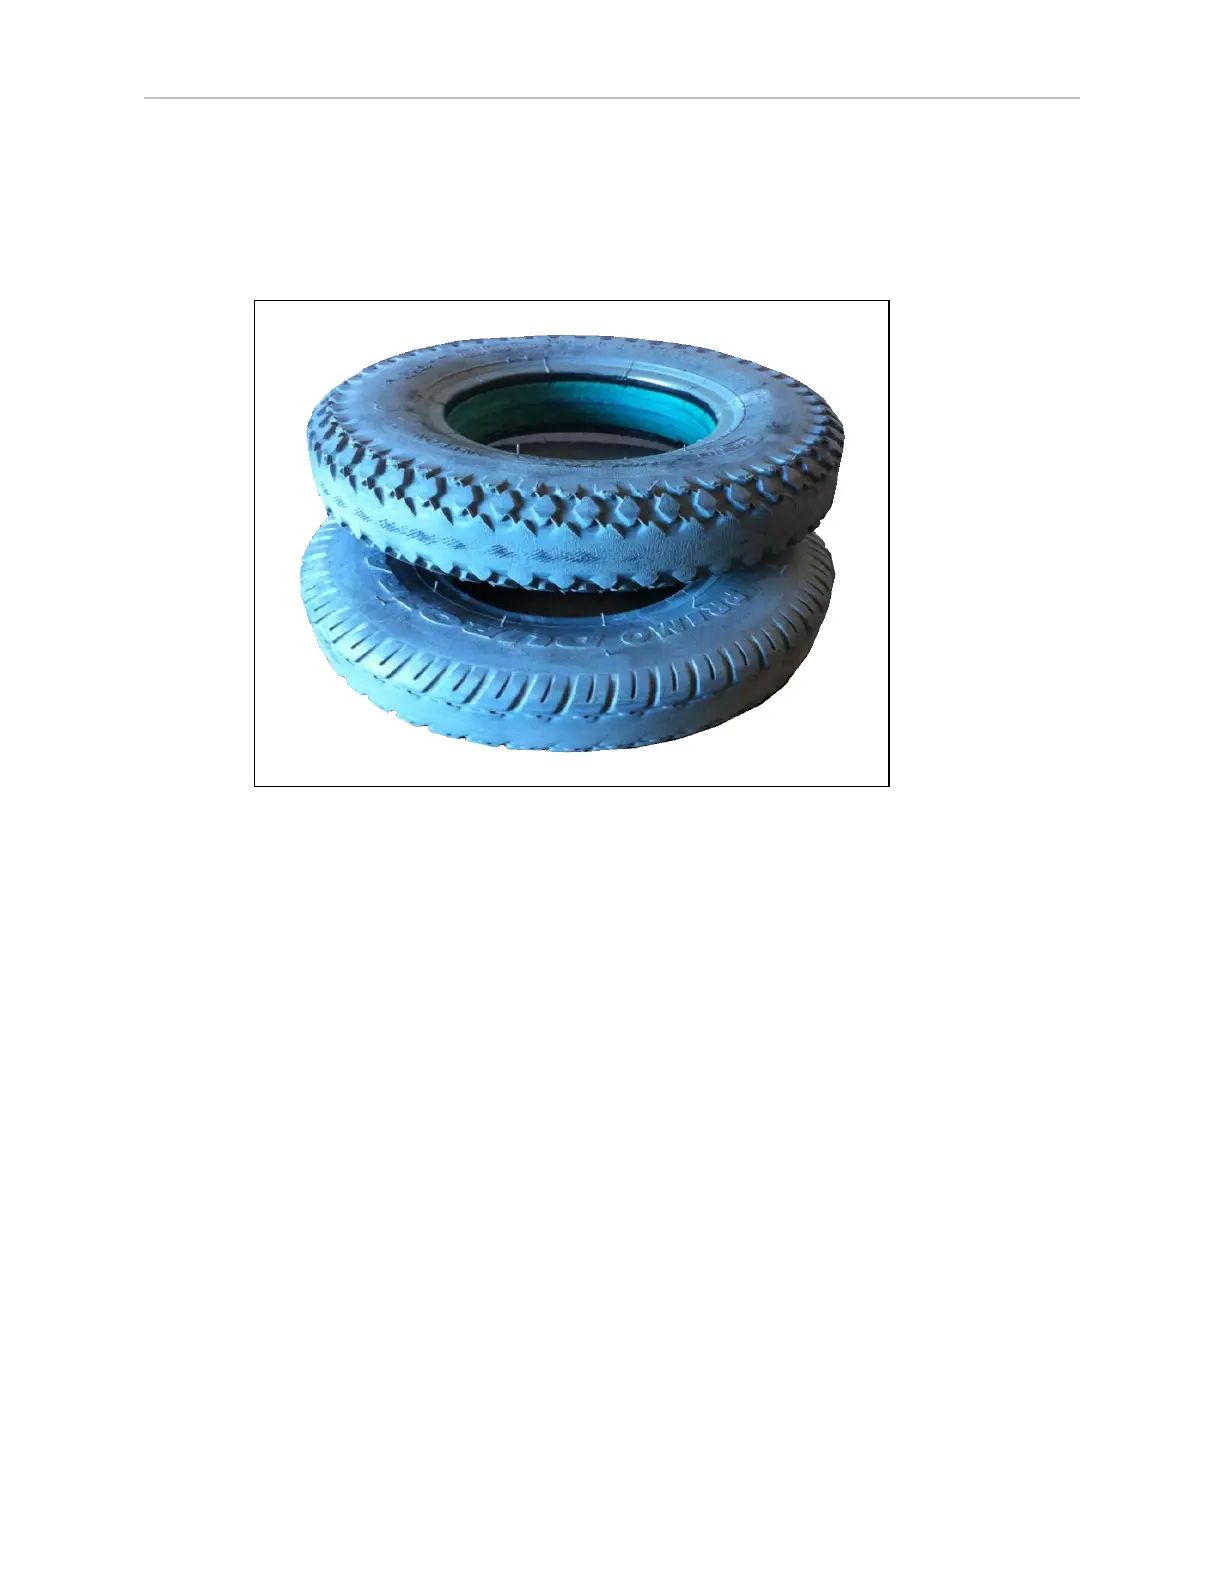
The wheels and tires should be checked every 3 months. If they show signs of cracking, excess-
ive wear, or any damage they should be replaced. Refer to the following figure.
Figure 8-10. Samples of Tire Wear
The wheels/tires are not user-serviceable parts. If the tires are worn or cracked, contact your
local Omron support.
Drive Assemblies
The platform drive assemblies are field-replaceable. This will replace the drive motor, gearbox,
encoder, and wheel/tire assembly.
Removal
1.
Remove the inner rear skin.
2.
Unlatch and open the battery compartment door, at the back of the platform.
The battery compartment door is lockable. You may need to unlock it before opening.
3.
Disconnect battery power by unplugging the two cables at the rear of the battery.
4.
Remove the side skin a small distance from the platform on the side where you want to
replace the drive assembly. Refer to Removing and Installing Skins on page 123.
The light disc PCA cable will still be attached.
5.
Disconnect the cable from the light disc PCA, so the side skin can be moved completely
away from the platform.
 Loading...