p Depending on the mobile phone that is
connected to this navigation system via
Bluetooth technology, this navigation sys-
tem may not be able to display the phone
book correctly. (Some characters may be
garbled.)
p If the phone book in the mobile phone con-
tains image data, the phone book may not
be correctly transferred.
1 Connect the mobile phone that has the
phone book to transfer.
= For details, refer to Connecting a registered
mobile phone on page 62.
2 Display the “Phone Menu” screen.
= For details of the operations, refer to Dis-
playing the Phone Menu on page 58.
3 Touch [Transfer] on the “Phone Menu”
screen.
The confirmation messages appear.
4 Touch [OK].
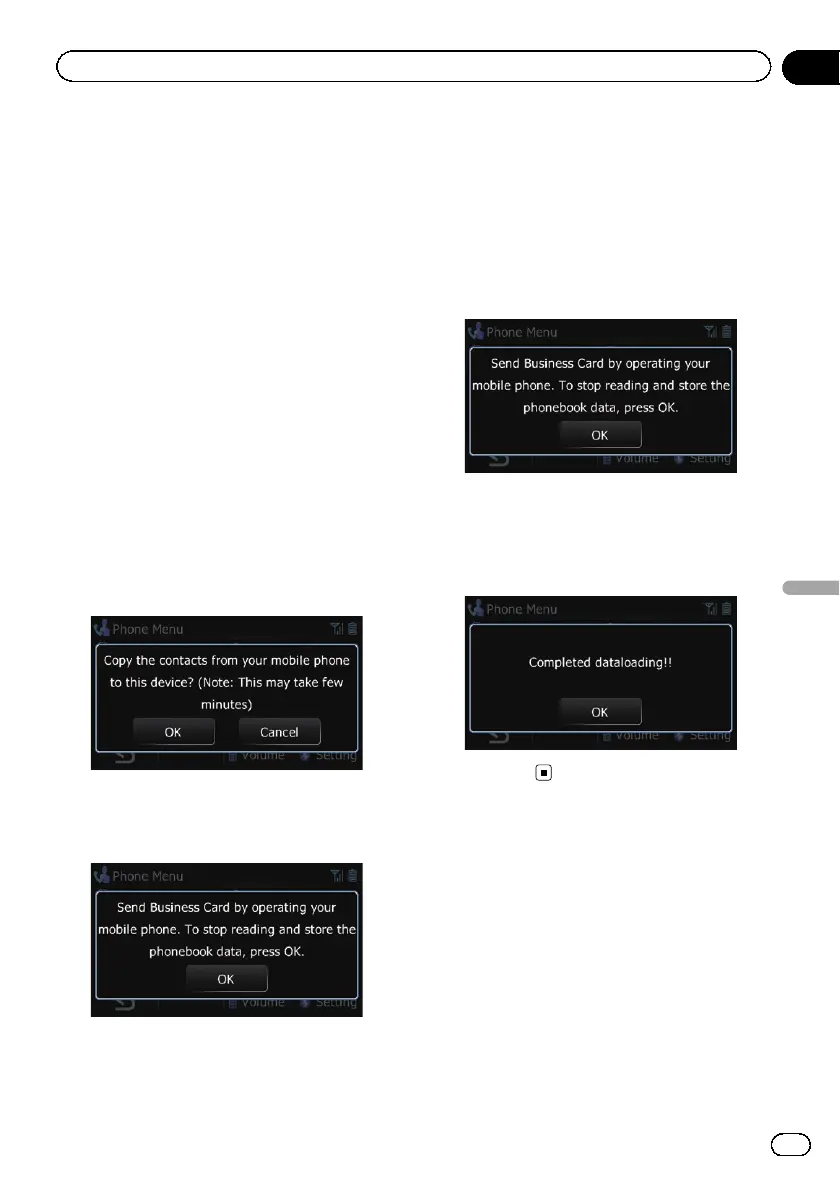
5 Check that the following screen is dis-
played, and operate your mobile phone to
transfer the phone book entries.
p You can send the phone book entries re-
peatedly before touching [OK]. If your cellu-
lar phone supports one-by-one transfer
only, send all the entries that you want to
transfer and then touch [OK].
p If your phone has a capability for automatic
transfer of phone book, this screen is
skipped and transfer will start.
p The transferred data cannot be edited on
the navigation system.
6 Touch [OK].
Transfer starts. It may take time depending on
how many entries will be transferred.
7 When the completion message ap-
pears, check the message and touch [OK].
Transfer ends.
Clearing memory
You can clear the memory of each item that
corresponds to the connected mobile phone:
phone book, dialled/received/missed call his-
tory list and preset dials.
1 Display the “Phone Menu” screen.
= For details of the operations, refer to Dis-
playing the Phone Menu on page 58.
2 Touch [Setting].
The “Bluetooth Settings” screen appears.
Engb
67
Chapter
12
Using hands-free phoning
Using hands-free phoning
 Loading...