7.47
FINAL DRIVE
7
Installation
1. Slide the rear drive axle into the bearing carrier hub.
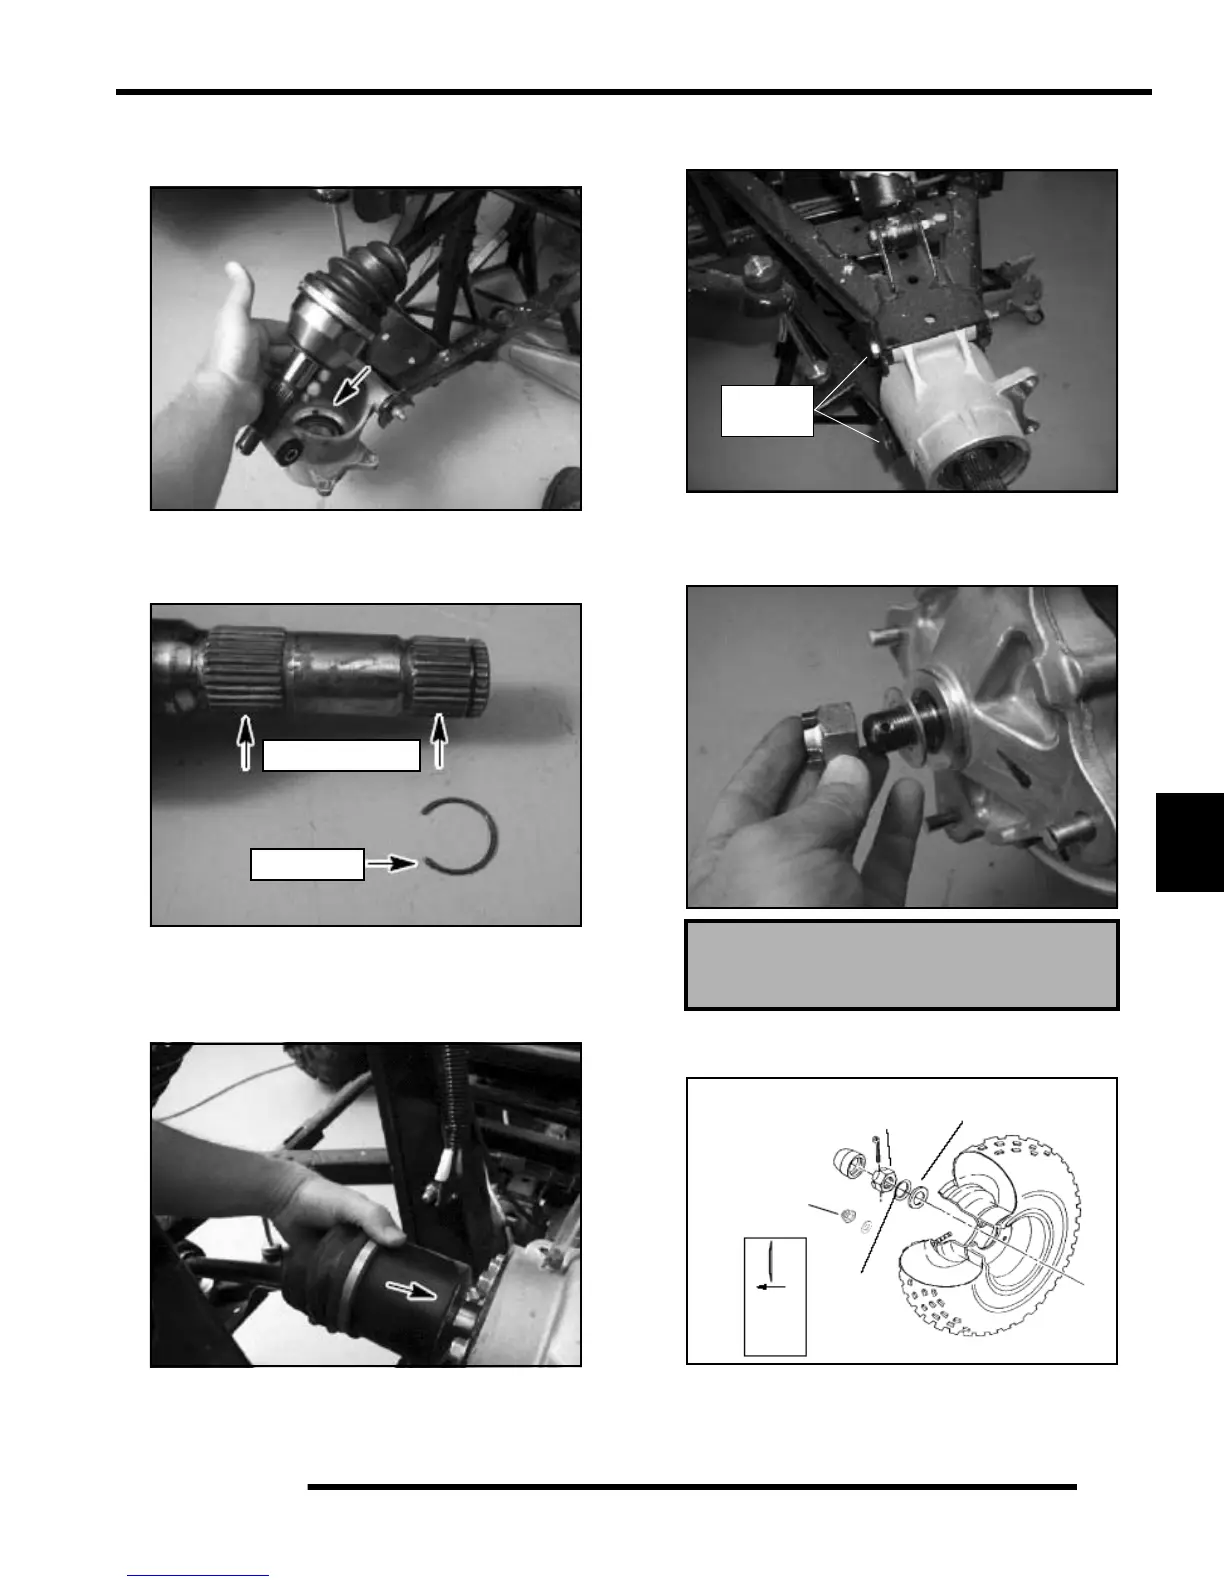
2. Install a new circlip onto the rear drive shaft. Apply Anti-
Seize Compound onto the rear drive shaft splines (both
ends).
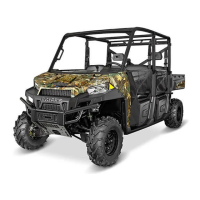
3. Reinstall the rear drive shaft into the rear gearcase. Be sure
the circlip is securely fit into the rear gearcase. Use a rubber
mallet to tap on the outboard end of the drive shaft if
necessary.
4. Lift bearing carrier into place and install the bolt into the
upper control arm. Torque bolt to 30 ft. lbs. (41 Nm).
5. Install hub, domed washer (domed side out) and nut.
Torque rear spindle nut to 110 ft. lbs. (149 Nm). Install new
cotter pin and hub cap.
6. Install rear wheel and torque washers and wheel nuts to
specification. See “Torque Specifications” on page 7.3.
Apply Anti-Seize
New Circlip
Rear Hub Nut Torque:
110 ft. lbs. (149 Nm)
30 ft. lbs.
(41 Nm)
110 ft. lbs.
(149 Nm)
Flat washer
Wheel Nut (4)
Cone
dome to
Out
Cone
Washer
washer
outside

 Loading...