10.4
ELECTRICAL
SWITCHES / CONTROLS
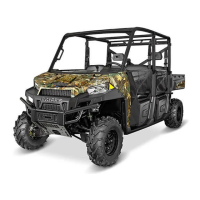
Headlight Switch
1. Lift the front hood.
2. The wires are located on the back side of the instrument
panel.
3. Disconnect the headlight switch harness (Brown, Green,
and Red/White), by depressing the connector lock and
pulling on the connector. Do not pull on the wiring.
4. Inspect the switch connections and test the switch for
continuity at the appropriate pin terminals as shown in the
following illustration.
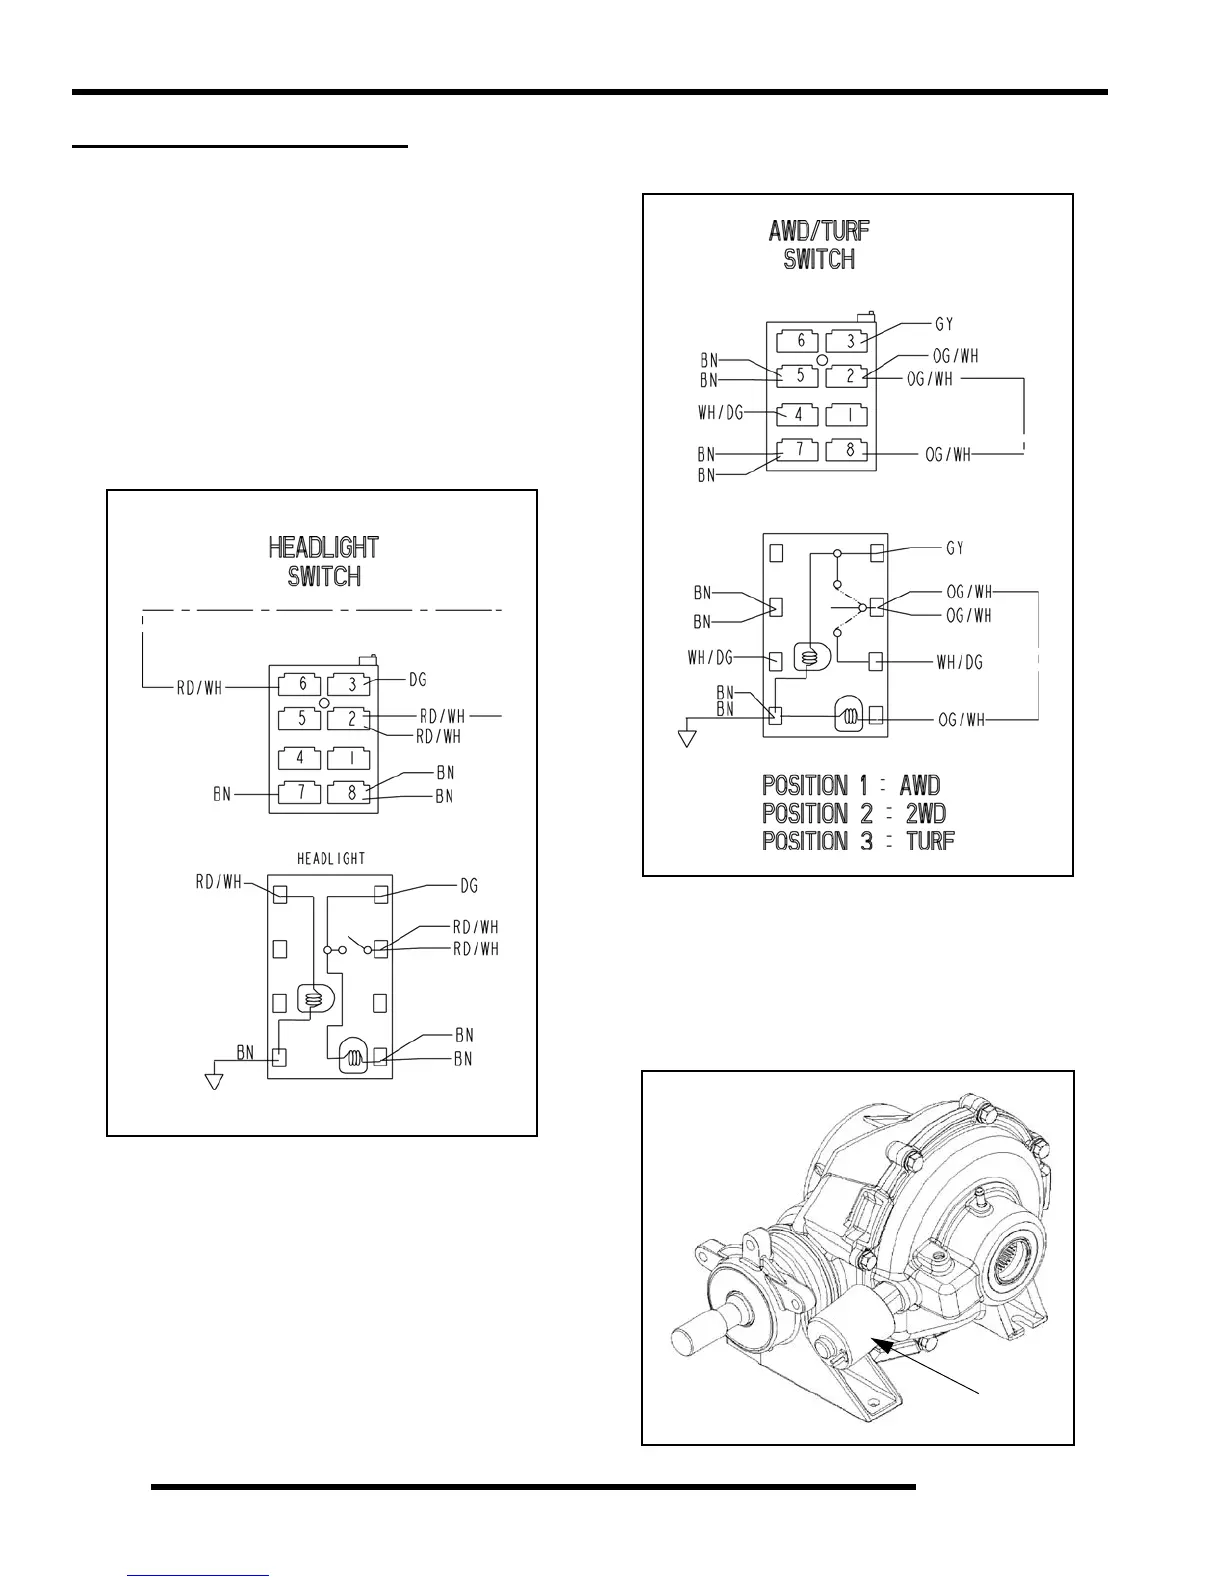
AWD / 2WD / TURF Switch (4x4 CREW)
1. Lift the front hood.
2. The wires are located on the back side of the instrument
panel.
3. Disconnect the switch harness (Grey, Orange/White,
Brown, White/Green), by depressing the connector lock
and pulling on the connector. Do not pull on the wiring.
4. Inspect the switch connections and test the switch for
continuity at the appropriate pin terminals as shown in the
following illustration.
Differential Solenoid (4x4 CREW)
The differential solenoid is located on the rear gear case. The
solenoid actuates an engagement dog, which locks and unlocks
the rear carrier. (Refer to Chapter 7 for more information on rear
carrier operation.)
Solenoid

 Loading...