[Advanced Settings] will be initialized. To apply the changes for those settings, select [Change]. To
cancel the changes, select [Do not Change].
8. Press [Add New].
9. Select a number that is labeled as "Not Programmed".
• Custom paper overwrites the existing item if you select the existing custom paper.
10. Press [Save].
11. Press [Program].
12. Press [Exit].
13. Press .
14. Press the [Home] ( ) icon at the center bottom of the screen.
• For details about custom paper settings, see page 57 "Custom Paper Settings".
• For details about [Advanced Settings], contact your machine administrator.
Registering a Custom Paper with the Media Identification Unit
When you scan paper with the Media Identification Unit, the Media Identification Unit searches custom
paper in the master library. When custom paper with configurations that are similar to those of the
scanned paper is found, it is displayed.
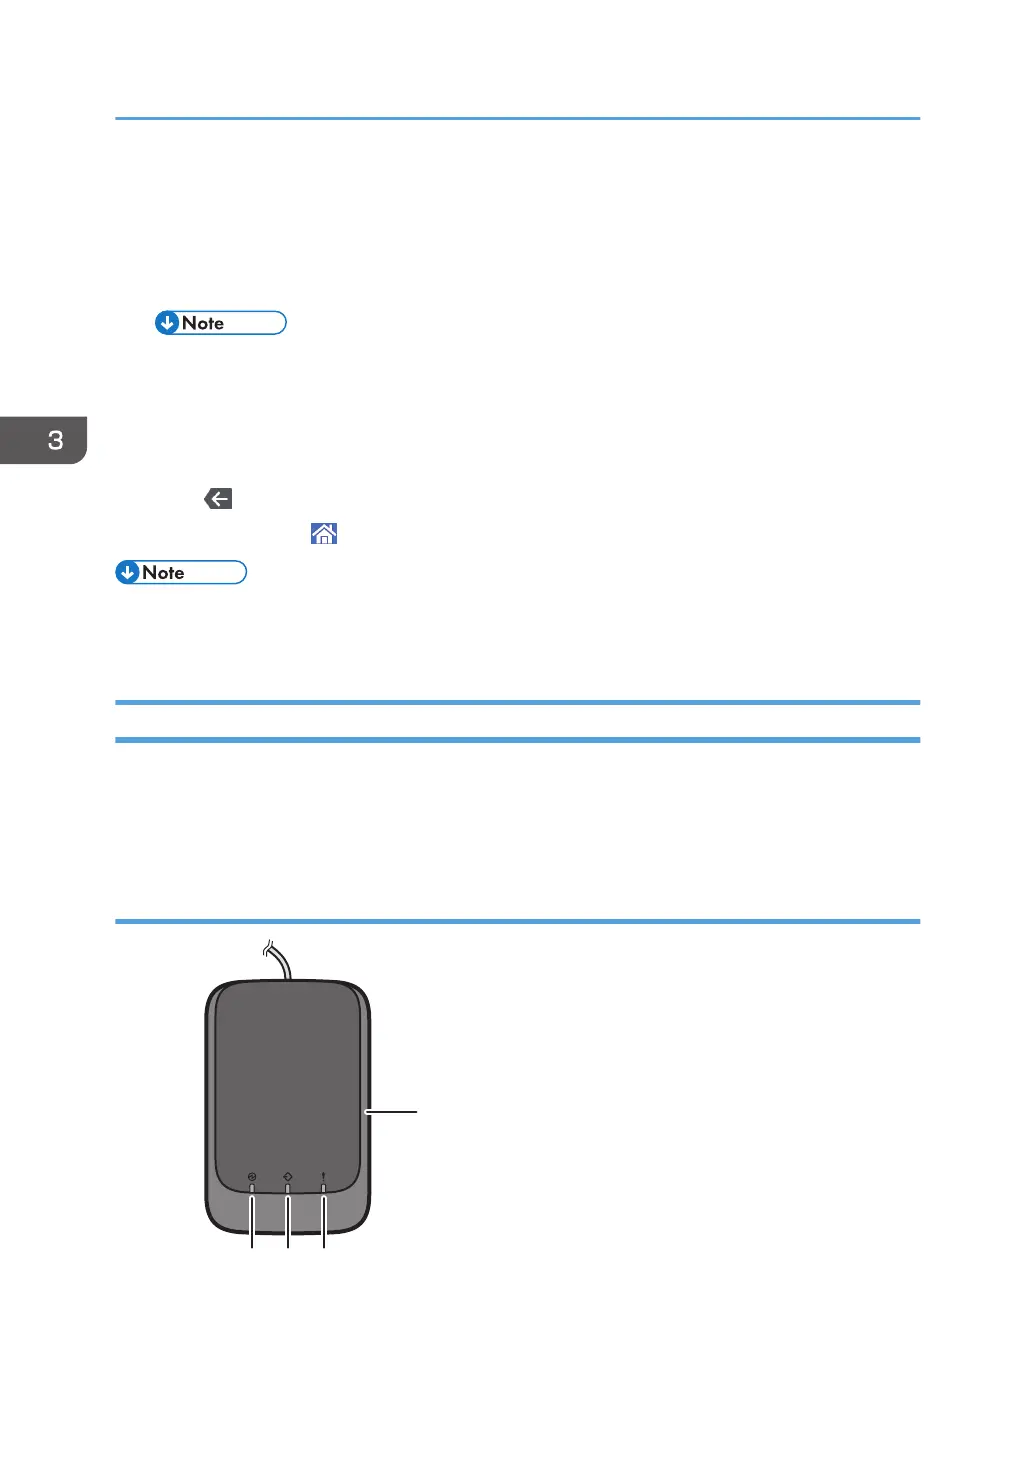
Part names and functions of the Media Identification Unit
3. Useful Functions
50
 Loading...