67
Sampling
2.
As appropriate for the device that is connected, set
the “AUDIO IN,” “PARALLEL SW,” “LINE”/”MIC,” and
“PHANTOM” settings.
3.
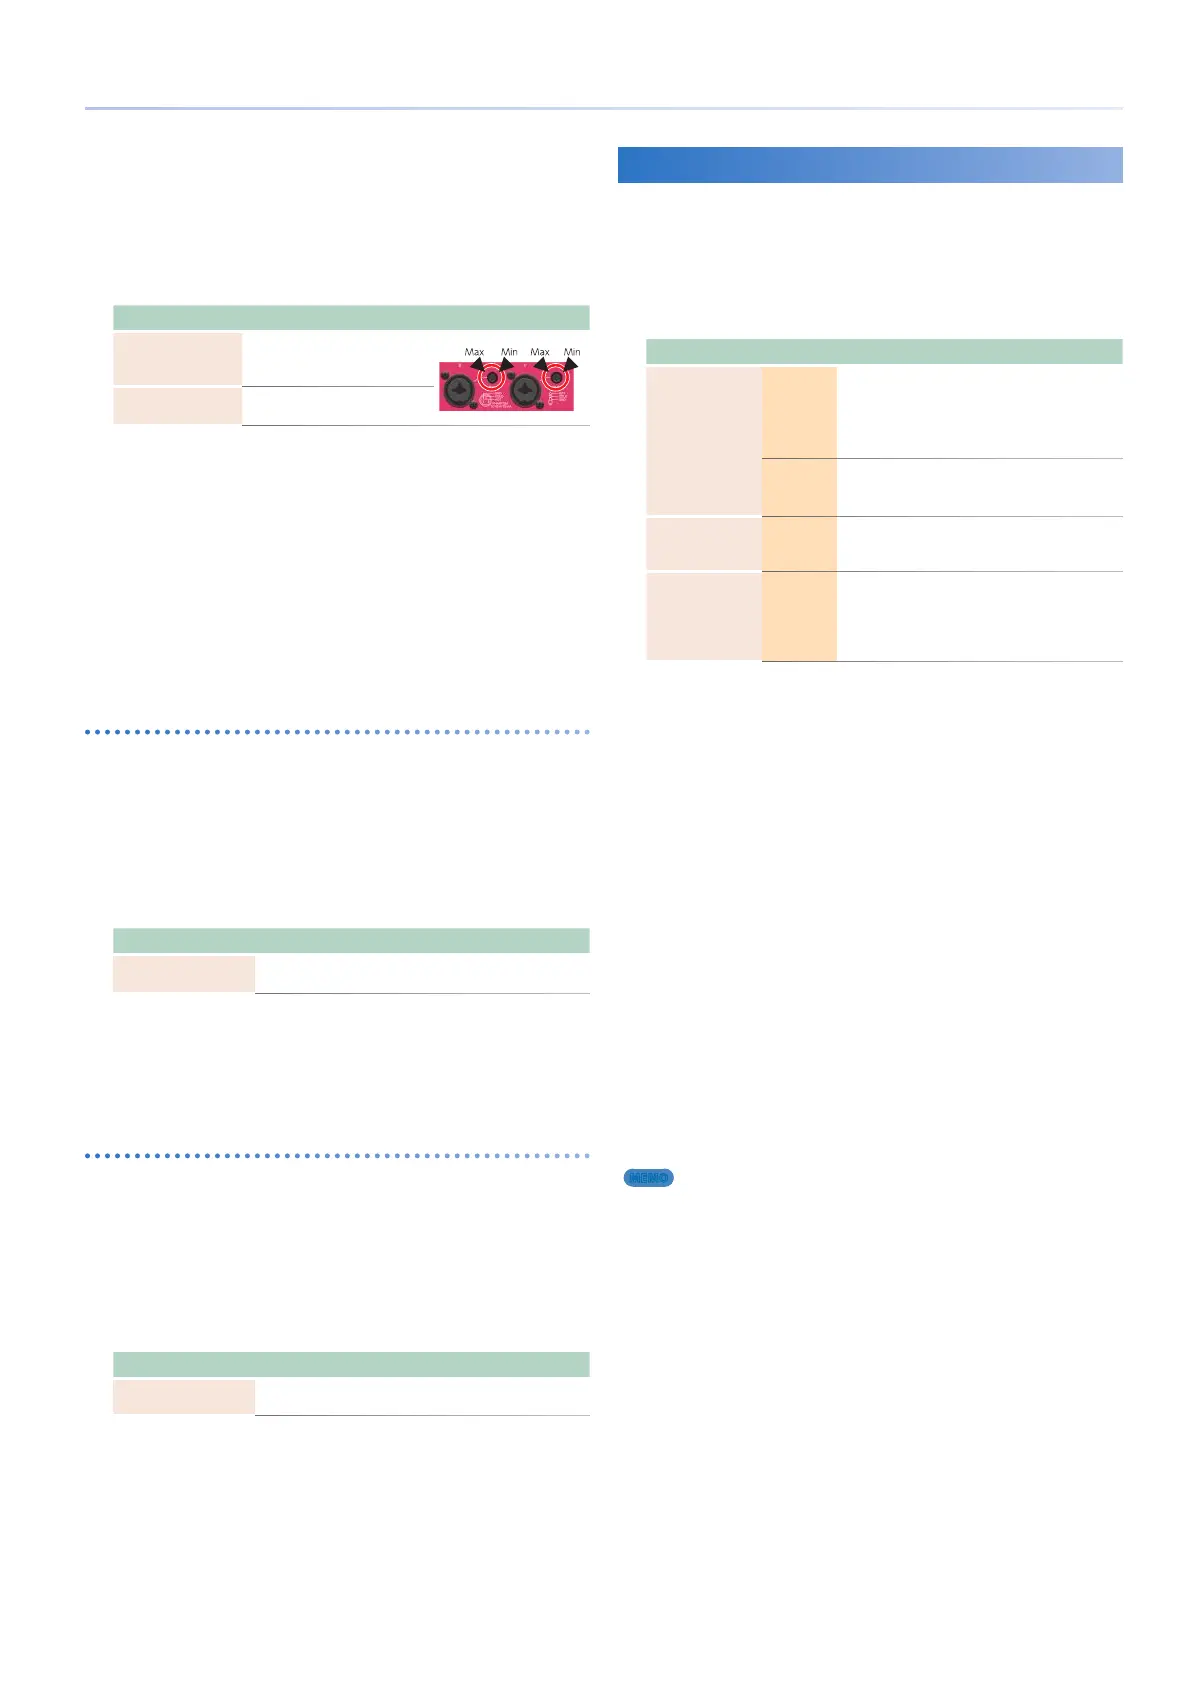
Adjust the input volume.
Adjust the volume as high as possible without allowing the level
meter in the left of the screen to clip.
Connected device Explanation
Audio device
Adjust using rear panel
LEVEL knobs 1 and 2, and the
controls of the audio device.
Microphone
Adjust using rear panel LEVEL
knobs 1 and 2.
4.
As necessary, make settings for effects such as
Low Cut and EQ.
5.
Touch <LEVEL>, and adjust the volume of the
sound after it passes through Low Cut and EQ.
Some EQ settings might make the audio input too loud. Adjust
the volume so that the level meter of the SAMPLING STANDBY
screen does not clip.
6.
Press the [EXIT] button to return to the
SAMPLING STANDBY screen.
Specifying the input volume of the USB COMPUTER port
Here’s how to specify the input volume of the USB COMPUTER
port. Input effects such as Low Cut and EQ do not apply to the
audio input from the USB COMPUTER port.
1.
In the SAMPLING STANDBY screen, adjust the
input volume.
Adjust the volume as high as possible without allowing the level
meter in the right of the screen to clip.
Connected device Explanation
Computer
Adjust using the settings of the computer and the USB
Audio Input Level.
It’s a good idea to leave the USB Audio Input Level at 127 and
adjust the level setting on your computer. Be sure that the
USB Audio Input Switch is “ON.” For details on USB audio input
settings, refer to “Adjusting the USB Audio Input” (p. 102).
Specifying the input volume of the keyboard performance
Here’s how to specify the input volume of the keyboard
performance. Input effects such as Low Cut and EQ do not apply
to the audio input from the keyboard performance.
1.
In the SAMPLING STANDBY screen, adjust the
input volume.
Adjust the volume as high as possible without allowing the level
meter in the right of the screen to clip.
Connected device Explanation
Keyboard
performance
Use the scene settings to adjust the volume.
It’s a good idea to adjust the input volume by editing the Scene
Level and the zone level parameters.
Sampling
When you are finished adjusting the input volume, make
sampling settings in the SAMPLING STANDBY screen.
1.
Make settings for sampling.
In the screen, touch parameters to turn them on/off or then use
the [VALUE] dial to edit the setting.
Parameter Value Explanation
Format
MONO
Sample as one waveform.
Choose this if you’re using one mic and are
sampling in mono.
If the input is stereo, the L and R sound is
mixed and sampled.
STEREO
Sample as two waveforms, L and R.
Choose this if you’re sampling in stereo from
an audio device, etc.
AUTO TRIGGER
LEVEL
0–15
If Auto Trig is “ON,” sampling starts when the
input signal level exceeds the value specified
here.
AUTO TRIGGER OFF, ON
If this is “ON,” sampling starts when the input
signal level exceeds the value of the AUTO
TRIGGER LEVEL setting.
If this is “OFF,” sampling starts immediately
when you touch <START>.
If you want to hear a click while you sample, touch <Click> to
turn on the click tone. If you want to change the tempo of the
click, use the [E4] knob to adjust the Tempo setting.
2.
Produce sound on the device that’s connected
to the FANTOM, and then touch <START> when
you want to start sampling.
The indication “NOW SAMPLING” appears during sampling, and a
time counter advances.
If you specified AUTO TRIGGER “OFF” in step 1
Sampling starts the moment that you touch <START>.
Produce sound on the device that’s connected to the FANTOM.
If you specified AUTO TRIGGER “ON” in step 1
Produce sound on the device that’s connected to the FANTOM.
Sampling starts when the input signal exceeds the level specified
by AUTO TRIGGER LEVEL.
3.
Touch <STOP> at the moment that you want
to stop sampling.
Sampling stops, and the sample is saved to the sampling-
destination pad.
MEMO
5 Samples are saved in sample memory inside the FANTOM.
5 Samples are saved automatically. You don’t need to execute a specific
operation to save them.

 Loading...