70
Here’s how to edit a recorded sample. There are two types of
editing: “Quick Edit” and “Wave Edit.”
Using Quick Edit
Quick Edit lets you make basic settings for each sample.
1.
Hold down the [SHIFT] button and press the
[SAMPLING] button.
The SAMPLE PAD screen appears.
2.
Select [E2] QUICK EDIT.
The SAMPLE PAD (QUICK EDIT) screen appears.
3.
Touch a <BANK> tab to select a bank.
4.
Touch the parameters of each pad to edit their
values.
Parameter Value Explanation
GATE OFF, ON
Specifies whether the sample stops playing
when you release the pad (ON) or continues
playing even after you release the pad (OFF).
If this is ON, you can use the [HOLD] button to
hold the sound.
LOOP OFF, ON
Specifies whether the sample plays as a loop
(ON) or does not play as a loop (OFF).
FX SW OFF, ON
Specifies whether effects are applied to the
sample (ON) or not applied (OFF).
MEMO
Master FX can be applied to the sample.
5.
When you have finished editing, select [E2]
QUICK EDIT once again to return to the
SAMPLE PAD screen.
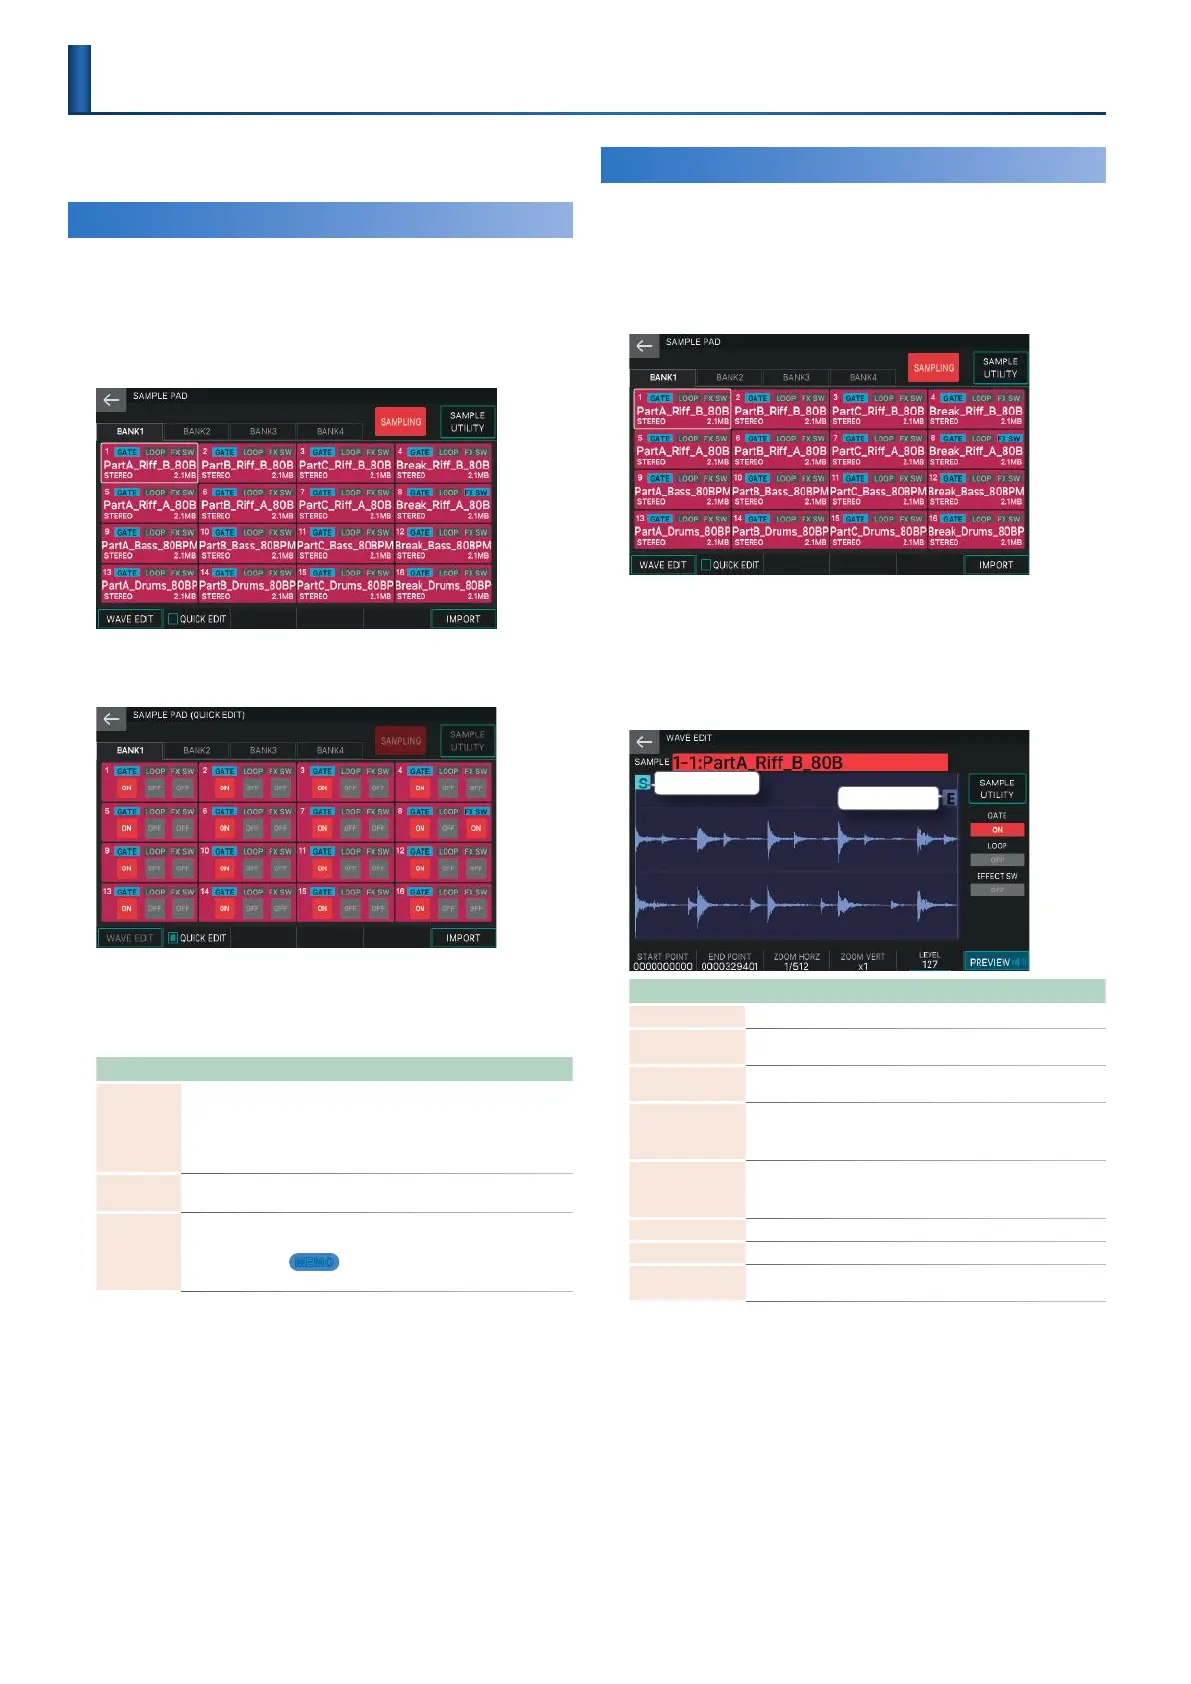
Using Wave Edit
Wave Edit lets you make detailed settings for each sample.
1.
Hold down the [SHIFT] button and press the
[SAMPLING] button.
The SAMPLE PAD screen appears.
2.
Touch a <BANK> tab to select a bank.
3.
Touch the desired pad to select its sample.
4.
Select [E1] WAVE EDIT.
The WAVE EDIT screen appears.
End point
Start point
Menu Explanation
SAMPLE Selects another sample.
START POINT [E1]
knob
Changes the start point.
END POINT [E2]
knob
Changes the end point.
ZOOM HORZ [E3]
knob
Changes the display magnification of the horizontal axis
(the waveform’s time).
(1/65536–1/1)
ZOOM VERT [E4]
knob
Changes the display magnification of the vertical axis (the
waveform’s amplitude)
(x1–x128)
LEVEL [E5] knob Changes the level.
[E6] PREVIEW Auditions the sample while you continue pressing the knob.
<SAMPLE
UTILITY>
Accesses the SAMPLE UTILITY window (p. 71).
Editing a Sample

 Loading...