11
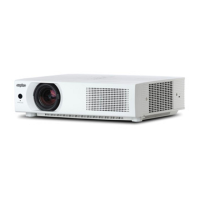
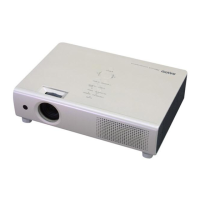
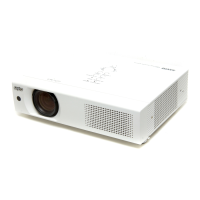
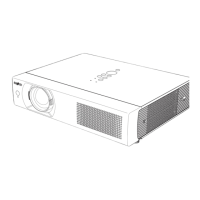
Part Names and Functions
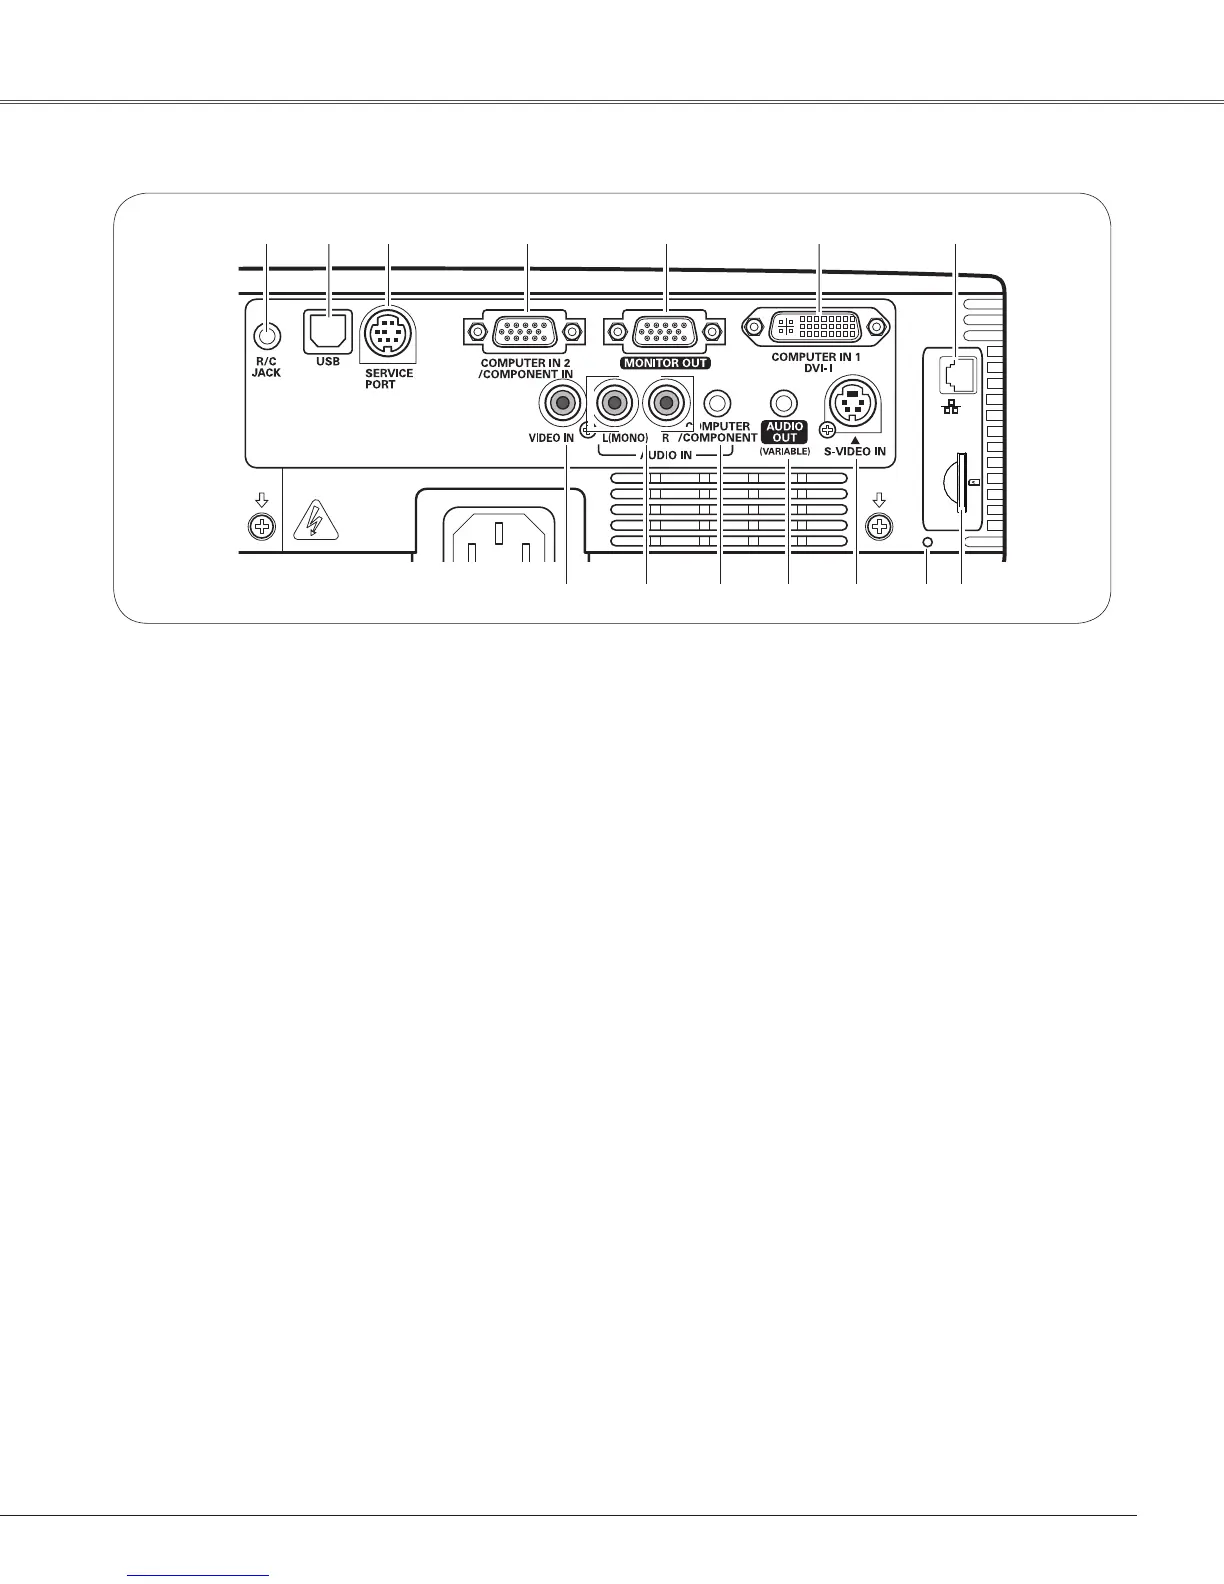
Rear Terminal
⑫ S-VIDEO IN
Connect the S-VIDEO output signal from video
equipmenttothisjack(p.20).
⑨ AUDIO IN
Connect the audio output signal from video
equipmentconnectedto⑧or⑫tothisjack.Fora
monoaudiosignal(asingleaudiojack),connectit
totheL(MONO)jack(p.20).
⑩ COMPUTER/COMPONENT AUDIO IN
Connect the audio output (stereo) signal from a
computerorvideoequipmentconnectedto④or⑥
tothisjack(pp.19,21).
⑧ VIDEO IN
Connect the composite video output signal to this
jack(p.20).
④ COMPUTER IN 2/COMPONENT IN
Connectthecomputerorcomponentvideo(orRGB
Scart)outputsignaltothisterminal(pp.19,21).
UsethesuppliedVGAcableoraComponent-VGA
cablecommerciallyavailable.
⑪ AUDIO OUT (VARIABLE)
Connect an external audio amplifier to this jack
(pp.19–21).
ThisterminaloutputssoundfromAUDIOINterminal
( ⑨or⑩ ).
① R/C JACK
When using the wired remote control, connect
thewiredremotecontroltothisjackwitharemote
controlcable(notsupplied).
③ SERVICE PORT
Thisjackisusedtoservicetheprojector.
⑥ COMPUTER IN 1/DVI-I
Connect computer output (Digital/Analog DVI-I
type)tothisterminal(p.19).
⑬ SD Card Indicator
Display the status of SD card.When inserting SD
Card, the indicator lights, and when removing SD
Card,theindicatorturnsoff.
⑦ LAN Connection Terminal
Connect the LAN cable (Refer to the owner's
manualof"NetworkSet-upandOperation".).
① ② ③ ④ ⑤ ⑥
⑦
⑧ ⑨ ⑩
② USB
In order to operate the computer with the remote
control and use the PAGE
▲▼ buttons on the
remote control during a presentation, connect the
USBportofthecomputertotheUSBterminalwith
aUSBcable(notsupplied)(pp.13,19).
⑤ MONITOR OUT
This terminal can be used to output the incoming
RGB analog signal from COMPUTER IN 1 and
COMPUTERIN2/COMPONENTINterminaltothe
othermonitor(p.19).
⑪
⑫
⑬
⑭ SD Card Slot
Insert the SD card memory (not supplied) for
Memoryvieweroperation.
⑭
 Loading...