61
Maintenance and Cleaning
When the projection lamp of the projector reaches its end of
life, the Lamp replacement icon appears on the screen and
LAMPREPLACEindicatorlightsyellow.Replacethelampwith
a new one promptly. The timing when the LAMP REPLACE
indicatorshouldlightisdependingonthelampmode.
Followthesestepstoreplacethelamp.
Lamp
ORDER REPLACEMENT LAMP
Replacementlampcanbeorderedthroughyourdealer.Whenorderingaprojectionlamp,givethefollowing
informationtothedealer.
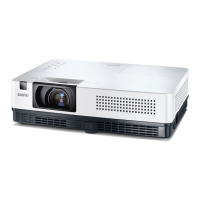
● Model No. of your projector : PLC-XU115
● Replacement Lamp Type No. : POA-LMP111
(ServicePartsNo.6103339740)
For continued safety, replace with a lamp of the
same type. Do not drop a lamp or touch a glass
bulb!Theglasscanshatterandmaycauseinjury.
Allow a projector to cool for at least 45
minutesbeforeyouopentheLampcover.The
insideoftheprojectorcanbecomeveryhot.
CAUTION
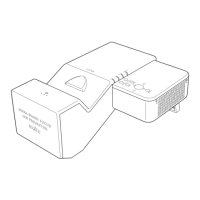
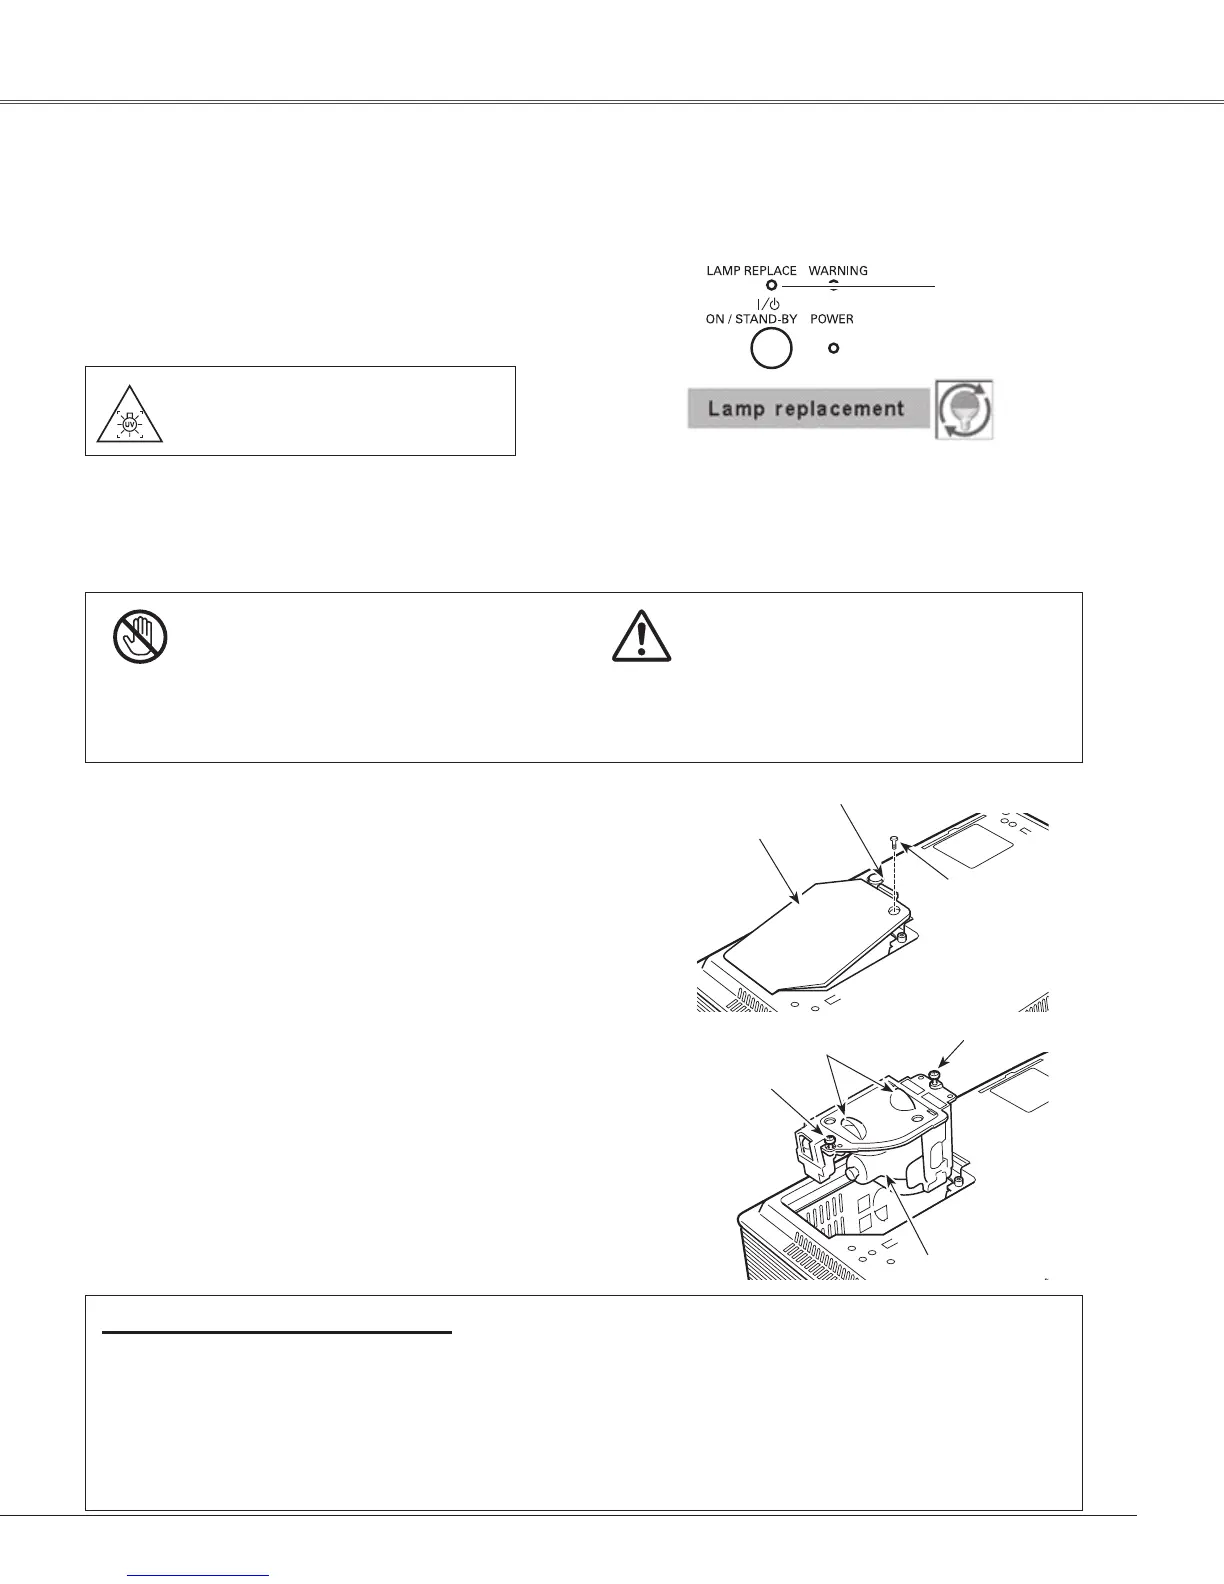
Screw
Turn offthe projector and unplug theAC power cord.
Lettheprojectorcoolforatleast45minutes.
Remove thetwo (2) screws that secure the lamp. Lift
thelampoutoftheprojectorbyusingthehandle.
1
3
Replacethelampwithanewoneandsecurethetwo
(2) screws. Make sure that the lamp is set properly.
Closethelampcoverandsecurethescrew.
4
Removethescrewandopenthelampcover.
2
Connect theAC power cord to the projector and turn
ontheprojector.
6
Reset the lamp counter.
See“ResettingtheLampCounter”onthenextpage.
5
Lamp Replacement
Handle
Screw
CAUTION
LampCover
WARNING:
TURNOFFTHEUVLAMPBEFORE
OPENINGTHELAMPCOVER
Top Control
LAMP REPLACE
indicator
Lampreplacementicon
Presshereandpullupward.
Note:
•TheLampreplacementiconwillnotappearwhenthe
Displayfunctionissetto“Off”(p.48),during“Freeze”
(p.28),or“Noshow”(p.29).
Screw
 Loading...