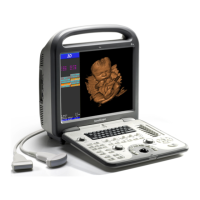
S6 Portable Digital Color Doppler Ultrasound System
Service Manual
7.5 Upgrade Kernel and Software
7.5.1 Upgrade Using USB Boot-up Disk
Use the USB boot-up disk to upgrade the system if either of the following
two cases is true:
1. The system is to be upgraded from versions older than 2.0.0.16 to
2.0.0.16 or later. In this case, the kernel and the software are to
be updated at the same time.
2. The data on the hard disk drive has been corrupted and the whole
system needs to be reinstalled.
7.5.2 Notes
1. The user data (cine files and patients data) on the hard disk drive
may be erased during kernel upgrade process. Ensure that you have
backed up these files before upgrading.
2. Ensure that the USB disk has the latest kernel inside. Refer to Ap-
pendix A for details.
3. Unzip/Extract the update files (adata and asecure files) into the update
directory in the USB disk. Create it if the file folder "update" does
not exist.
4. Use the "safely remove" function in MS Windows to disconnect the
USB disk safely.
5. Unless otherwise stated, the following conventions are assumed for
configuring BIOS: Use the arrow keys to highlight and select item;
Press Enter key to confirm the selection and enter a submenu or a
dialogue box. Press Freeze key to exit current submenu and return to
previous menu.
7.5.3 Upgrade Procedures
7.5.3.1 Entering Bios
Plug the USB boot up disk containing the update files into the USB port on
the system.
Boot up the system, and press the DEPTH key downwards and hold it in
position until a password dialogue box pops up. Type "service" and press
Enter key. This leads to the BIOS setup window.
P/N: 4720-0034-01A
7-5

 Loading...