Troubleshooting Guides
600 Series
(Prior to #1810000)
8-12
#3756270 - Revision B - January, 2006
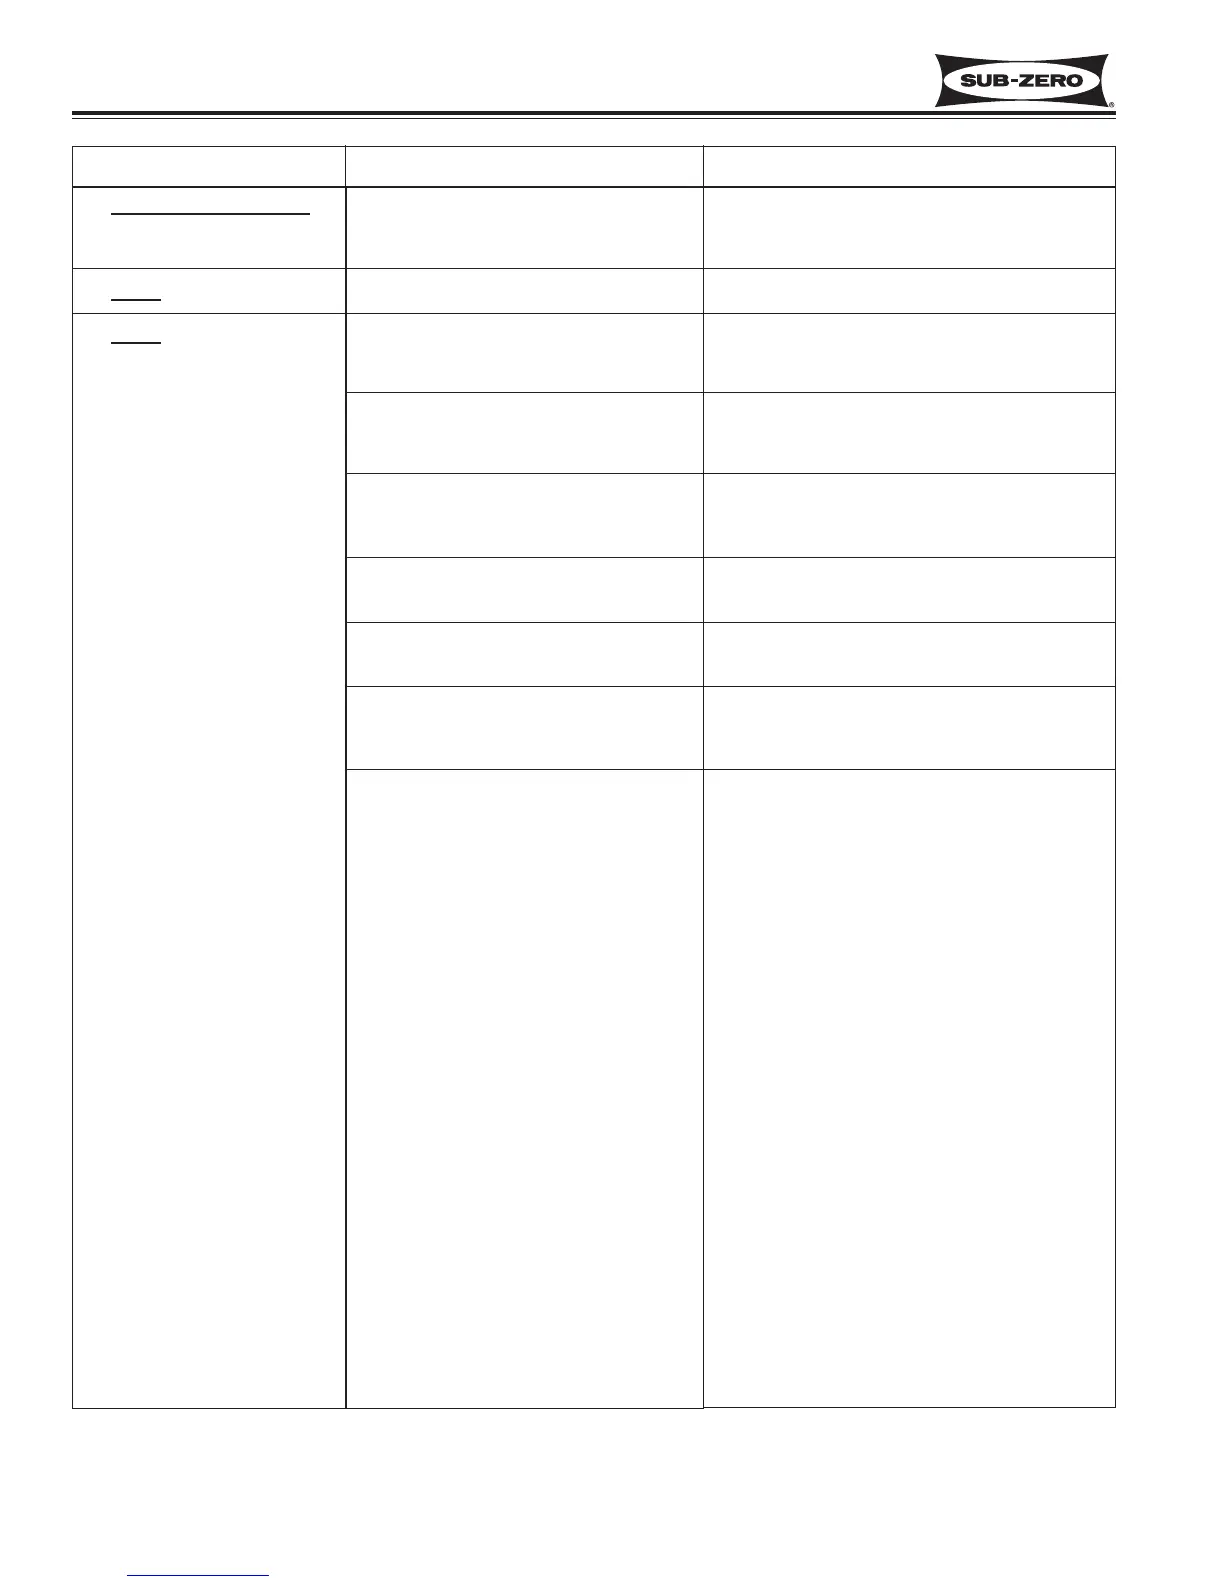
Unit not level or doors out of adjustment
Icemaker system not energized
Unit has not been running long enough
Unit in Show Room mode
Warm freezer temperatures
(NOTE: Freezer must be 10°F for icemaker to
function)
Shut-off arm stuck in Up/Off position
Disconnected or Defective water valve
No water supply
IceMaker System
(NOTE: For models 601F, 611, 650 and
690, the icemaker switch which is normally
activated by the ice bucket must be
depressed in order to complete the icemak-
er circuit.)
a. Disconnected or damaged electrical con-
nections at icemaker or water valve.
b. Defective icemaker
c. Defective icemaker
d. Disconnected or damaged electrical con-
nections at icemaker
e. Icemaker switch disconnected or faulty
(Models 601F, 611, 650 690 only. See
NOTE above.)
f. Electrical connection at control board or con-
trol board defect
Q. Doors uneven or not level
R. No ice, Ice not displayed
S. No ice w/ “ICE” displayed
(NOTE: Icemaker is disabled for
45 minutes after each ice har-
vest. To bypass for cycling ice-
maker, press ICE key OFF, then
ON)
See UNIT LEVELING (ALL MODELS) and DOOR
ADJUSTMENT (ALL MODELS) in Installation
Information section of Service/Training manual.
Press ICE key.
Freezer must be 10°F for icemaker to operate, approxi-
mately twenty-four hours after unit installation. Instruct
customer.
If lights are on, listen for unit functioning. If not running,
press and hold WARMER & COLDER keys, then press
UNIT ON/OFF key.
See PROBLEM A, B, E & F earlier in Troubleshooting
Guide.
Check shut-off arm, and lower it if its stuck in the up/off
position.
Check electrical connections at water valve, connect or
repair. Water valve Ohms = 260.
Check water valve for water hook-up, if none, instruct
customer. Loosen inlet connection to verify water to
valve. If water supply is turned off/closed, turn on/open.
Manually start icemaker by rotating the ejector blades
clockwise by hand, while turning the drive gear counter-
clockwise with a flat blade screwdriver.
1. If icemaker motor starts and finishes cycle:
a. Check for 115V at water valve during fill mode. If no
power, visually inspect electrical connections at ice-
maker and water valve. Reconnect, repair or
replace connection.
b. Check for 115V from icemaker during fill mode. If no
power, replace icemaker.
2. If icemaker motor starts but does not finish cycle:
c. Replace icemaker.
3. If icemaker motor does NOT start:
d. Check for 115V to icemaker. If power, repair electri-
cal connection.
e. Check power to and from icemaker switch.
Reconnect or repair connection. Replace switch if
defective.
f. Check ICE MKR terminal at control board for 115V.
If power is present, check and repair connection. If
no power, replace control board.
Problem Possible Cause Test/Action
 Loading...