Do you have a question about the Xerox Phaser 3052 and is the answer not in the manual?
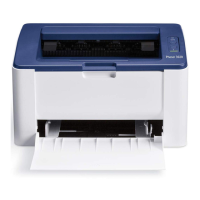
| Print Technology | Laser |
|---|---|
| First Page Out Time | As fast as 8.5 seconds |
| Maximum Paper Size | 8.5 x 14 in. |
| Connectivity | USB 2.0 |
| Media Sizes Supported | Letter, Legal, Executive, Folio, Oficio, Statement |
| Print Languages | PCL6, PostScript 3 |
| Operating System Compatibility | Windows, Mac, Linux |
Outlines general guidelines, electrical safety, operational safety, and maintenance safety for qualified service personnel.
Outlines the steps a service technician should take when servicing a machine, from identification to final actions.
Lists critical safety instructions to follow during service procedures to prevent electrical shock, fire hazards, and injury.
Describes diagnostic and repair activities required to correct primary and secondary problems identified during a service call.
Troubleshoots the fault when the front cover is open or the switch is defective, providing steps for diagnosis and repair.
Provides steps to diagnose and correct thin black vertical lines or bands in the printed image.
Guides on how to remove and install the Main Printed Wiring Board (PWB), including serial number writing.