June 2014
3-5
Xerox® Phaser® 3020 Printer Service Manual
IQ3, IQ4
Image Quality
IQ3 Horizontal Black Bands RAP
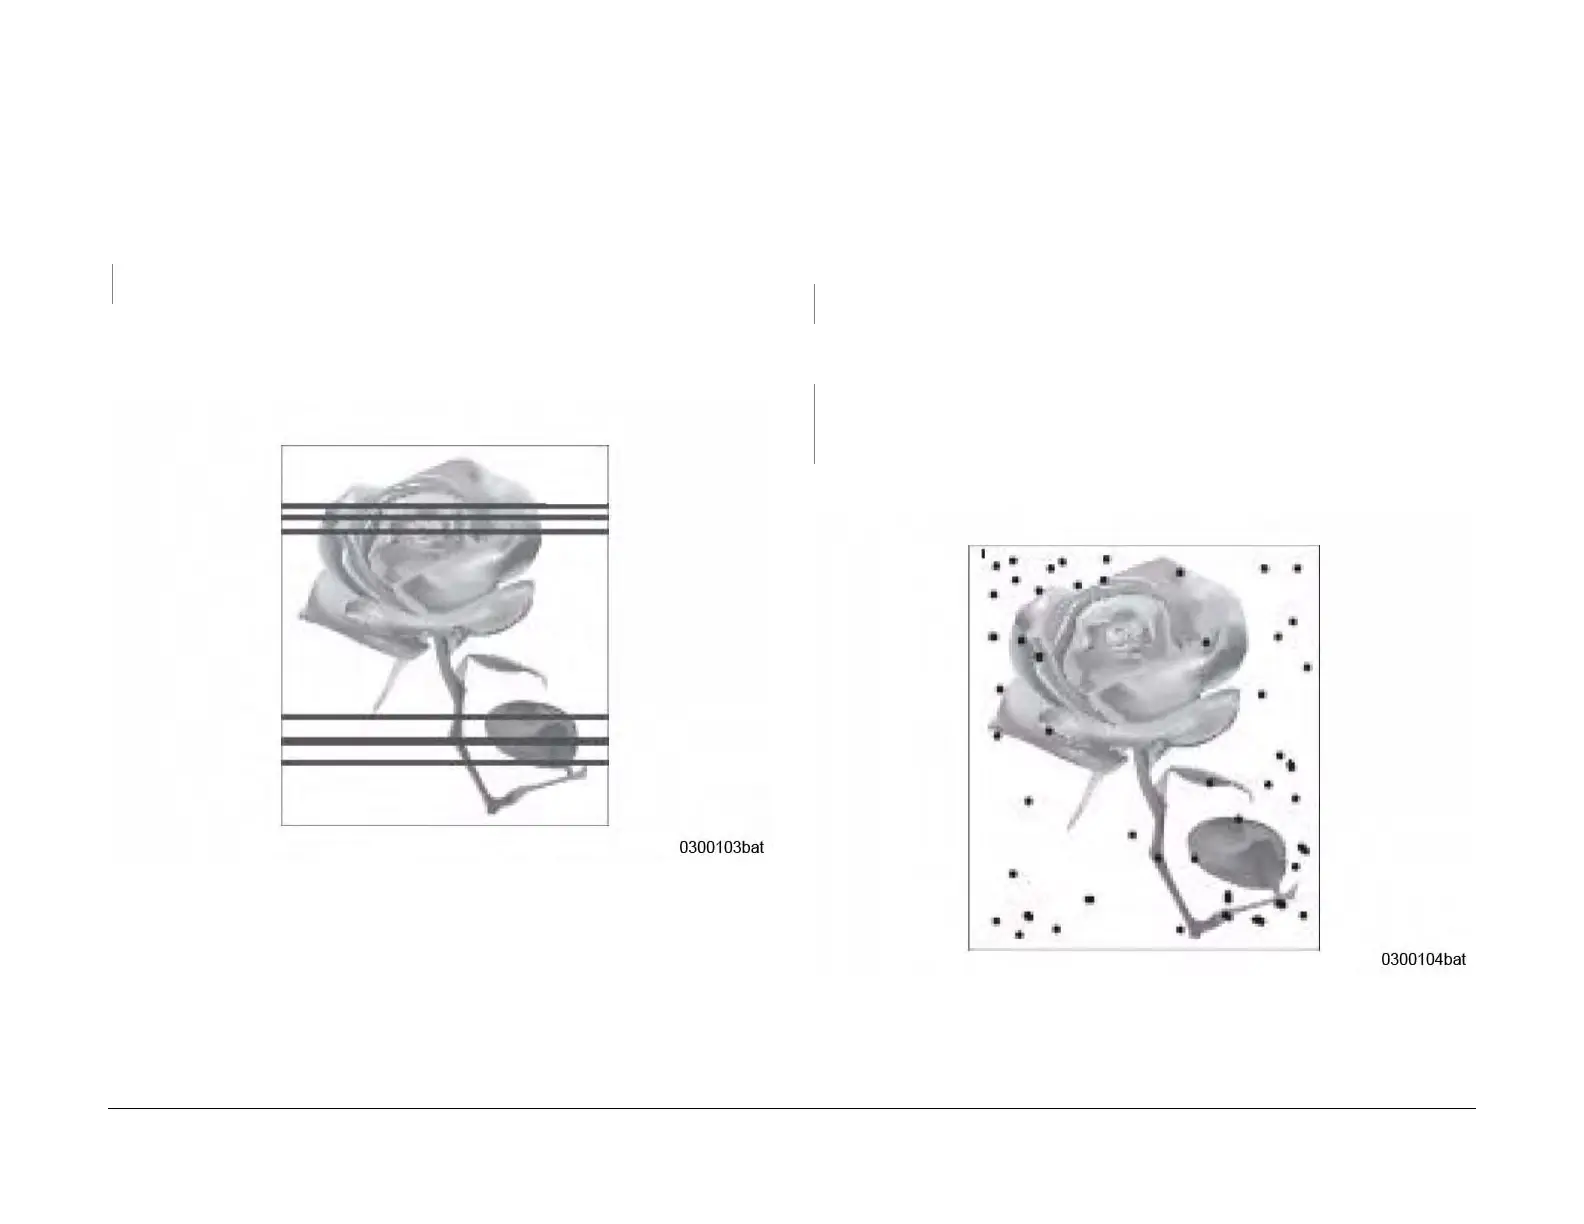
Periodic dark of blurry horizontal stripes in the printed image (Figure 1).
Procedure
• Switch Off the power.
• Check high voltage contacts for contamination or damage.
• Switch On the power and make a test print.
The defect is still present.
YN
Go to Call Closeout.
• Replace the Print Cartridge.
• Refer to the Xerox® Phaser® 3020 User Guide, Section 6 Maintenance, General Care,
for detailed instructions on how to replace the Print Cartridges.
Figure 1 Horizontal black bands
IQ4 Spots RAP
Random or periodic dark areas in the low density areas of a print, or voids in the dark areas of
a print (Figure 1).
Initial Actions
Ensure that the Imaging Unit is firmly seated.
Procedure
Check the Transfer Roller for wear, damage and remaining life. The Transfer Roller is OK.
YN
Replace the Transfer Roller; (REP 1.13), PL 3.1.
Clean the voltage terminals for the Print Cartridges:
Switch on the power and make a test print. The test print looks OK.
YN
Replace the Print Cartridge.
Refer to the Xerox® Phaser® 3020 User Guide, Section 6 Maintenance, General Care,
for detailed instructions on how to replace the Print Cartridges.
If problem persists, replace the Fuser Module; (REP 1.14), PL 3.2.
Figure 1 Black spots
 Loading...