June 2014
4-6
Xerox® Phaser® 3052/3260 Service Manual
REP 1.3
Repairs
REP 1.3 Top Cover
Parts List on PL 3.1
Removal
1. Switch Off the Printer and disconnect the Power Cord.
2. Remove the following covers:
a. Remove the Left and Right Side Covers (REP 1.2).
b. Remove the Front Cover (REP 1.1).
c. Remove the Rear Cover (REP 1.4).
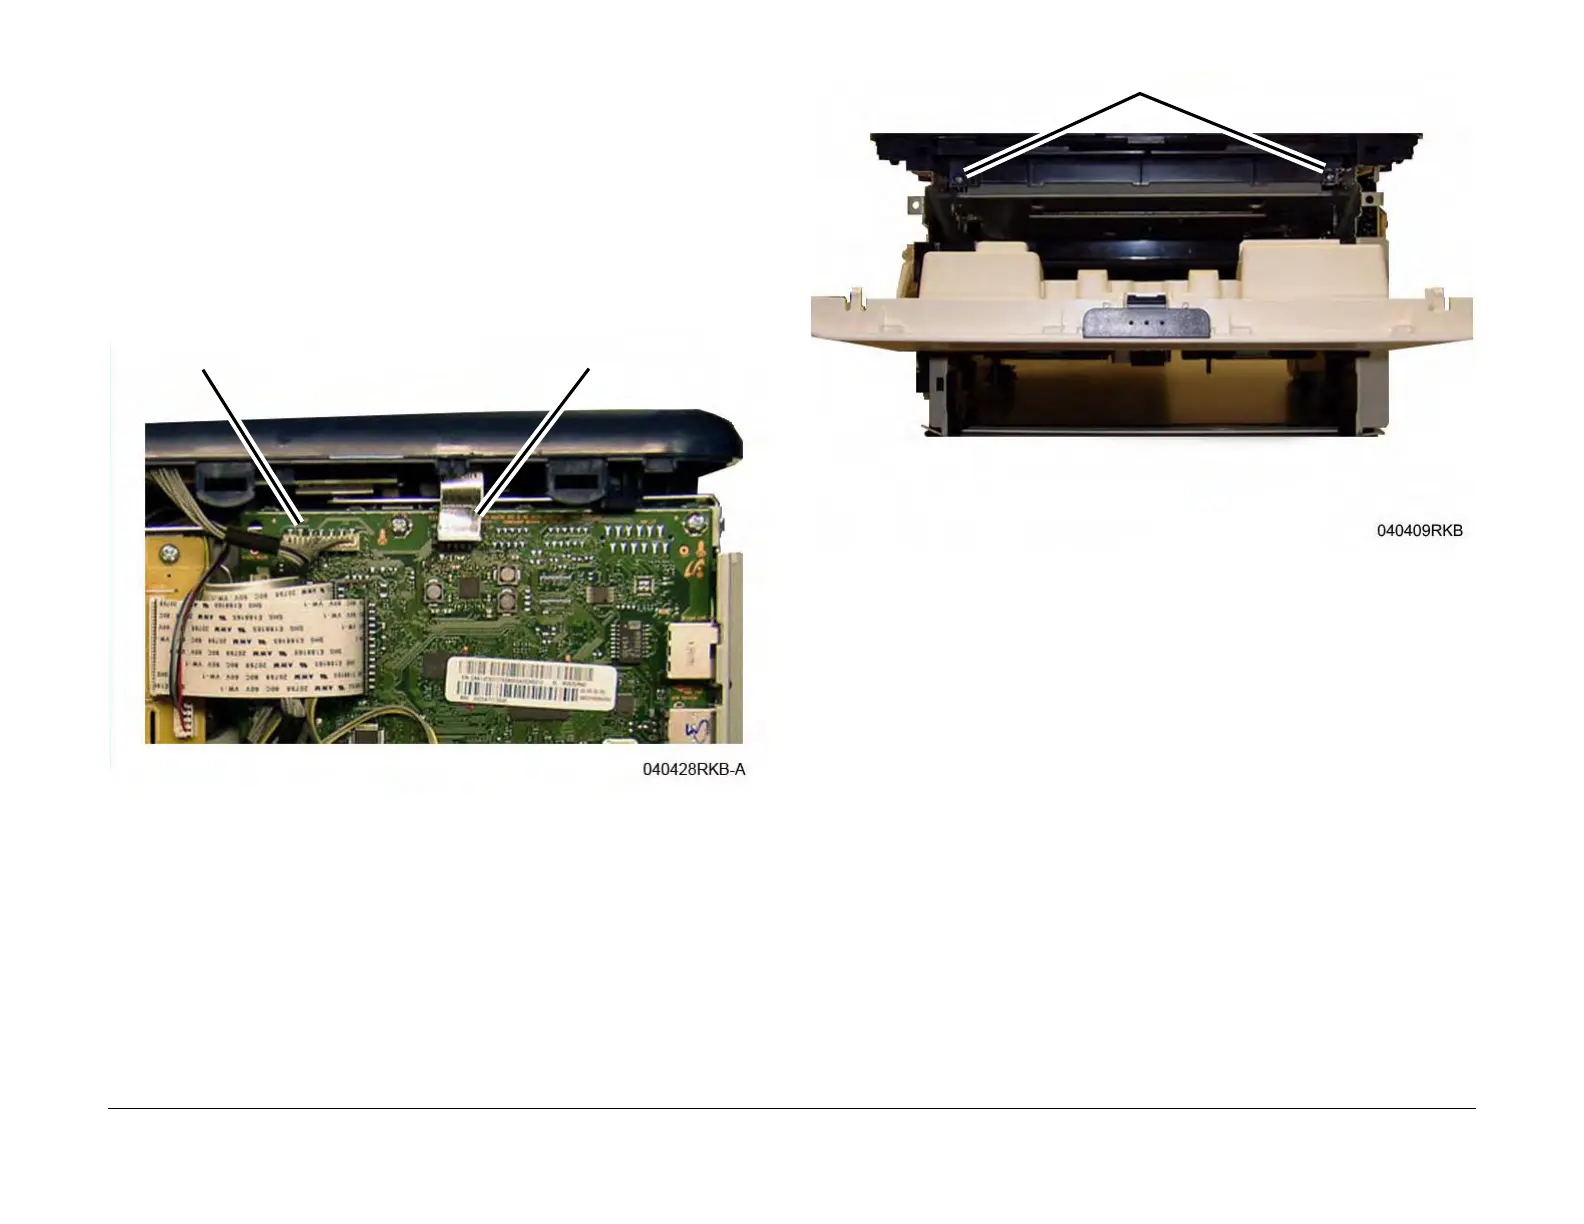
3. Disconnect the Control Panel connector from the Main PWB (Figure 1).
For a Phaser 3052 also disconnect the WNPC (WiFi) connector.
Figure 1 Main PWB Connectors to Disconnect
4. Remove the Top Cover screws (2) at the front of the printer (Figure 2).
Figure 2 Top Cover Screws (Front View)
5. Release the Latch Hooks (2) at the rear of the printer, and remove the Top Cover (Figure
3).
WNPC (WiFi) Connector
Control Panel Connector
 Loading...