June 2014
4-5
Xerox® Phaser® 3052/3260 Service Manual
REP 1.2
Repairs
REP 1.2 Left and Right Side Covers
Parts List on PL 2.1
Removal
1. Remove the Paper Cassette from the printer.
NOTE: Cover the Drum Cartridge with several sheets of paper to prevent it from being light
shocked.
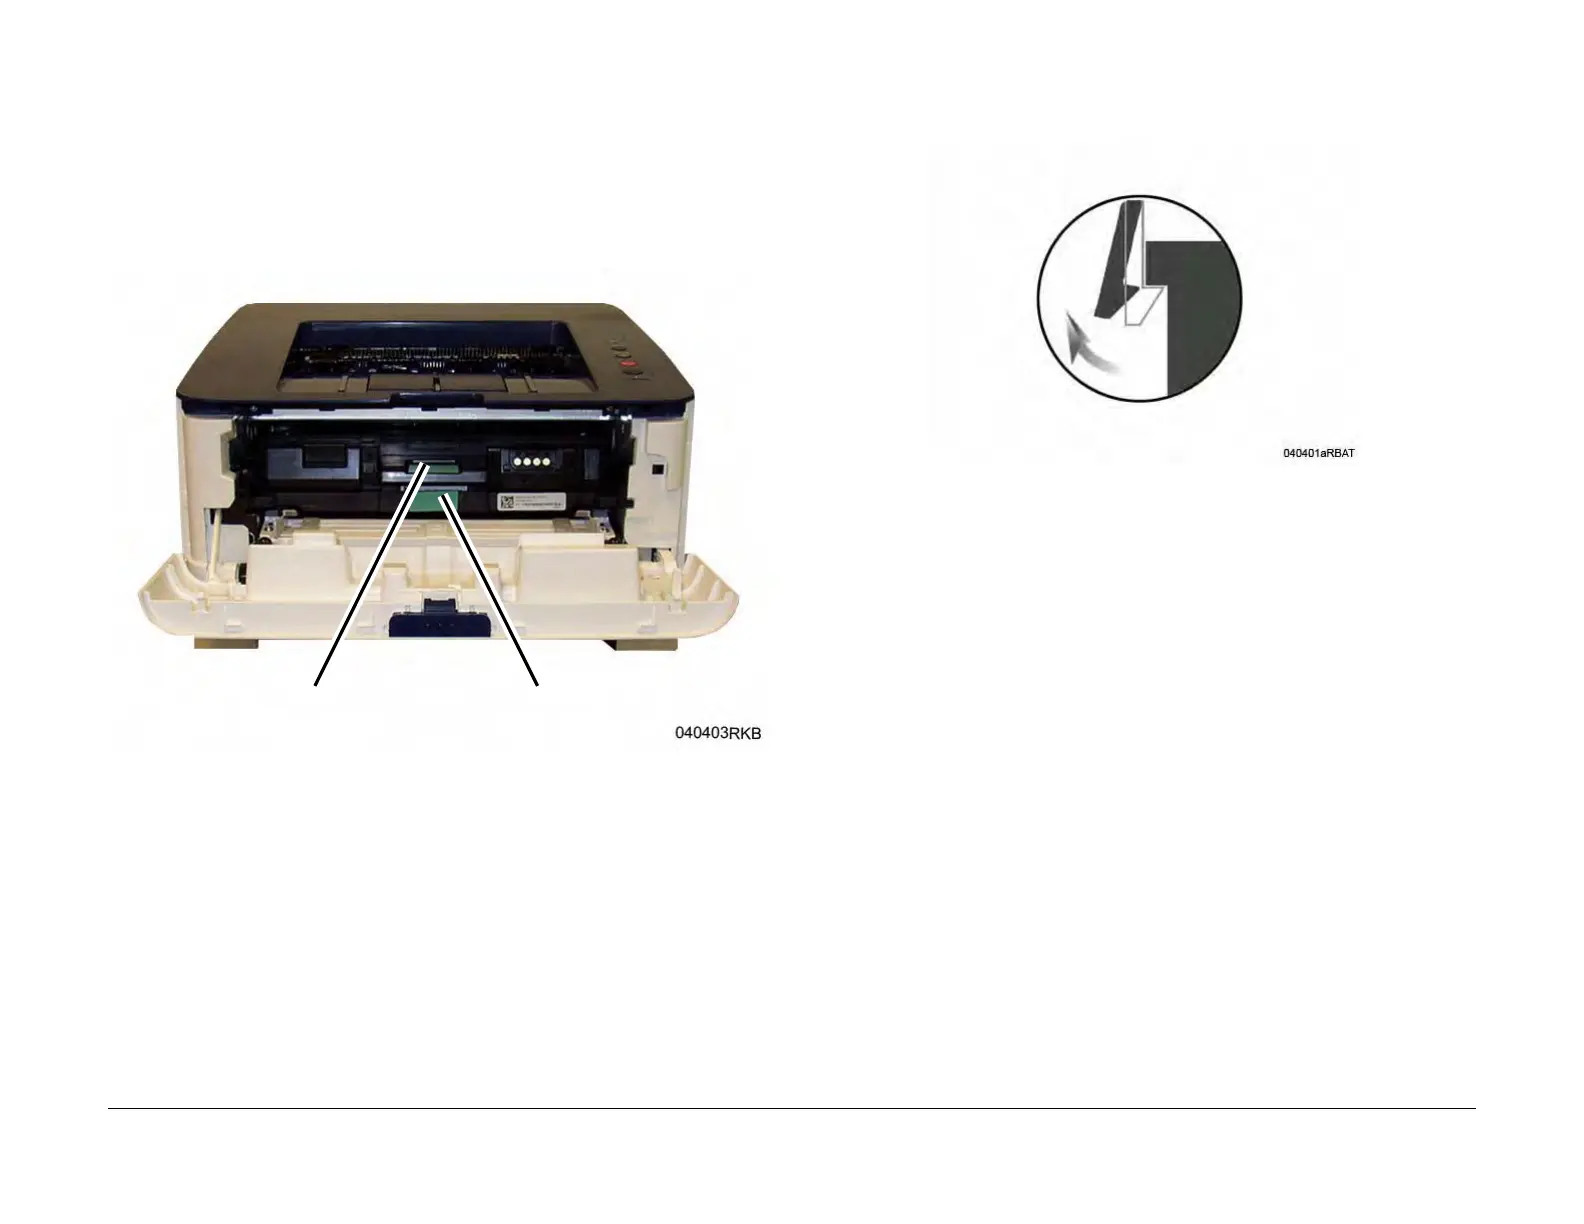
2. Open the Front Cover, remove the Toner Cartridge and the Drum Cartridge (Figure 1).
Figure 1 Toner Cartridge and Photoreceptor Handles
3. The side covers are held in place with Plastic Latches, release them carefully to avoid
breakage. To release the Latches press the hook end of the latch away from the part (Fig-
ure 2).
Figure 2 Plastic Latches
4. Remove the Right Side Cover, being careful not to damage the latching hooks.
a. Release (pull) the upper front latch hook.
b. Release the top latch hooks then the bottom latch hooks.
c. Release the front lower latch hook, and remove the cover.
5. Remove the Left Side Cover, being careful not to damage the latching hooks.
a. Release (pull) the center front latch hook.
b. Release the top latch hooks then the bottom latch hooks.
c. Release the rear latch hook, and remove the cover.
Replacement
Install the components in the reverse of removal.
Drum Cartridge
Toner Cartridge
 Loading...