Firmware Upgrade
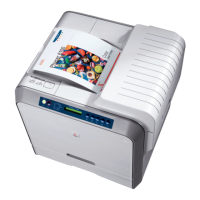
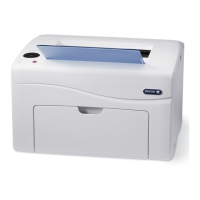
Phaser® 6120 Color Laser Printer Service Manual
2-17
11. Remove the Fuser [10] by sliding it to the left, and then lifting it up.
12. To reinstall, reverse the order of removal.
13. When the Fuser is replaced with a new one, it is necessary to reset the life counter in the
Service menu, see Entering the Service Menu on page 30.
Precaution for Reinstalling the Fuser
■ Use a long magnetic screwdriver to replace the screws.
■ Use the screws holes as a reference inside the fuser when replacing it.
■ Make sure that the fuser drive gear aligns with the gear in the fuser.
■ When reinstalling the Left Cover after reinstalling the Fuser, make sure that the harness of
the Fuser is located below the rib of the Left Cover. See Left Cover on page 5-5.
Firmware Upgrade
Check the version of the firmware currently installed in the printer before performing the
printer firmware update, to determine if the printer requires the updated firmware. The Current
firmware version installed in the printer can be found on the Configuration Page. A
Configuration Page is printed from the printer's control panel.
Print the Configuration Page
1. Press the Menu/Select key on the printer's control panel, and then press the Right arrow
key to scroll to the Printable Pages menu.
2. Press the Menu/Select key to select Printable Pages menu.
3. Press the Right arrow key until the Configuration Page appears, and then press enter
Menu/Select key to print the Configuration Page.
Refer to the "System Release" number in the Printer Information section of the page to
identify the current version of firmware loaded in the printer.
Next, go to the "Active I/F" menu within the "Connection Setup" menu and activate the
interface to be used for the Upgrade.
[10]
4139fs2010c1
 Loading...


