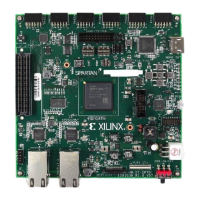
ZCU102 Evaluation Board User Guide www.xilinx.com 19
UG1182 (v1.2) March 20, 2017
Chapter 2: Board Setup and Configuration
MPSoC Device Configuration
Zynq UltraScale+ XCZU9EG MPSoC devices use a multi-stage boot process documented in
the Boot and Configuration chapter of the Zynq UltraScale+ MPSoC Technical Reference
Manual (UG1085) [Ref 2].
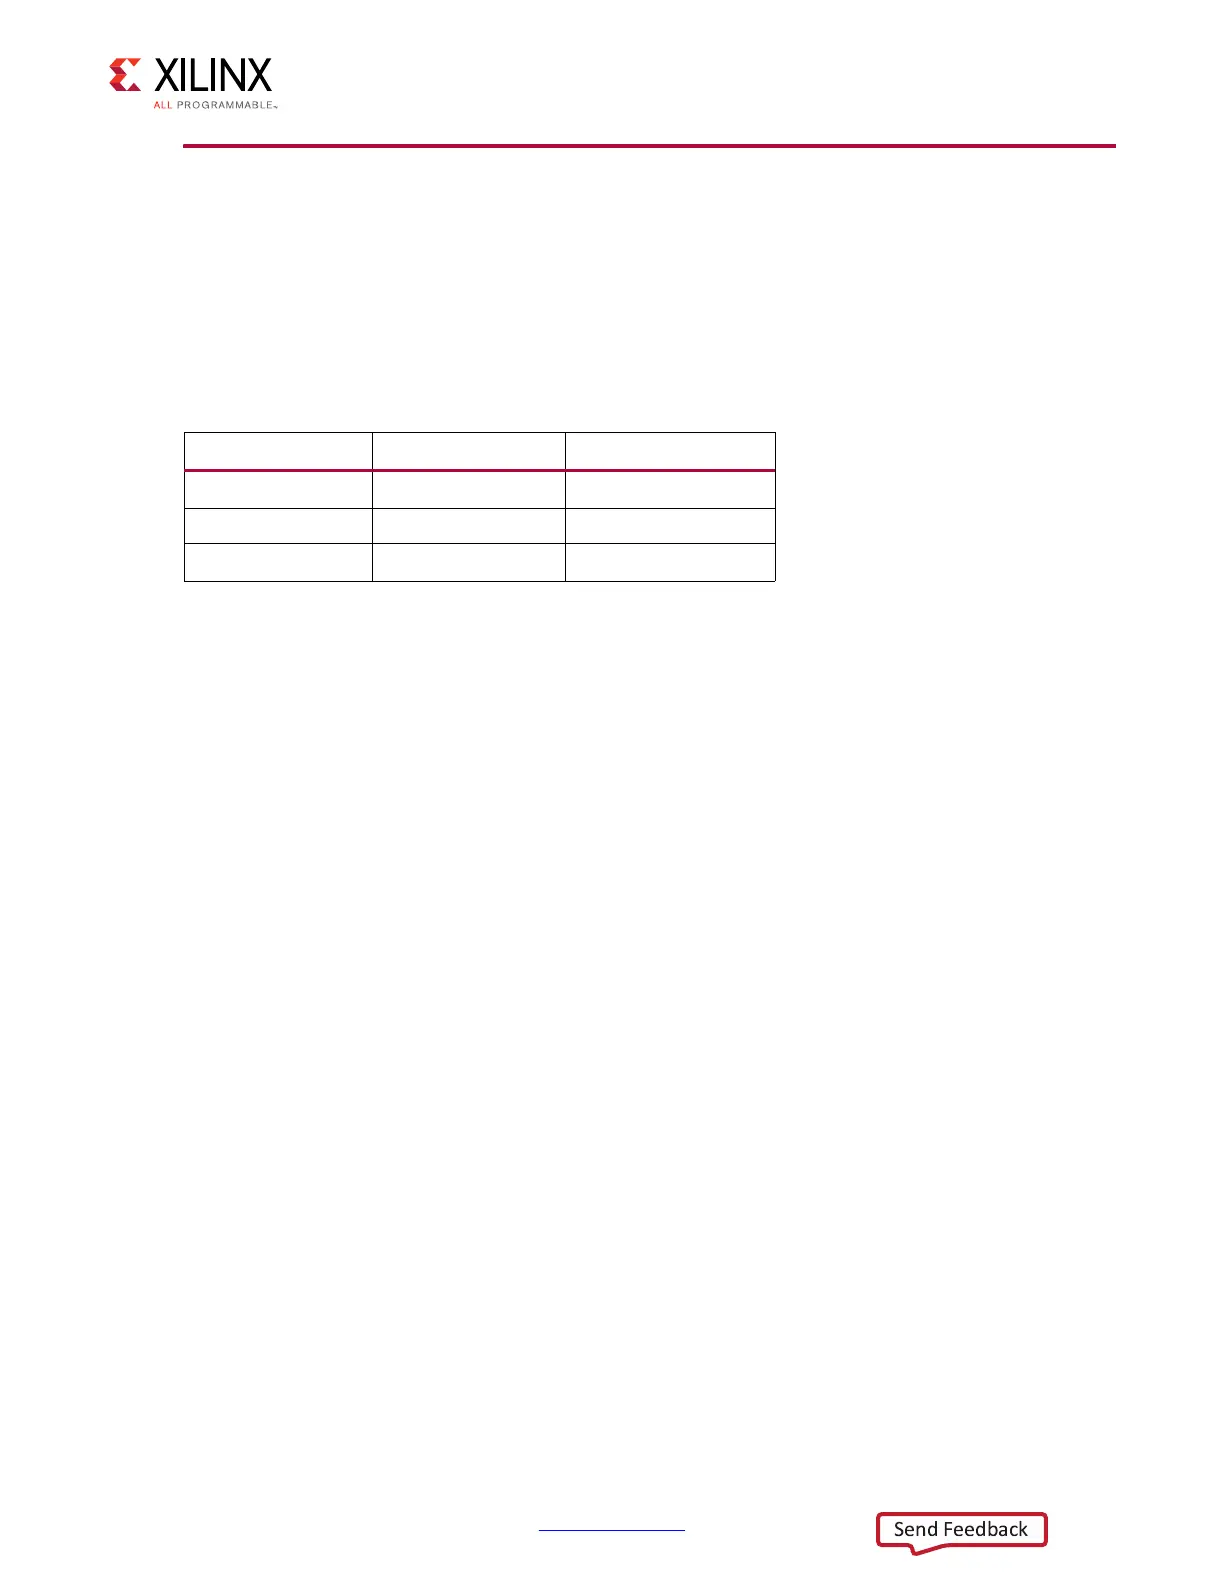
Switch SW6 configuration option settings are identified in Table 2-4.
JTAG
Vivado, SDK, or third-party tools can establish a JTAG connection to the Zynq UltraScale+
MPSoC device through one of the three provided JTAG interfaces:
1. Xilinx platform USB or cable PC4 connector (J8)
2. ARM 20-pin JTAG connector (J6)
3. Digilent SMT2.5 USB-to-JTAG module with off-module micro-USB connector (J2)
Quad-SPI
Booting from the dual Quad-SPI nonvolatile configuration memory is accomplished by
storing a valid Zynq UltraScale+ MPSoC boot image into the Quad-SPI flash devices
connected to the MIO Quad-SPI interface, setting the boot mode pins SW6 [4:1] = QSPI32
(see Table 2-4), then either power-cycling or pressing the power-on reset (POR) pushbutton.
SW6 is callout 23 in Figure 2-1.
SD
Booting from an SD card is accomplished by storing a valid Zynq UltraScale+ MPSoC boot
image file onto an SD card (plugged into SD socket J100) connected to the MIO SD
interface, setting the boot mode pins SW6 [4:1] = SD (see Table 2-4), then either
power-cycling or pressing the power-on reset (POR) pushbutton.
See the Zynq UltraScale+ MPSoC Technical Reference Manual (UG1085) [Ref 2] for more
information about Zynq UltraScale+ MPSoC configuration options.
Table 2-4: Switch SW6 Configuration Option Settings
Boot Mode Mode Pins [3:0] Mode SW6 [4:1]
JTAG
0000
on, on, on, on
QSPI32
0010
(1)
on, on, off, on
SD
1110
off, off, off, on
Notes:
1. Default switch setting.
 Loading...