E-36
network/usb
operation
e Receiver is tted with a network audio client which
is capable of playing internet radio stations as well as
stored music on a network storage device such as a PC,
or from a USB ash drive.
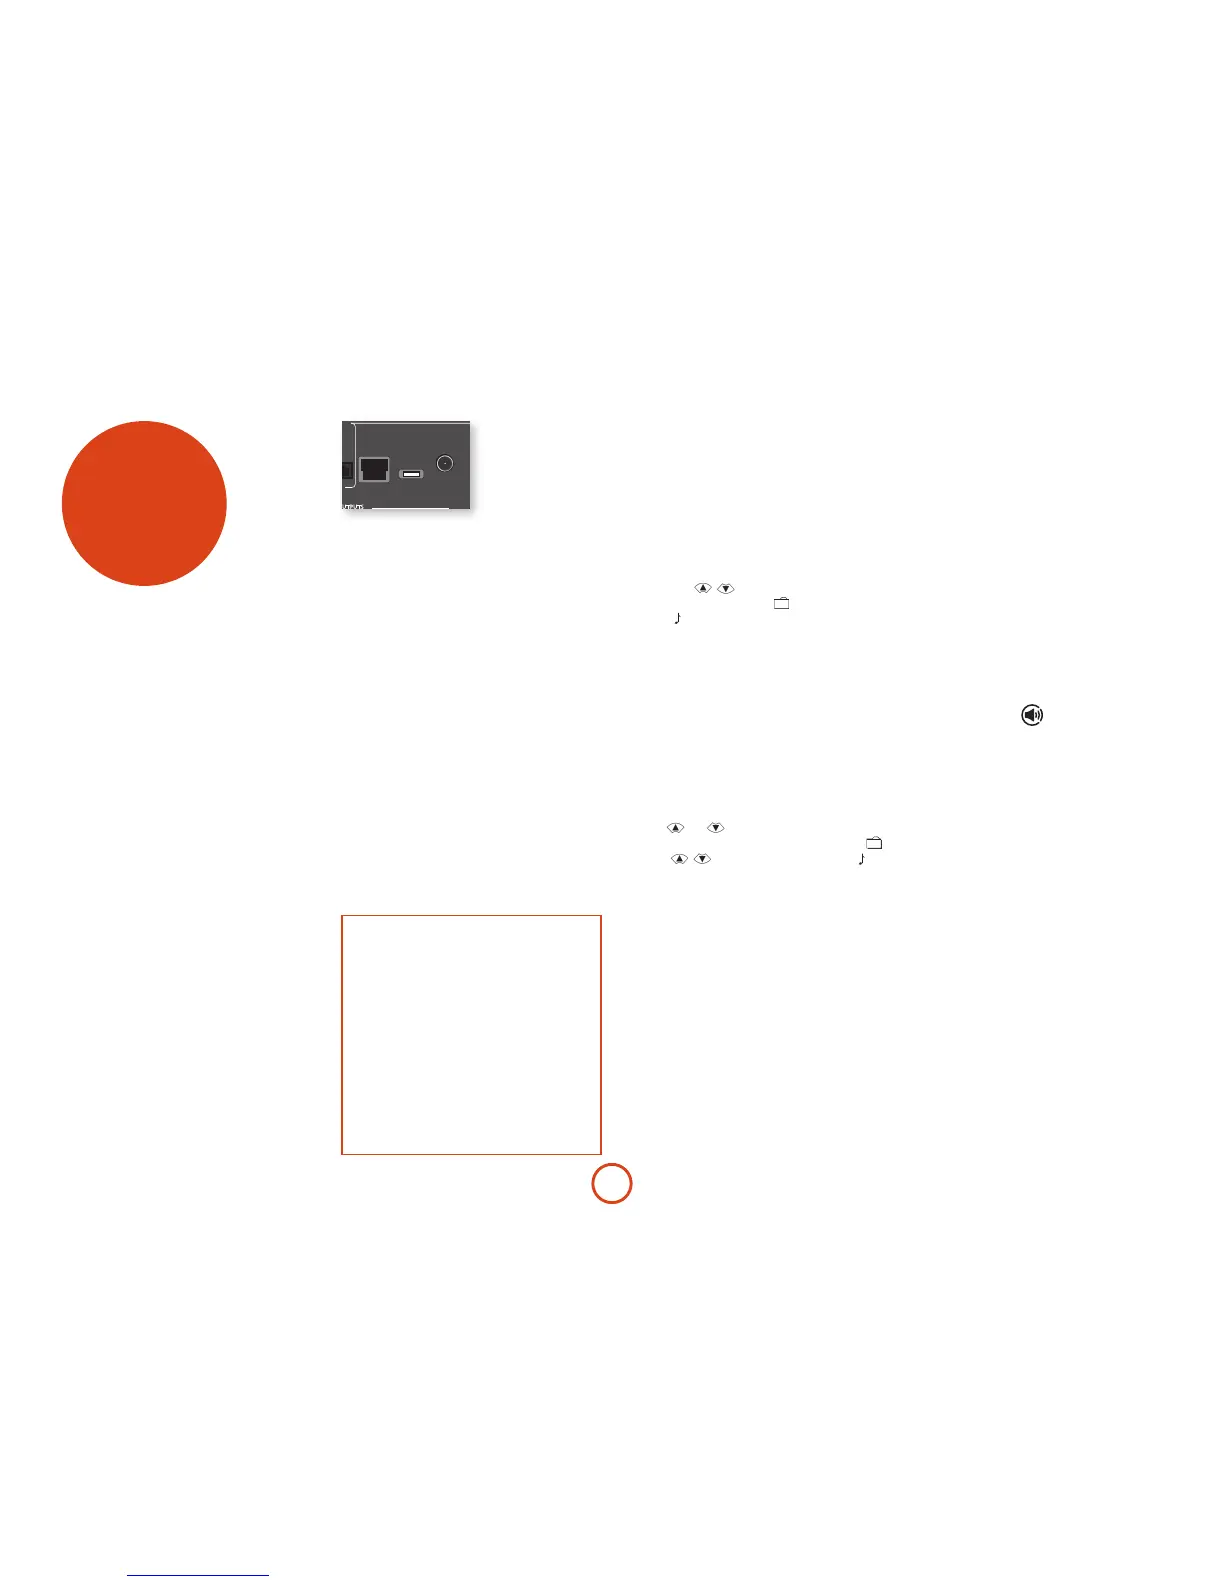
For information on installing the Receiver on your
network see page E-14.
e Receiver supports the following le formats:
< MP3
< WMA (Windows™ Media Audio)
< WAV
< FLAC (Free Lossless Audio CODEC)
< MPEG-4 AAC (iTunes™) with DRM10 support
Favourites
You can store internet radio stations in your ‘favourites’
folder for easy access later. Once playing, pressing
the RED key adds the station to the ‘favourites’
folder. Pressing GREEN removes the station from the
‘favourites’ folder (this key only has an eect if the
station is in the favourites folder).
Selecting the playback source
Selecting the network client will allow playback of
internet radio stations and stored music on a networked
storage device or USB memory device.
To select the network source just press NET on the
remote. You can also cycle to it using the –INPUT/INPUT+
keys on the front panel.
e ‘home’ page has options for playing audio from a
USB device, Internet Radio or from your home network
using the ‘Music Player’ option. Navigate through these
items using the
keys) to a music le
and press OK to play the le.
Internet radio stations
Although you can manually browse for an internet radio
station, the Receiver uses the vTuner service to allow
easy selection of favourite internet radio stations and
podcasts. To set up this service for your Receiver, please
visit www.arcamradio.co.uk
ere, you will be asked to enter the Media Access
Controller (MAC) address which is the unique ID of
your Receiver. is MAC address can be found in the
network section of the setup menu.
Once you have entered the MAC address, you can then
browse stations and podcasts and set up groups of
favourite stations. When you next connect your Receiver
to the internet, these groups will appear in the ‘My
favourites’ folder.
Pressing the INFO key will cycle what is shown on the
lower portion of the front panel display between:
< Elapsed Time (default)
< Processing mode
< Album (if available)
< Artist (if available)
< File information (bitrate, type).
How to Use Connect
You’ll need Spotify Premium to use Connect.
1. Add your new device to the same wi network
as your phone, tablet or PC (see product user
instructions for details).
2. Open the Spotify app on your phone, tablet or PC
and play any song.
3. If you’re using the app on a phone - tap the song
image in the bottom le of the screen. For tablet and
PC move to step 4.
4. Tap the Connect icon
5. Pick your device from the list. If you can’t see it, just
check it’s connected to the same network as your
phone, tablet or PC.
All done! Happy Listening.
Licenses
e Spotify soware is subject to third party licenses
found here:
https://developer.spotify.com/esdk-third-party-licenses
NOTE
For playback from a network device, the network
device needs to running a universal plug and play
(UPnP) service, such as Windows Media Player 11™.
is can be downloaded free of charge from
www.microsoft.com or installed via the Windows
update installer. Windows 7™ and Vista™ have
this functionality built in. Windows Media Player
requires music library sharing/streaming to be
enabled in order to serve music to the Receiver.
Other free and paid-for UPnP services are available
for other computer operating systems. Some
network attached storage (NAS) systems include a
built-in version of a UPnP service.
 Loading...