1-26
Confidential
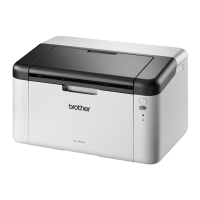
4.2.15 White spots
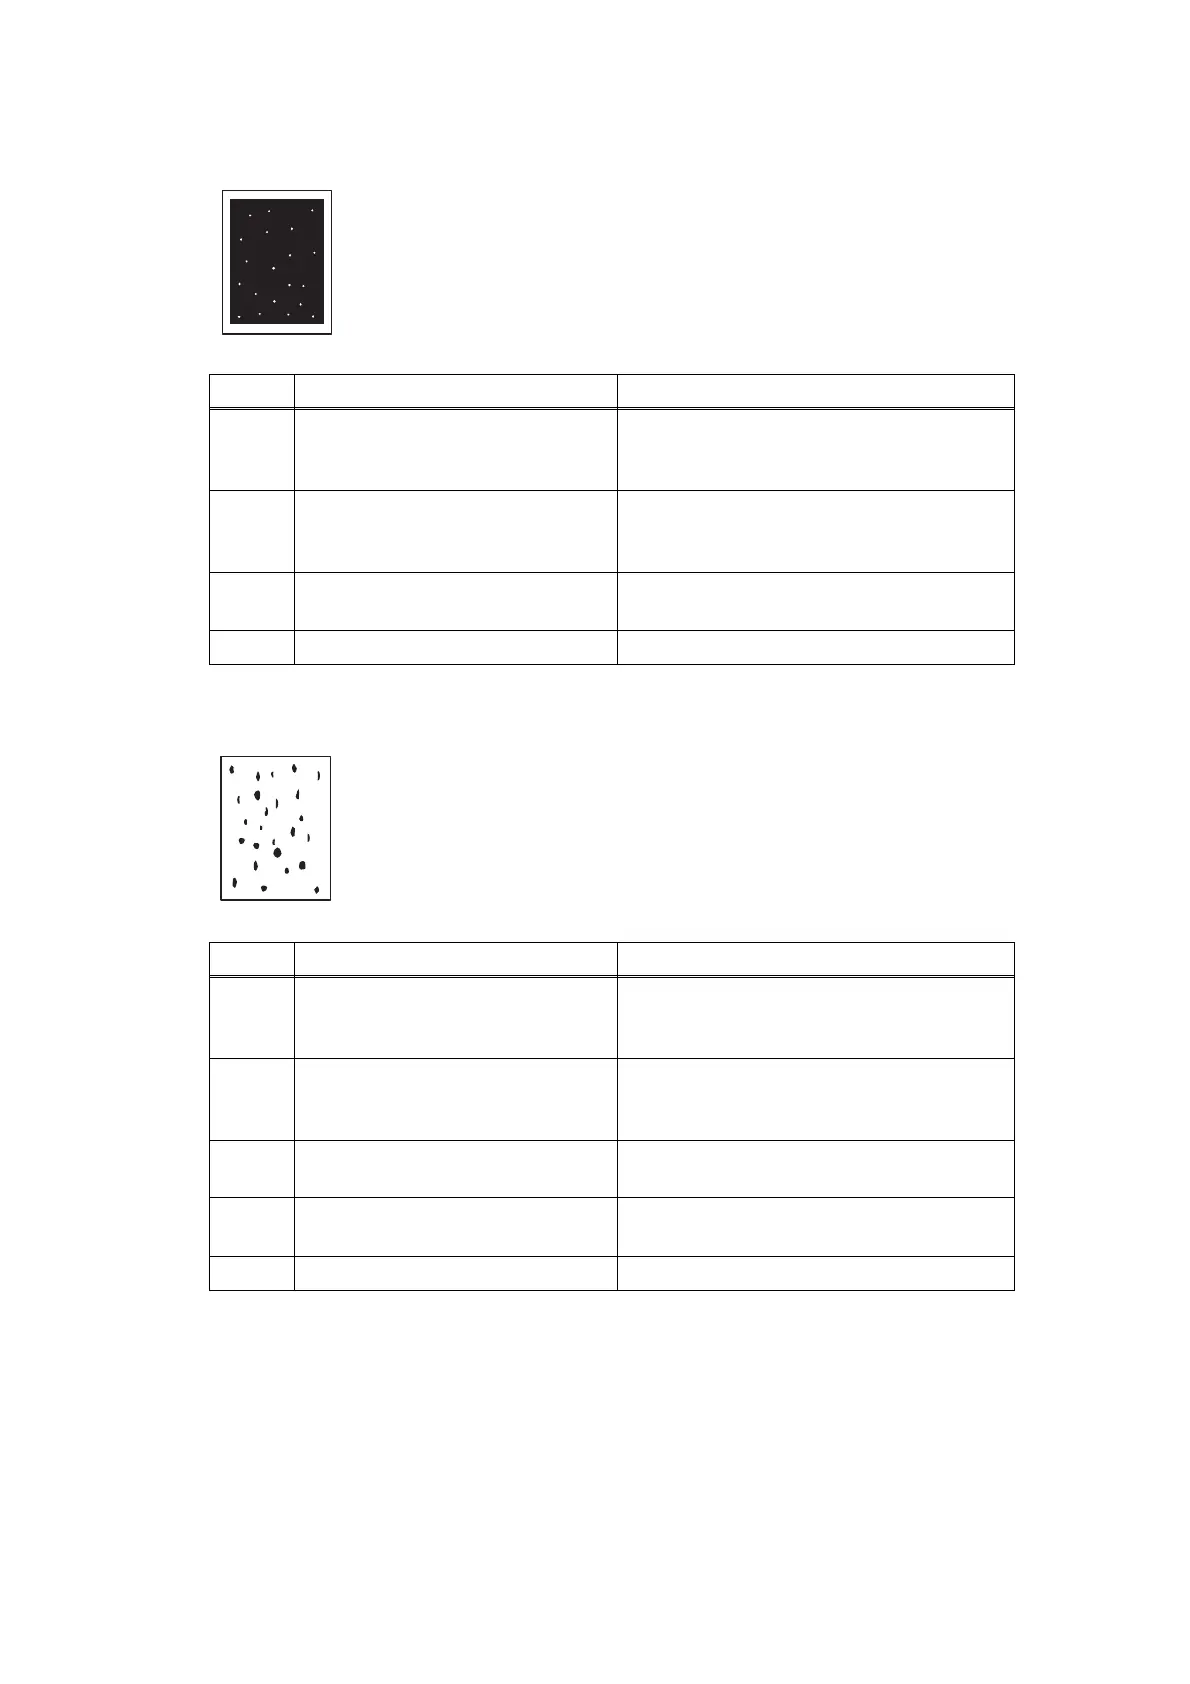
4.2.16 Black spots
<User Check>
- Turn ON the power switch, then open the top cover. Leave the
machine for a while to remove condensation.
- Replace the toner cartridge with a new one.
- Replace the drum unit with a new one.
Step Cause Remedy
1
Dirt on electrodes of the drum unit
and those of the machine
Clean the electrodes of the drum unit and
those of the machine. (Refer to Fig. 1-6 or
Fig. 1-7.)
2
Dirt on electrodes of the toner
cartridge and those of the machine
Clean the electrodes of the toner cartridge
and those of the machine. (Refer to Fig. 1-6
or Fig. 1-7.)
3
High voltage power supply PCB
failure
Replace the high voltage power supply PCB
ASSY.
4 Main PCB failure Replace the main PCB ASSY.
<User Check>
- This problem may disappear after printing multiple sheets of paper.
When the machine has not been used for long periods of time, try
printing several sheets of paper.
- Replace the toner cartridge with a new one.
- Replace the drum unit with a new one.
Step Cause Remedy
1
Dirt on electrodes of the drum unit
and those of the machine
Clean the electrodes of the drum unit and
those of the machine. (Refer to Fig. 1-6 or
Fig. 1-7.)
2
Dirt on electrodes of the toner
cartridge and those of the machine
Clean the electrodes of the toner cartridge
and those of the machine. (Refer to Fig. 1-6
or Fig. 1-7.)
3
Scratch or dirt on the heat unit, or
dirt on the pressure roller
Replace the fuser unit.
4
High voltage power supply PCB
failure
Replace the high voltage power supply PCB
ASSY.
5 Main PCB failure Replace the main PCB ASSY.
 Loading...