2-19
Confidential
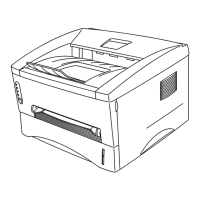
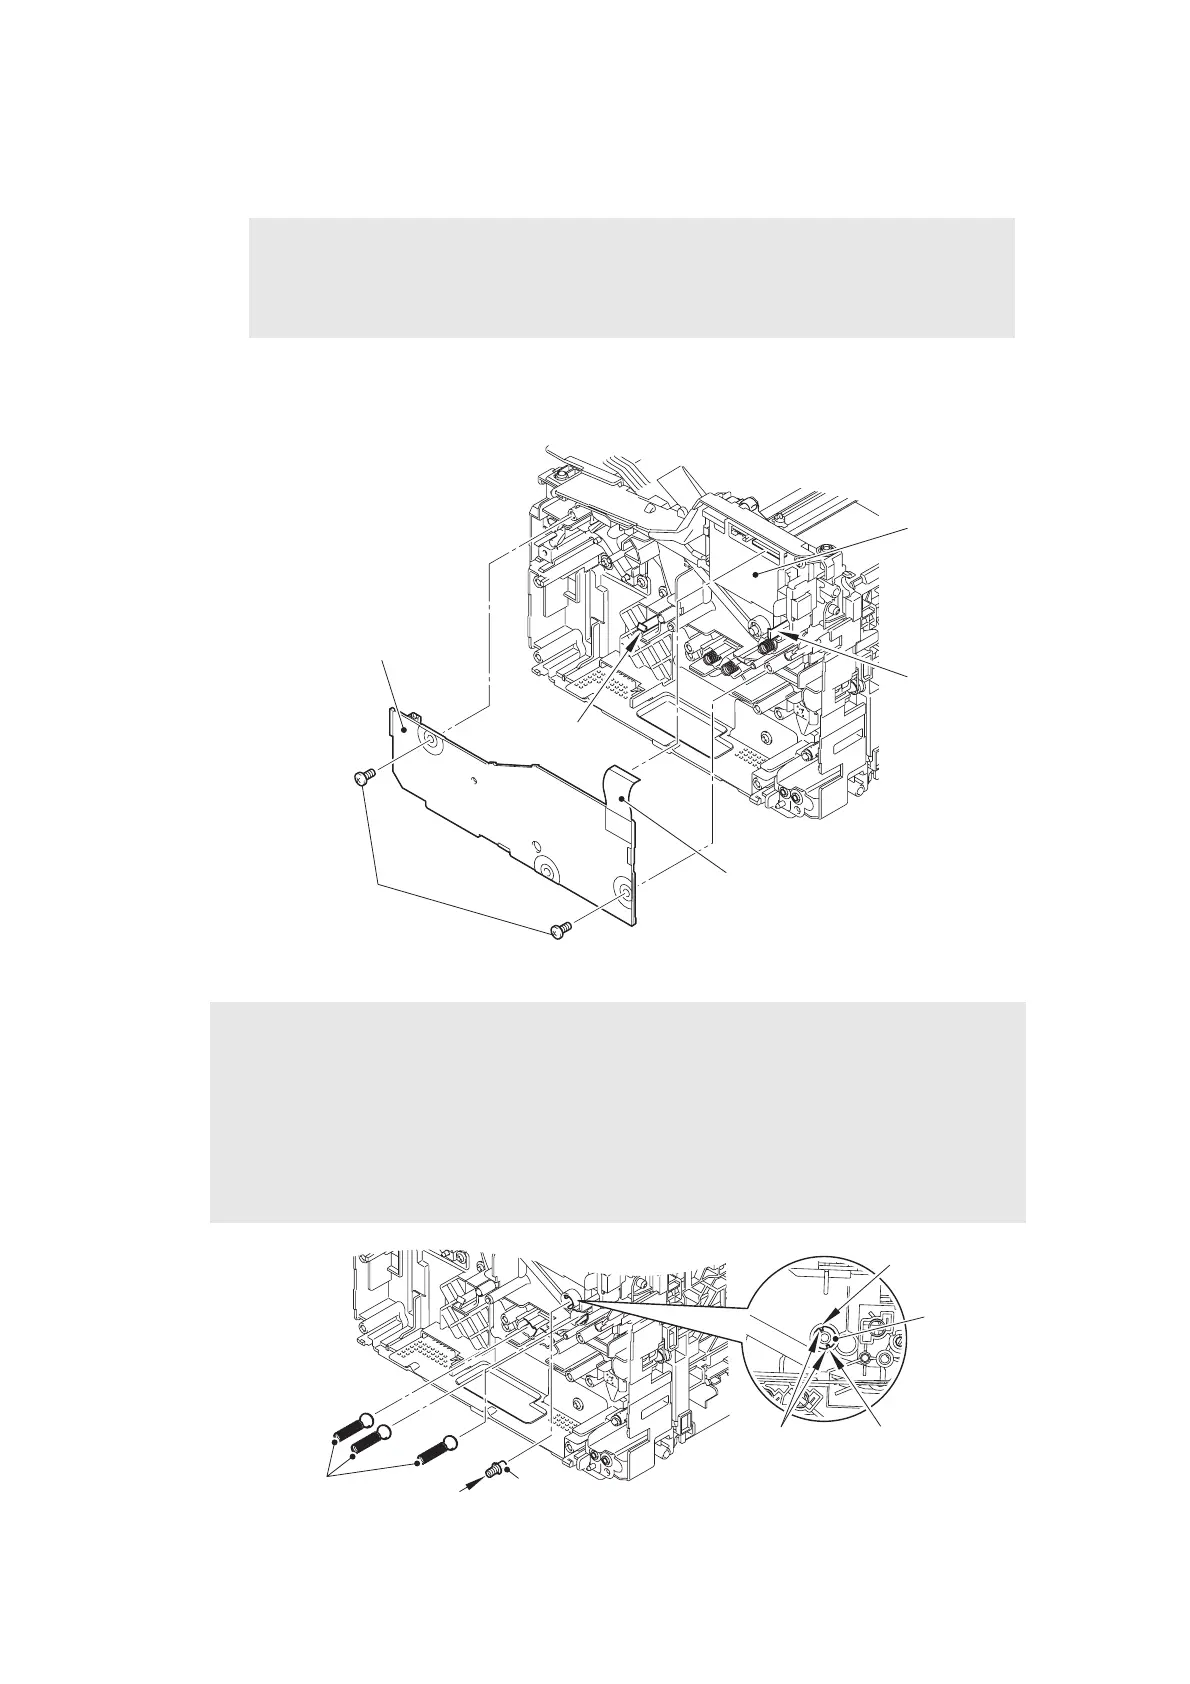
7.9 High voltage power supply PCB ASSY
(1) Disconnect the high voltage PCB flat cable from the main PCB ASSY.
(2) Remove the two taptite bind B M4x12 screws.
(3) Remove the two hooks to remove the high voltage power supply PCB ASSY from the
machine.
Fig. 2-16
Fig. 2-17
Note:
• After disconnecting the flat cable, check that the cable is not damaged at the end
or short-circuited. When connecting the flat cable, do not insert it at an angle. After
insertion, check that the cable is not at an angle.
Assembling Note:
• When removing the high voltage power supply PCB ASSY, electrode or electrode
springs will come off. When assembling the high voltage power supply PCB ASSY, make
sure that the electrode and electrode springs are assembled.
• Attach it by engaging the slits of the electrode with the ribs of the machine.
• Make sure that the spring is inserted fully into the end of the electrode.
• When assembling the high voltage power supply PCB ASSY, make sure that the toner
cartridge and the drum unit have been removed. They could twist the electrode.
Main PCB
ASSY
Hook
High voltage PCB flat cable
Taptite bind B M4x12
High voltage power
supply PCB ASSY
Hook
Electrode
Electrode
Slit
Electrode springs
Slit
Ribs
Spring
 Loading...