• Borderless Printing at Actual Size (Windows) →P.97
• Borderless Printing at Actual Size (Mac OS X) →P.99
Borderless Printing at Actual Size (Windows)
This topic describes how to print borderlessly at actual size based on the following example.
• Document: Any type
• Page size: 10×12 inches (254.0×304.8 mm)
• Paper: Roll
• Paper type: Heavyweight Coated Paper
• Roll paper width: 10 inches (254.0 mm)
1. Create the original in the source application 3 mm (0.12 in) larger on each side than 254.0×304.8 mm (10 × 12 in)
—that is, 260.0×310.8 mm (10.2 × 12.2 in)
Note
• If you can specify the margin, as in Microsoft Word, set the margin at 0 mm. For instructions on
specifying the margin, refer to the software documentation.
• The extra 3 mm (0.12 in) on each side will not be printed. Create the original so that it fits inside the
paper area to be printed on.
2. Choose Print in the application menu.
3. Select the printer in the dialog box, and then display the printer driver dialog box.(See "Accessing the Printer
Driver Dialog Box from Applications(Windows) →P.217 ")
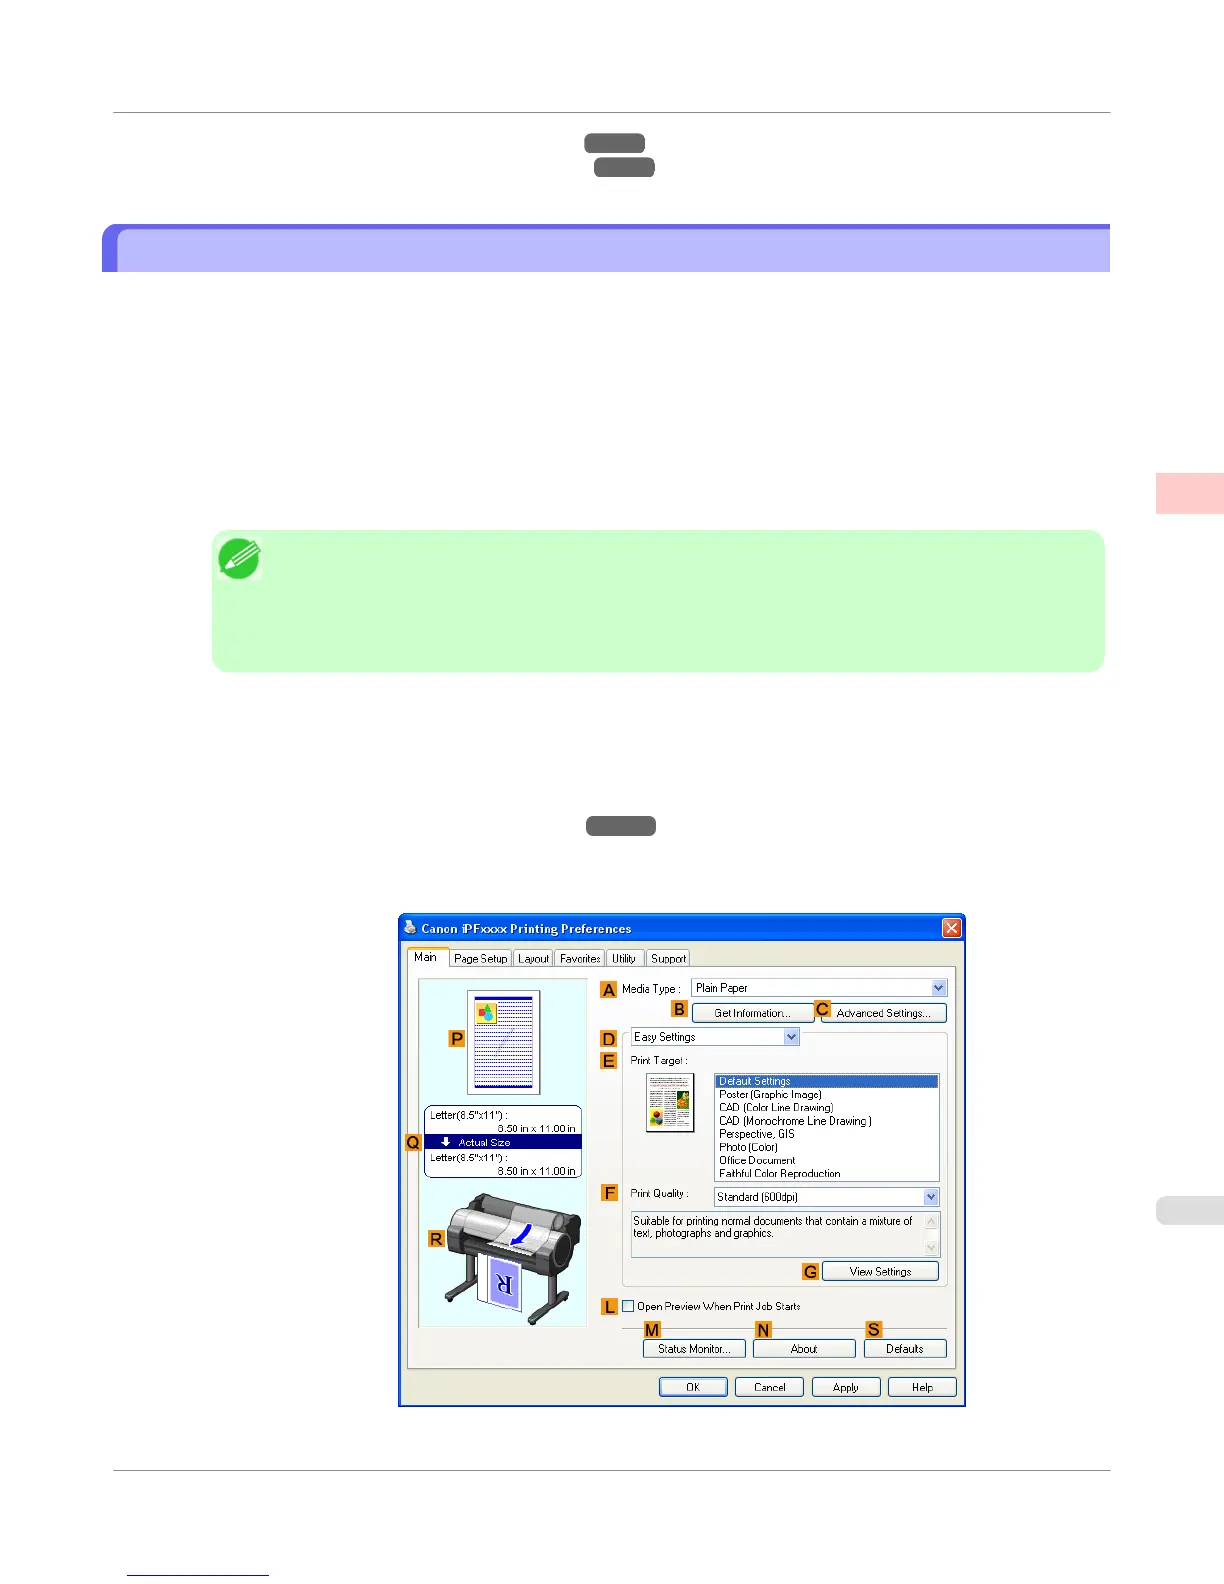
4. Make sure the Main sheet is displayed.
Enhanced Printing Options
>
Printing at full size
>
iPF750
Borderless Printing at Actual Size (Windows)
2
97
 Loading...