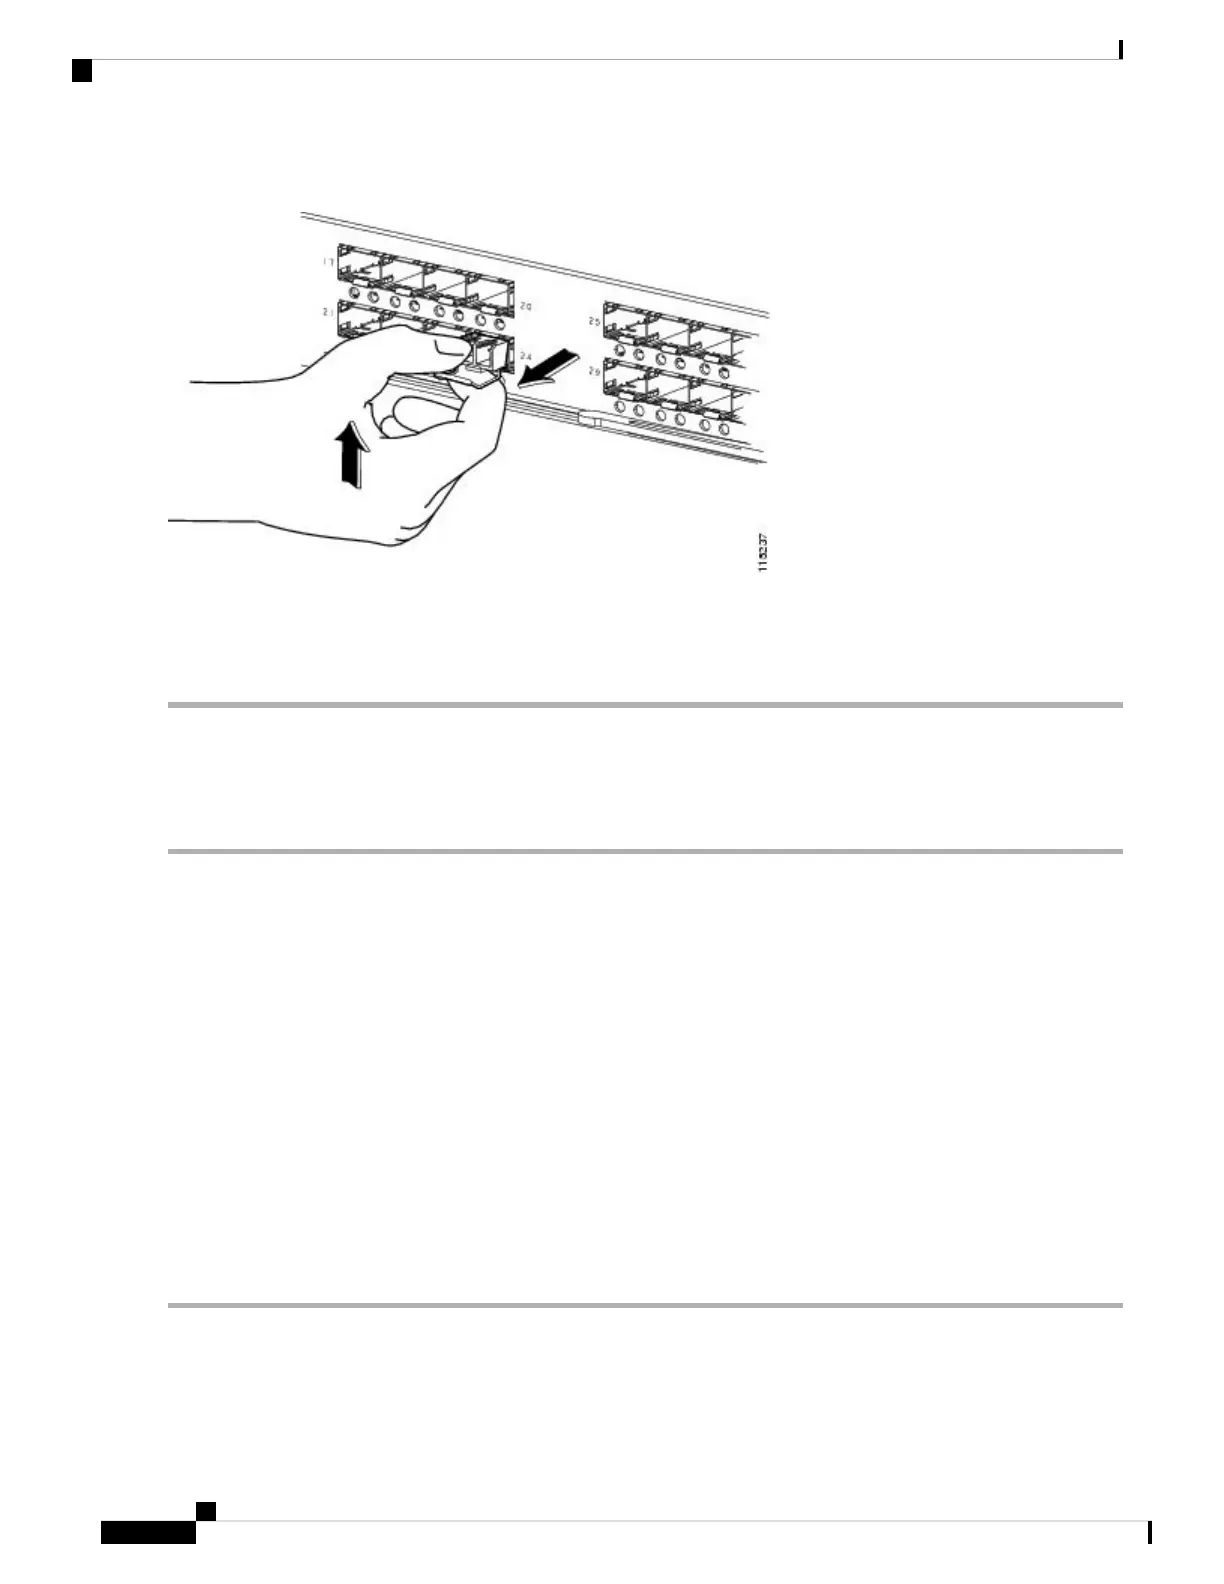
Figure 42: Alternate Removal Method for Bale Clasp SFP+ or QSFP+ Transceivers
Step 4 Insert a dust cover into the port end of the transceiver and place the transceiver on an antistatic mat or into a static shielding
bag if you plan to return it to the factory.
Step 5 If another transceiver is not being installed, protect the optical cage by inserting a clean cover.
Installing an SFP+ Transceiver
To install an SFP+ or QSFP+ transceiver, follow these steps:
Step 1 Attach an ESD-preventive wrist strap and follow its instructions for use.
Step 2 Remove the dust cover from the port cage.
Step 3 Remove the dust cover from the port end of the transceiver.
Step 4 Insert the transceiver into the port:
a. If the transceiver has a Mylar tab, orient the transceiver with the tab on the bottom, and then gently insert the transceiver
into the port until it clicks into place.
b. If the transceiver has a bale clasp, orient the transceiver with the clasp on the bottom, close the clasp by pushing it
up over the transceiver, and then gently insert the transceiver into the port until it clicks into place.
If the transceiver does not install easily, ensure that it is correctly oriented and the tab or clasp are in the
correct position before continuing.
Caution
If you cannot install the cable into the transceiver, insert or leave the dust plug in the cable end of the
transceiver.
Note
Cisco MDS 9700 Series Switches Hardware Installation Guide
110
Connecting the Cisco MDS 9700 Series Switches
Installing an SFP+ Transceiver
 Loading...