3 - 83DigiGate-700
™
for Windows
®
- User’s Guide
DigiGate-700
for Windows
™ ®
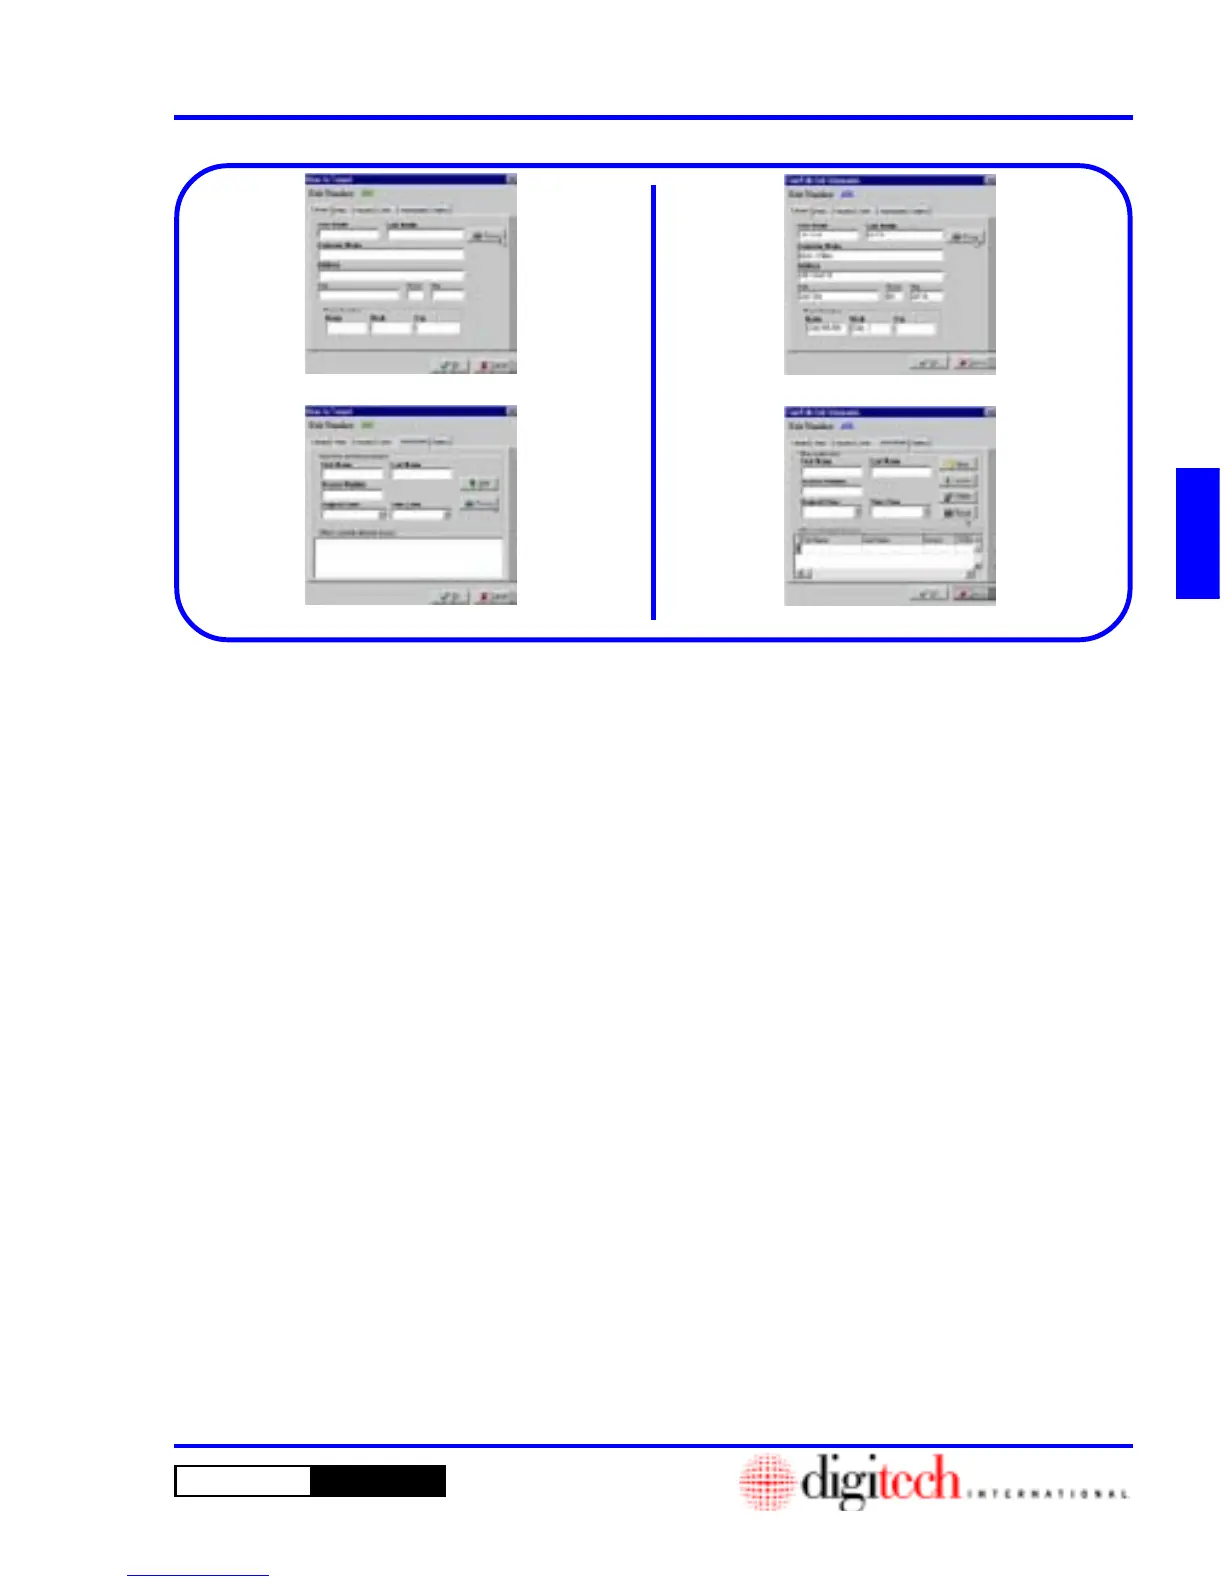
Figure 3-174
Figure 3-177
Picture Option
The
Picture Option
allows you to place a captured or scanned image of a person into the tenant database
and have it available to view in the tenant record. This picture will also be displayed in a popup window
when the tenant’s access code is entered at the keypad.
The pictures must be obtained independently of the DigiGate-700 for Windows program and saved in
“.bmp” or “.jpg” format. You may save one picture per tenant and one picture each, for any
Other
Authorized
tenants. It is strongly suggested that all image files be stored in one directory, ideally a directory
under the DigiGate directory.
The four Figures above show the screens where you can assign a picture to a tenant or
Other Authorized
tenant in the
Move In
window or in the
Find/Edit Unit Information
window.
1. Click the
Move In
button on the
Main Menu
screen.
2. Select a unit and Click on the
OK
button.
3. This will open the
Move In Tenant
window.
Figure 3-174.
4. Select either the
Tenant
tab, Figure 3-174, or
the
Authorized
tab, Figure 3-175.
5. Click on the
Picture
button on the right side of
the screen.
1. Click the
Find
button on the
Main Menu.
2. Select a unit and Click on the
OK
button.
3. This will open the
Find/Edit Unit
Information
window. Figure 3-172,
Page 3-82.
4. Select either the
Tenant
tab, Figure 3-176, or
the
Authorized
tab, Figure 3-177.
5. Click on the
Picture
button on the right side of
the screen.
Figure 3-175
Figure 3-176
Assigning Pictures at Move In
Assigning Pictures in Find/Edit
 Loading...