2 - 2 Setting Up a New Site
DigiGate-700
for Windows
™ ®
1. On the desktop, Double Click on the
Digi-
Gate-700 for Windows
icon that was created
at installation.
OR
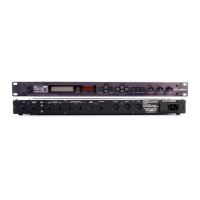
2. On the Windows 95 Task Bar, Click on the
Start
button. Figure 2-1.
3. Select
Programs
then DigiGate for Windows,
or the Program Group you selected in Step 17 in
Chapter 1 (Installing the DigiGate-700 for
Windows Software, Figure 1-24, Page 1-12) as
shown here in Figure 2-1.
4. Click on
DigiWin
which will start the program.
Figure 2-1.
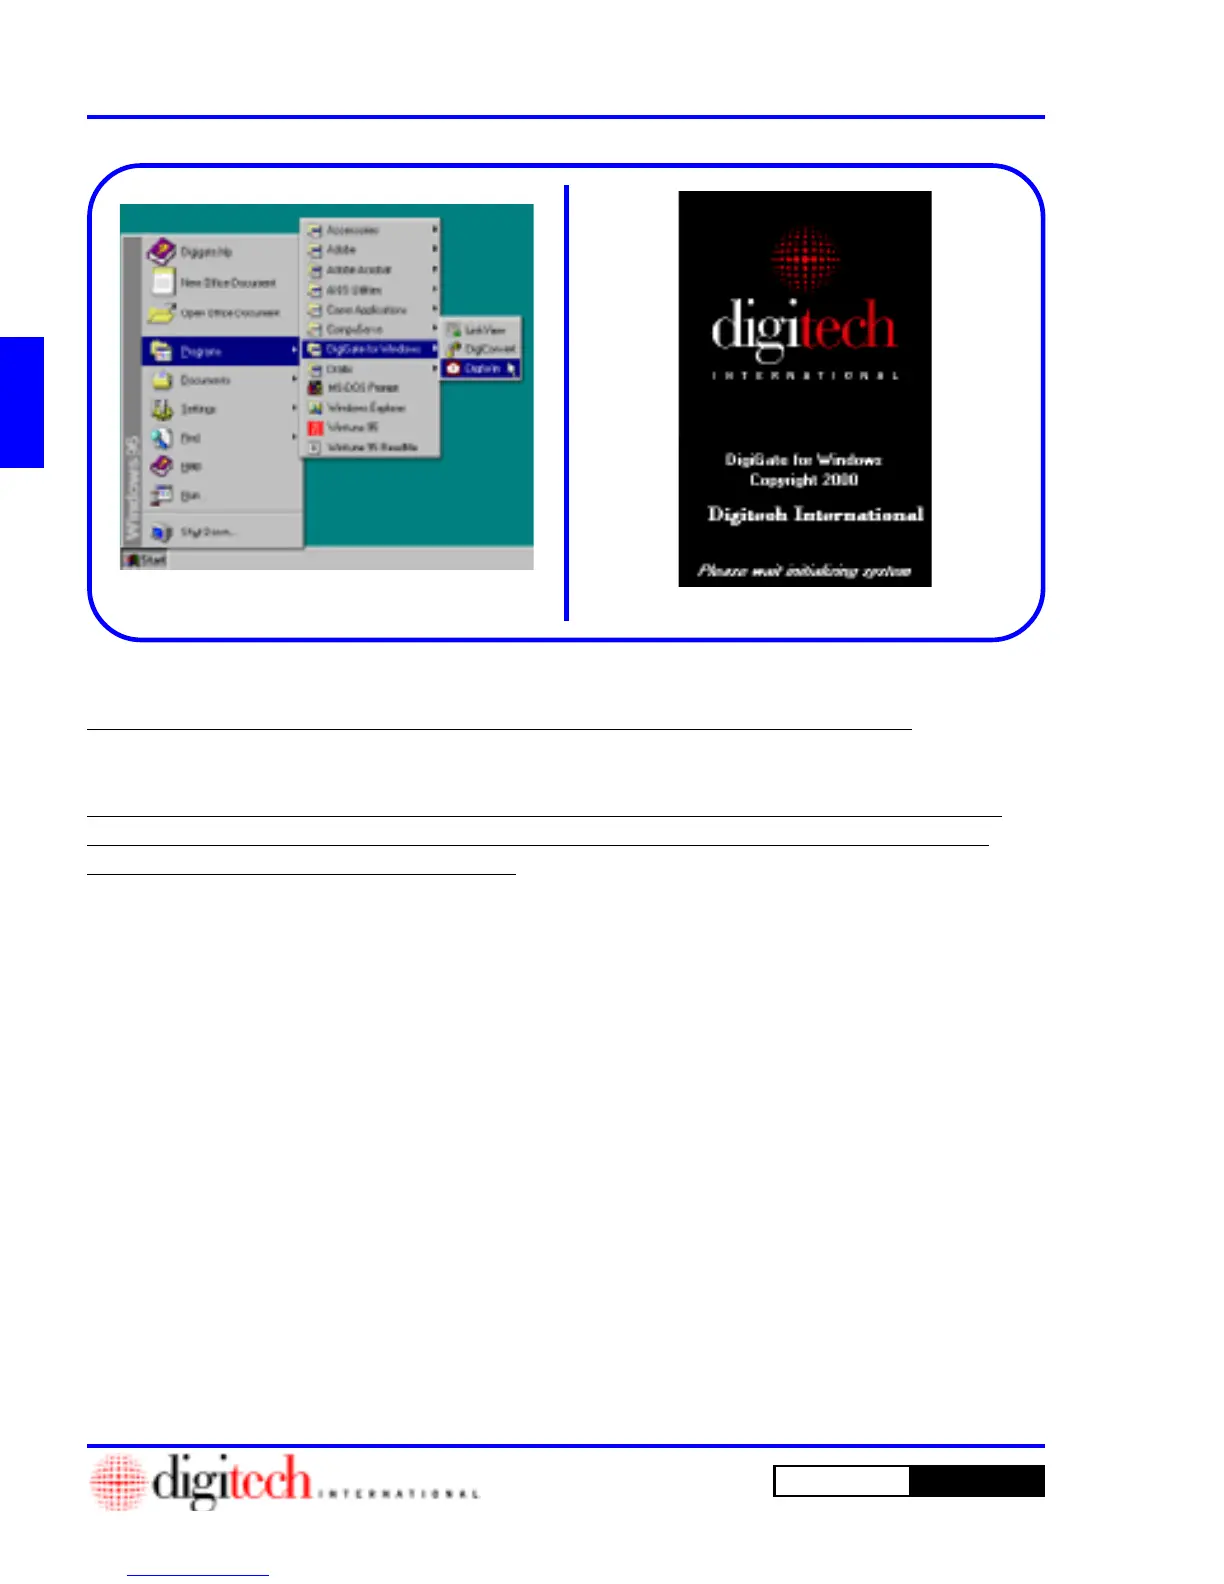
5. The DigiTech Logo screen lets you know that
the program is loading. Figure 2-2.
Starting the DigiGate-700 for Windows Program
Figure 2-1
Figure 2-2
Introduction
Before you start the DigiGate-700 for Windows program for the first time, you need to make sure that the
DigiTech System Controller is powered up and connected to one of the serial ports on your PC. When the
program starts, it searches for the System Controller. If found, the information about the connection is stored.
If not detected, you should check for proper power connection and data connection to the PC.
If your location is using the DOS version of DigiGate, SeeAppendix E before you continue!
The DigiGate-700 system has been developed for both large and small locations. Many of the features may
not be necessary for your site.
Before you start to set up this software, you have several decisions to make! Please use Appendix A,
Default Settings & Values and Appendix B, Preparation for System Setup to help you in decisions
about setting up the software for your location.
To Start the Program
 Loading...