3 - 14 Operating Instructions
DigiGate-700
for Windows
™ ®
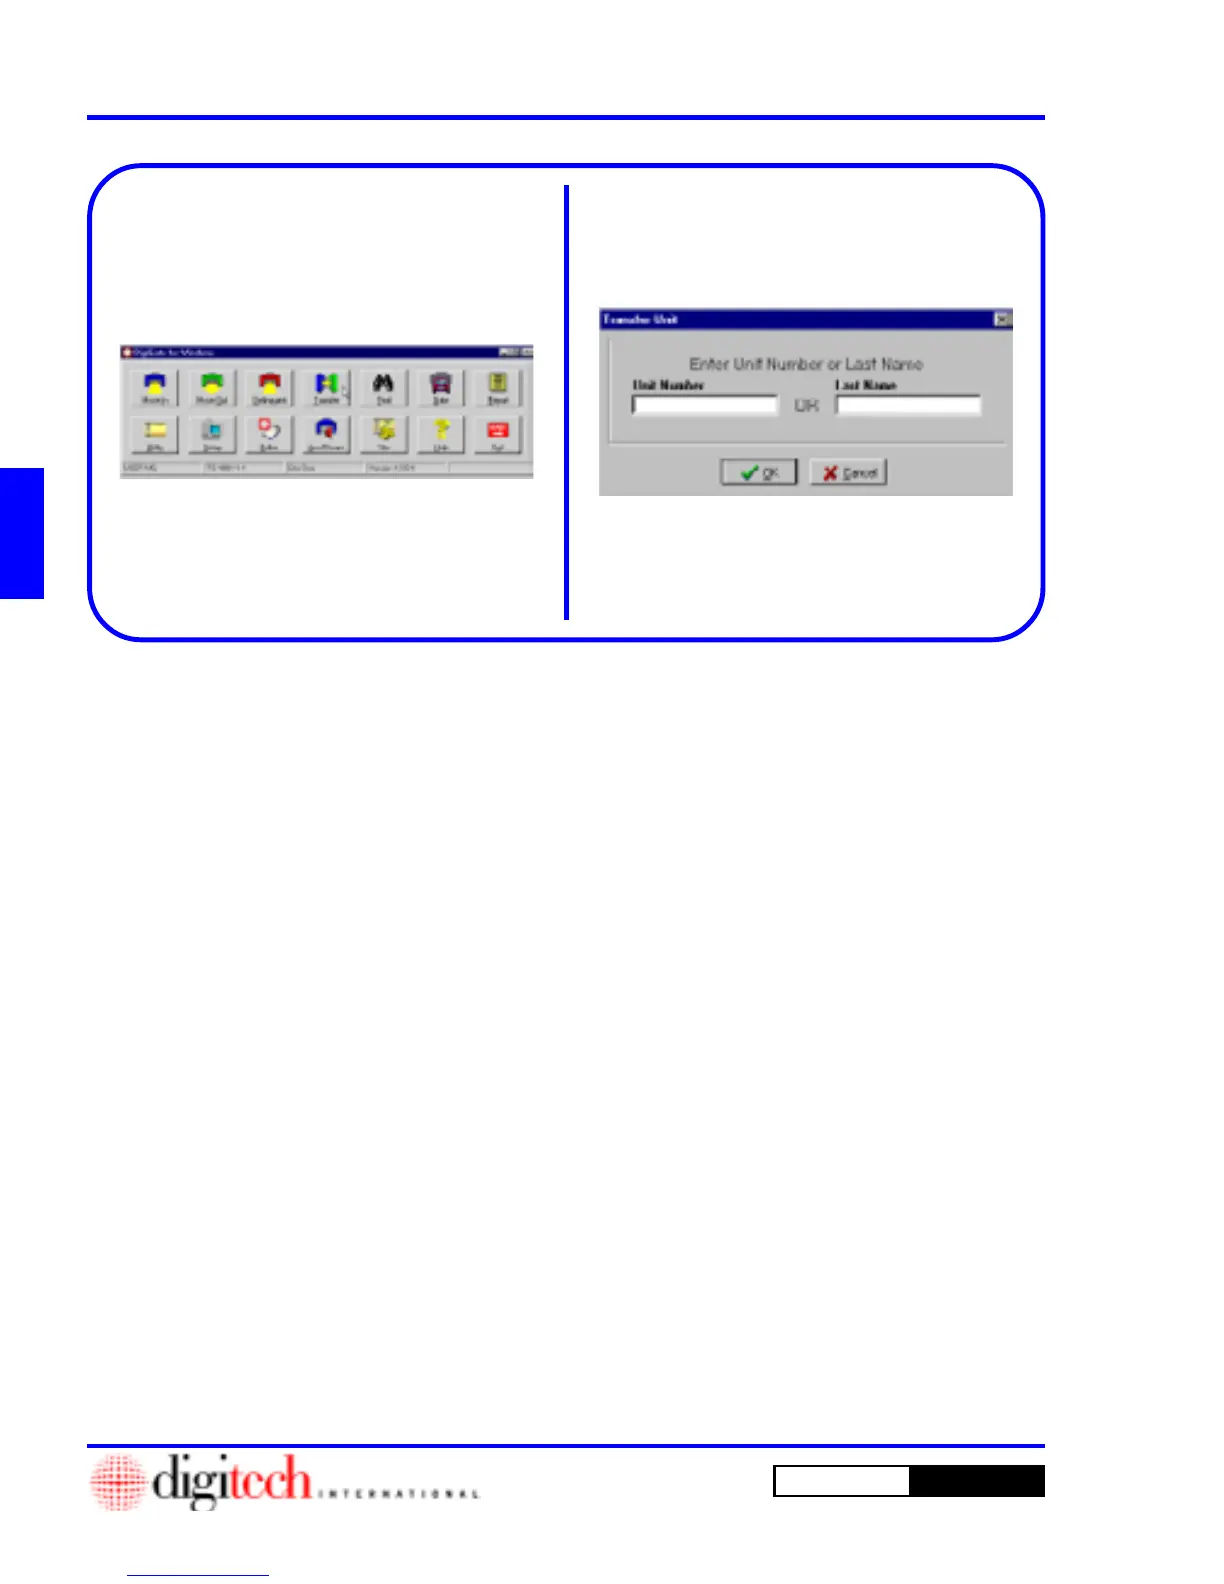
2. This will open the
Transfer Unit
screen.
Figure 3-26.
3. Enter a valid unit number in the
Unit Number
field and Click on the
OK
button to open the
Select units to transfer/copy to
window,
Figure 3-28, Page 3-15.
OR
If you want to find a tenant by last name, Click
on the
Last Name
field and enter all or part of
the tenant’s last name and Click on the
OK
button.
NOTE: You can type a space in this field and
Click on the
OK
button to list all tenants.
1. From the
Main Menu
, Figure 3-25, Click on
the
Transfer
button.
Figure 3-25
Figure 3-26
Transfer (Move/Copy Tenant Record to Another Unit)
This selection on the Main Menu is used to move a tenant from one unit to another or to link one or more
additional units to a tenant. When we use the term “Copy,” we are referring to “Linking.” When units are
linked, they carry the same information on the tenant since they are all retrieving the same tenant record.
Therefore, if the tenant information is changed in one unit record, the change will be automatic in all other
units linked to the tenant. The only way that a link can be removed is to move the tenant out of one or more
units in the linked group.
 Loading...