2 - 5DigiGate-700
™
for Windows
®
- User’s Guide
DigiGate-700
for Windows
™ ®
Figure 2-9
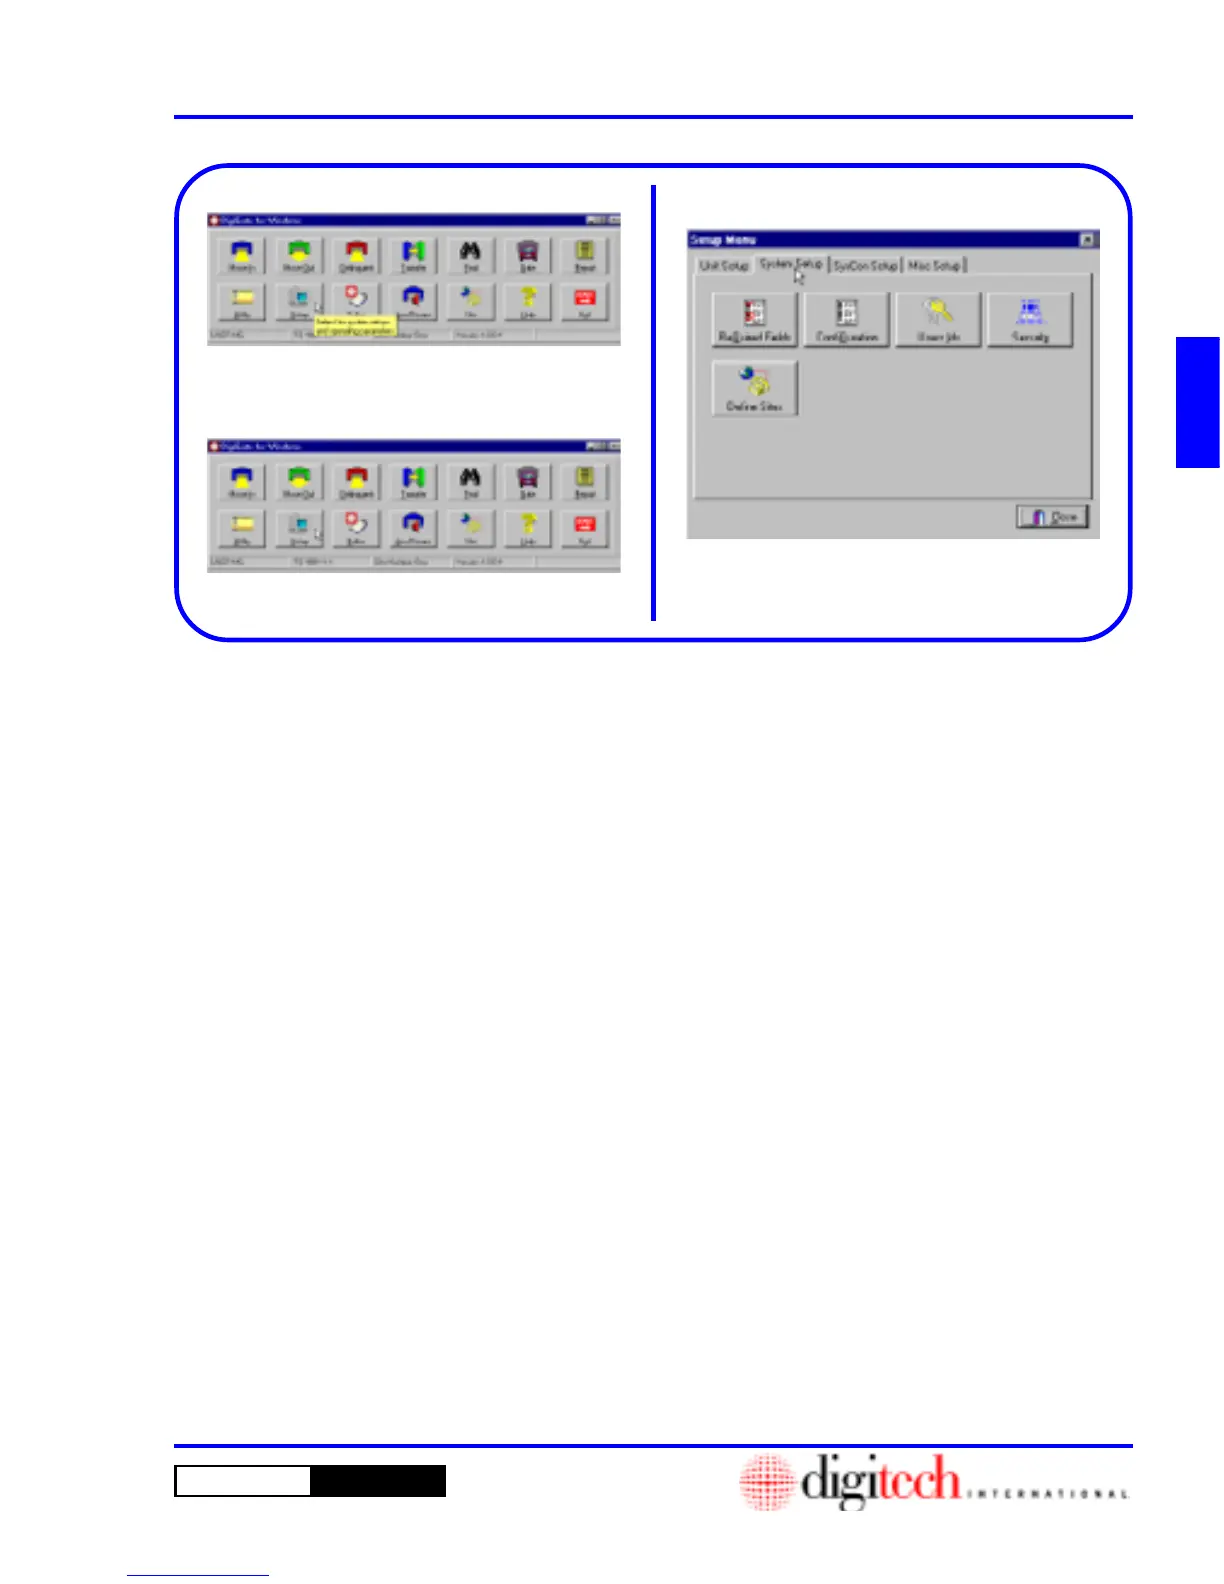
1. From the Main screen Click on the
Setup
button. Figure 2-8a.
2. This will open the
Setup Menu
. Figure 2-9.
Click on the
System Setup
tab.
3. Then Click on the
Security
button.
System Setup
Security Levels
All major configuration of the DigiGate-700 for Windows system is done from the
Setup
button on the
Main screen. Here we will set up Security Levels, User IDs, Required Fields, and Default Values, Unit
Information, Credit Card Information, Marketing codes, and other information for analysis of your location
and tenants.
Security Levels are used to allow or deny access to portions of the system. User IDs allow each user to
specify different configurations for their use. (i.e. Verify prompts for certain actions, Activity log settings,
security level, etc.) Required fields let you guarantee that specific information MUST be entered. The
DigiGate-700 system requires some fields in order to operate correctly. You can determine which other fields
must be completed for each tenant or unit. Default fields let you define information that will be entered into
the record for you automatically whenever you add a new tenant or unit (i.e. City, State, Area Code, etc.).
This can save valuable time during the information entry process and you can change this information in the
tenant or unit record for those who differ.
See “Appendix A, Default Settings and Values” for more information on how the DigiGate-700 for Windows
program is configured when you receive it.
NOTE: We would like to point out the Bubble Help feature of the DigiGate-700 for Windows program. In
Figure 2-8, you see the help bubble below the Arrow Cursor. The help bubble gives a brief description of
what the object under the cursor does. It remains on the screen for approximately 5 seconds. After 5 seconds
the help bubble vanishes and the normal cursor is displayed. Figure 2-8a.
Figure 2-8
Figure 2-8a
 Loading...