REPLACING PARTS 71
TO REPLACE THE BATTERY
1 Shut down, and then open the E-43A (see pages 43 and 44).
2 Locate the battery on the motherboard (see Figure on page 57).
3 Carefully push the clip away from the battery until the socket ejects the battery.
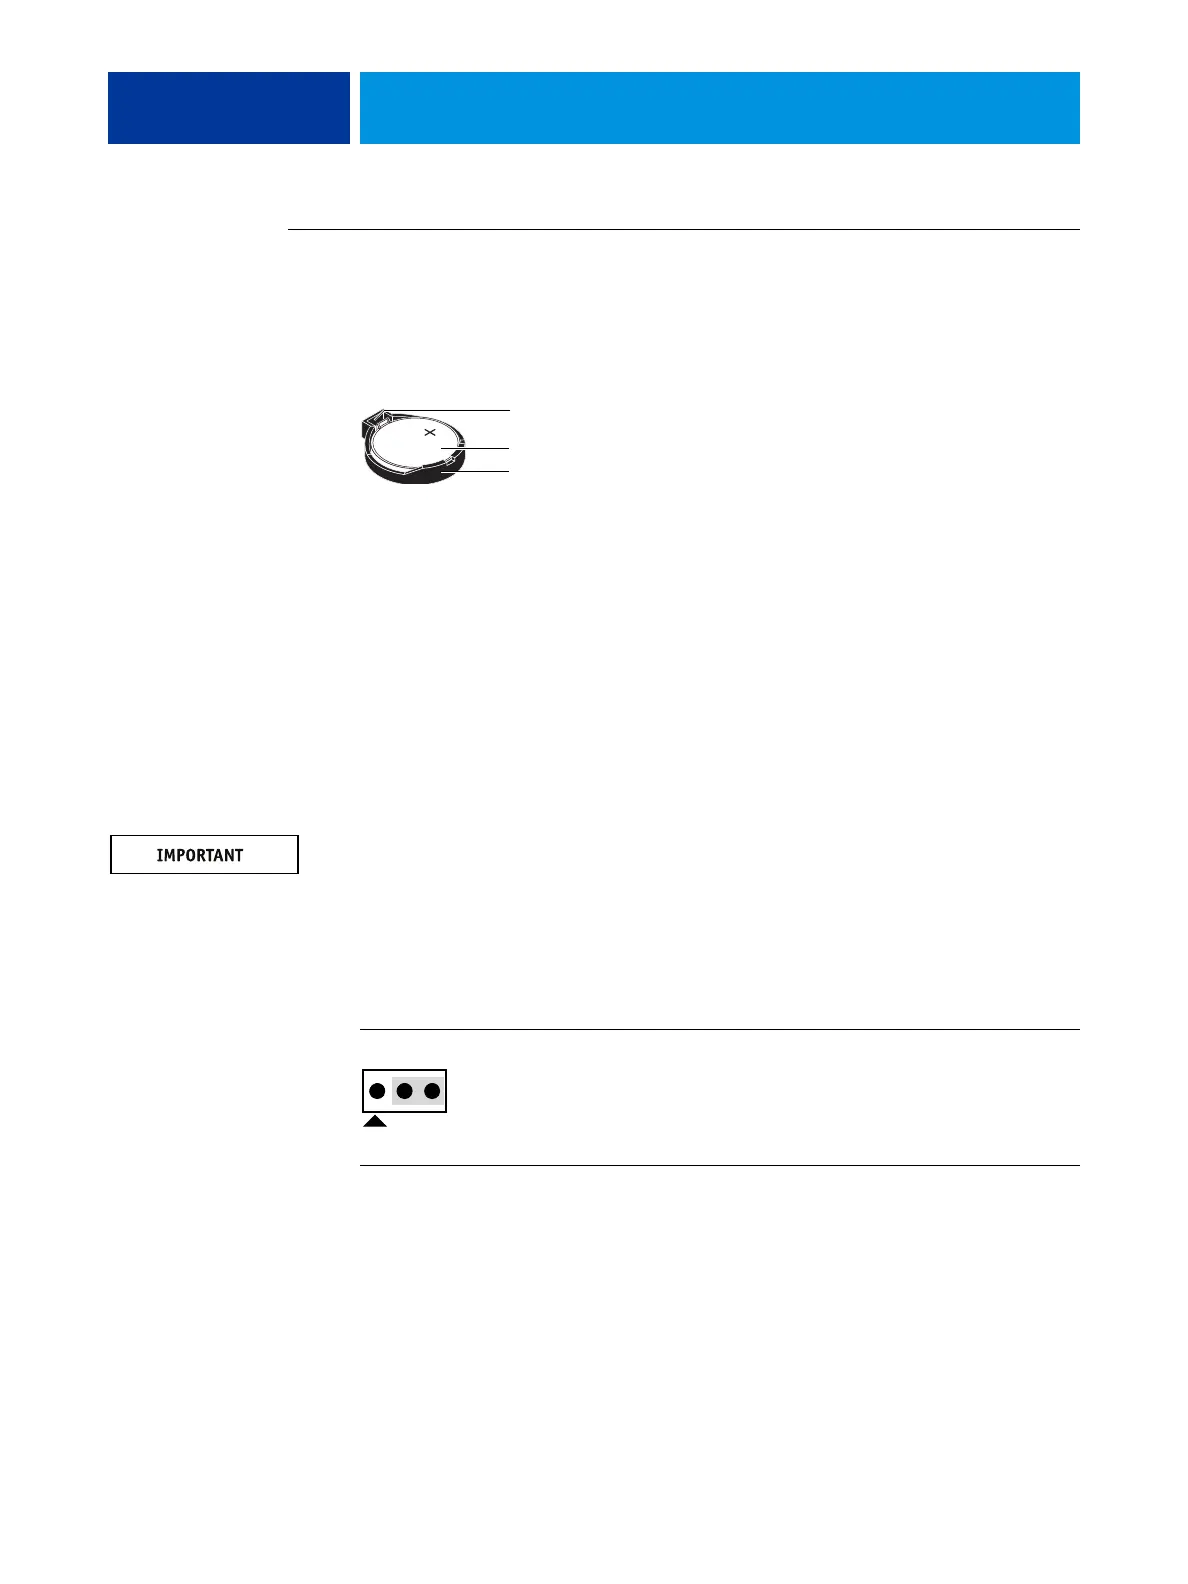
FIGURE 26: Motherboard battery
4 Slide the battery out of its socket.
5 Wait two minutes to allow the motherboard electrical components to fully discharge.
6 To insert a new battery, slide it into the socket so that the positive (+) side of the battery
faces front.
7 Press the battery down into the socket until it snaps into place.
Make sure that the battery is securely installed in the socket.
8 Reassemble the system and verify its functionality (see page 86).
9 Configure the time and date in Setup (see Configure Help for more information).
Failure to configure the time and date will cause the E-43A to hang when user software is
being installed on the E-43A. (See page 110.)
Jumpers
Jumper configurations should not be changed.
Battery
Socket
C
p
Jumper Description
J4 J4 is the Clear CMOS and Password jumper.
Default configuration: jumper cap installed on pins 2 and 3.
NOTE: It is not necessary to clear the CMOS settings when servicing
motherboard components, the DVD drive, and the hard disk drive.
Pin 1

 Loading...