REV.-A
4.2 DISASSEMBLY AND REASSEMBLY
This chapter details the disassembly procedures for the LX-8
10/850.As
a rule, reassembly is performed
by simply reversing the procedures; a number of special notes, however, are provided under the heading
“Notes for Reassembly.” When a disassembly or reassembly procedure requires that an adjustment
be performed, the adjustment is described under the heading, “Required Adjustment.” Be sure to
perform these adjustments as indicated.
WARNING
● Be sure that you have read Section 4. 1,“General Repair Information,” before performing
disassembly.
. Be sure that paper and ribbon cartridge are removed before disassembly.
The disassembly procedure detailed below is in the following sequence:
(1) Removal of the
printhead
(2) Removal of the casings
(3)
Removal of the circuit boards
(4) Removal of the printer mechanism unit
(5)
Disassembly of the printer mechanism
Exploded diagrams of the LX-8 10/850 and of the printer mechanism are provided in Figures A-18 and
A- 19.
4.2.1
Printhead
Removal
1.
Remove the printer cover, and confirm that paper and ribbon cartridge have been removed.
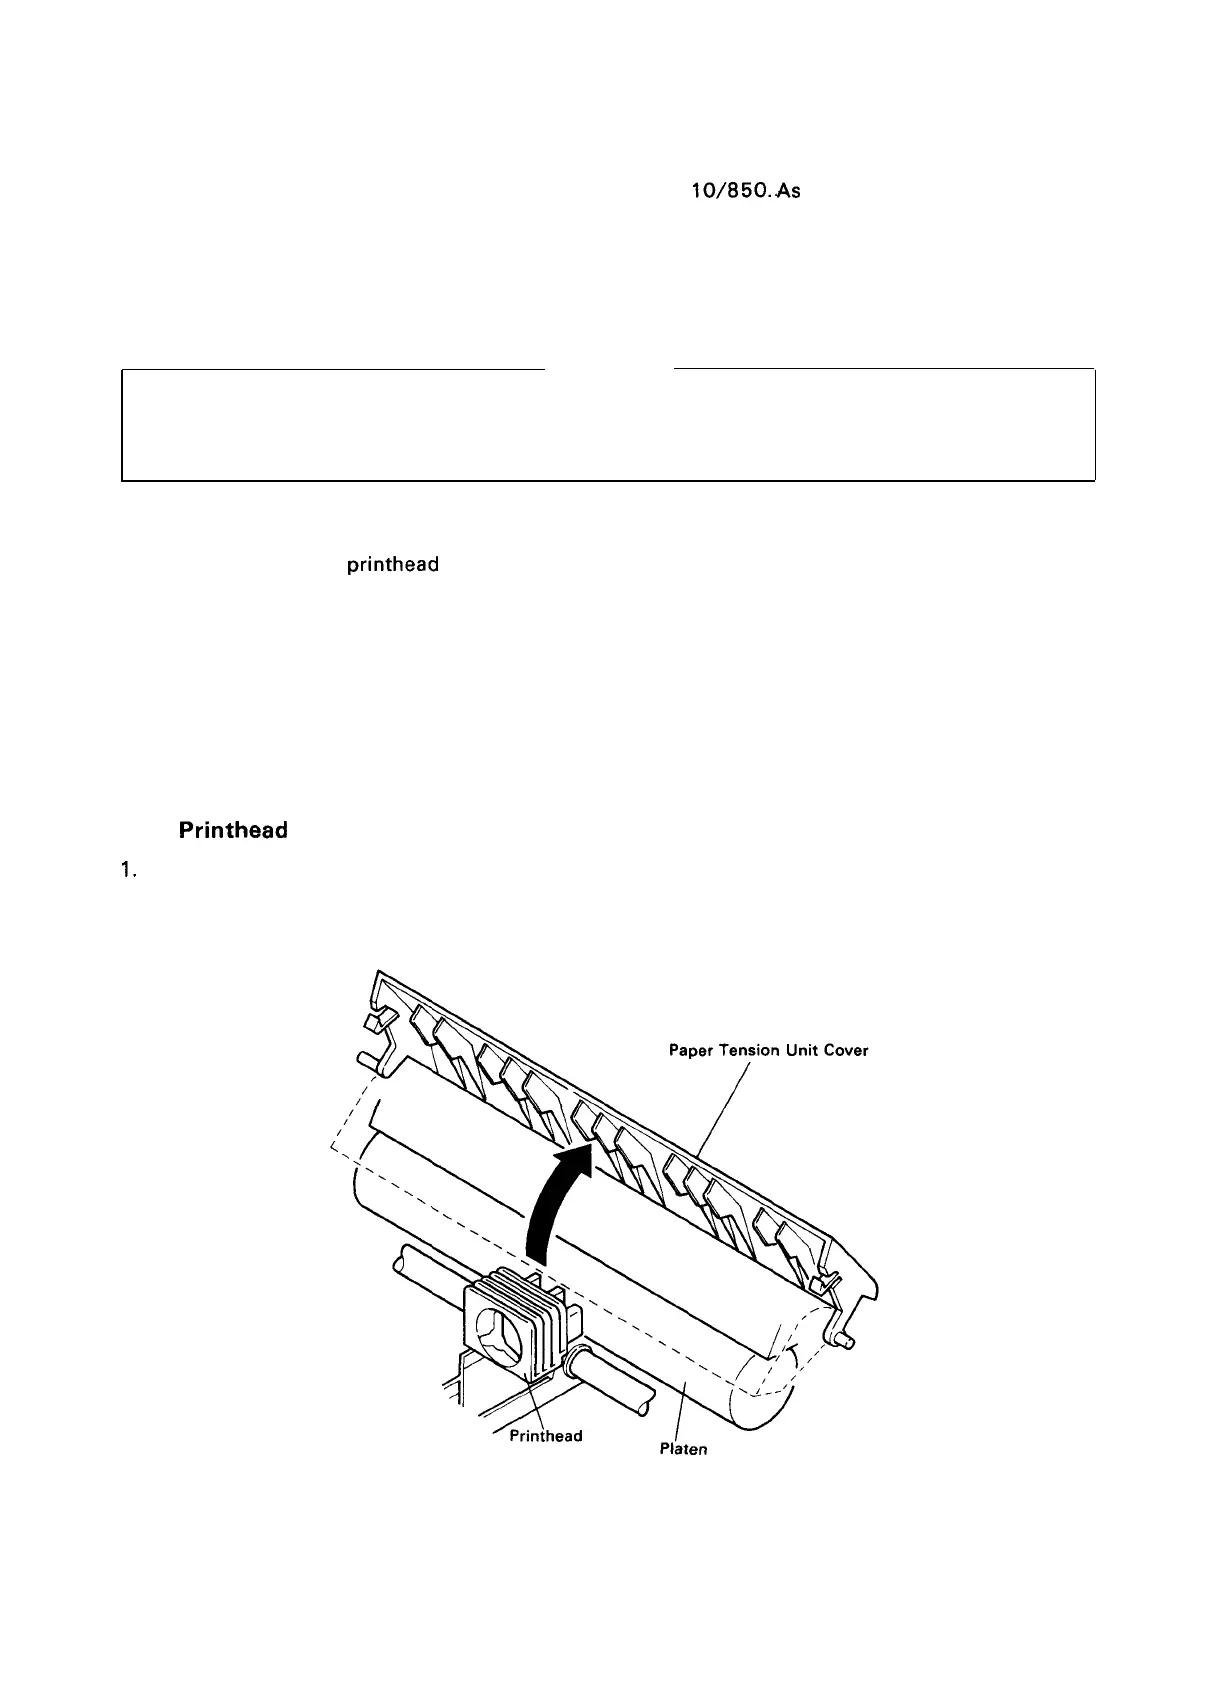
2. Open the cover of the paper tension unit.
Figure 4-1. Paper Tension Unit Cover
4-3
 Loading...