REV.-A
4.2.2 Removal of Casing
This section details the procedure
4.2.2.1 Upper Casing Removal
for removing the upper casing and the control panel (TAPNL).
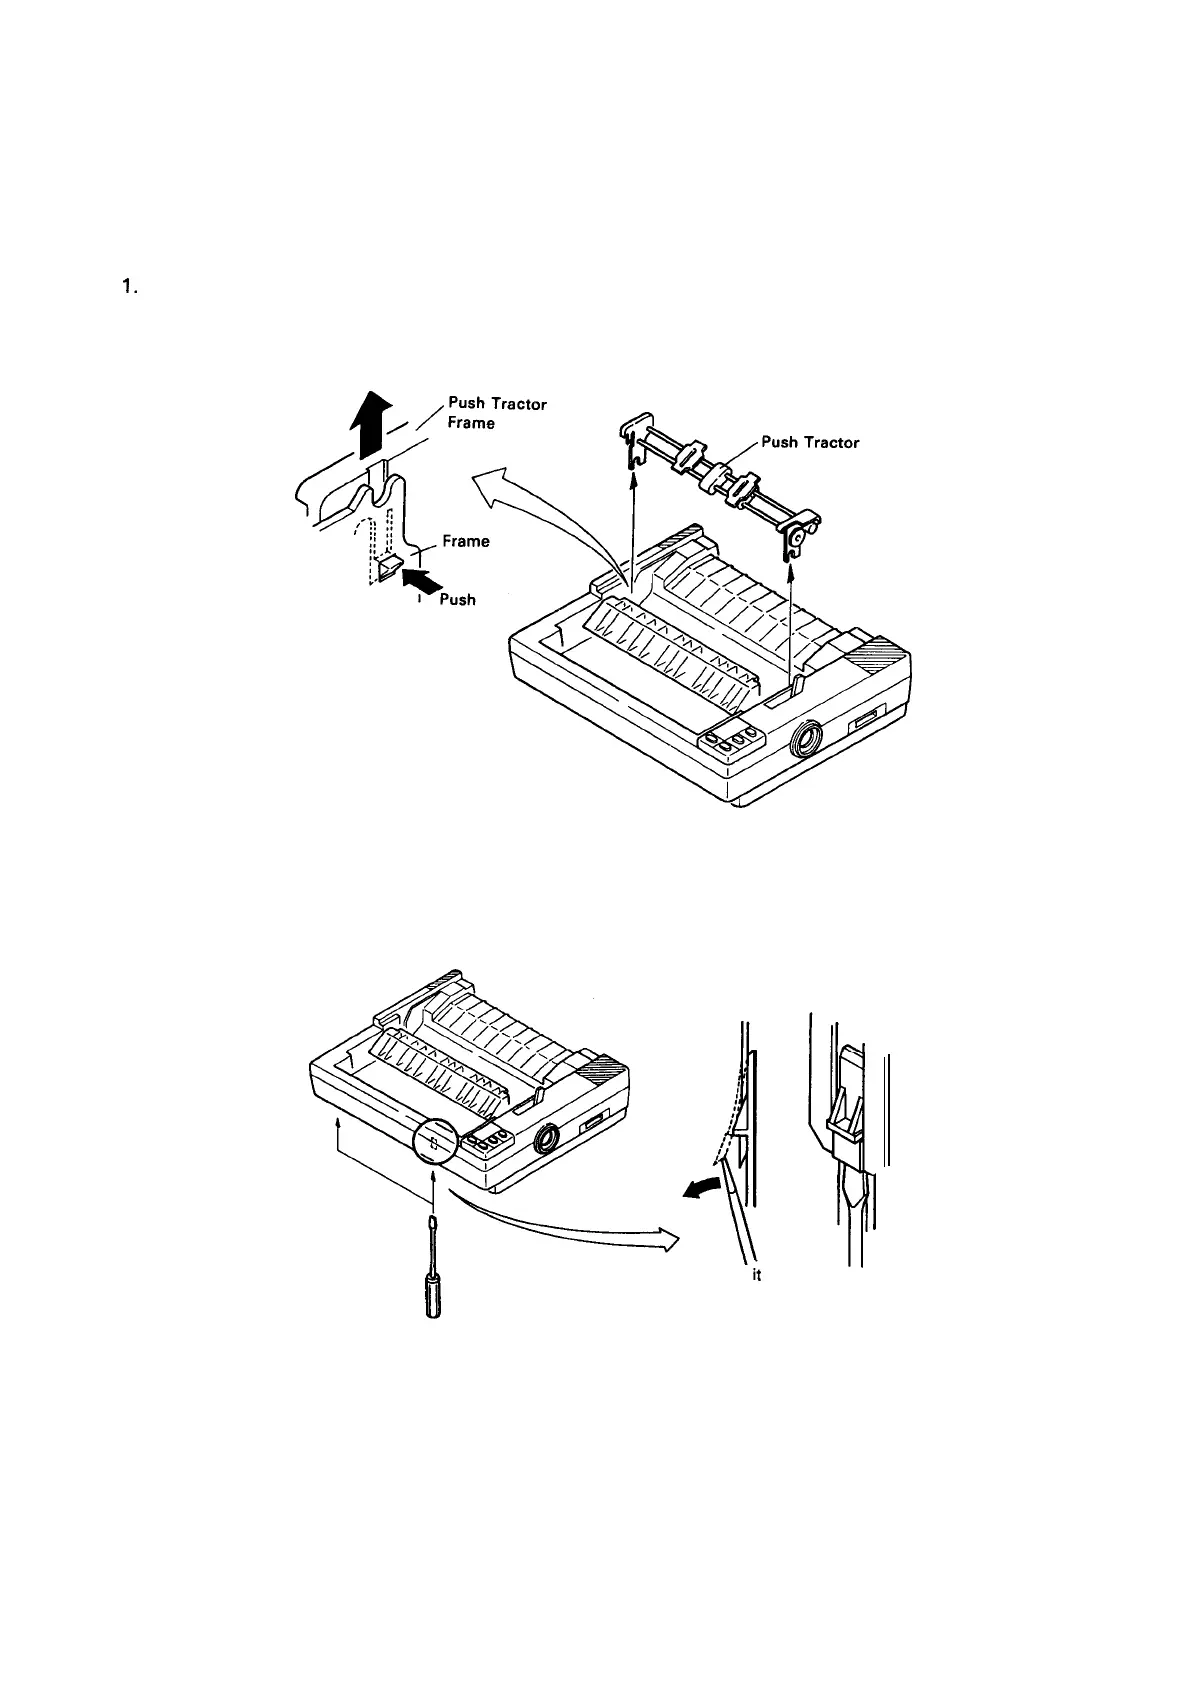
1.
2.
Remove the sheet guide unit, printer cover, and paper feed knob.
Push in the two notches securing the push tractor to the printer mechanism, and remove the push
tractor from the printer mechanism.
Figure 4-4. Push Tractor Removal
3. Insert a standard screwdriver into each of the two holes at the front of the lower casing, and gently
push (see Figure 4-5) to unlock the notches.
I
The notch can be unlocked by pushing”
;t
in the direction shown by the arrow using
the screwdriver.
Figure 4-5. Upper Casing Removal -1
4-5
 Loading...