REV.-A
4.2.5.6 Removal of Carriage Motor
1.
2.
3,
4!
5
Perform Steps 1 to 5 of Section 4.2.5.4.
Disconnect the motor cable from the carriage motor. Disconnect the lead wire of the home-position
sensor from the molded clip at the bottom of the frame.
(Refer to Figure 4-32.)
With a screwdriver, loosen the four tabs securing the carriage motor frame to the chassis frame.
Remove the carriage motor frame.
%4*Y
—... . . . .
.
Tabs
f.
“
Carriage Motor Tabs
Connector
Figure 4-32. Carriage Motor Frame Removal
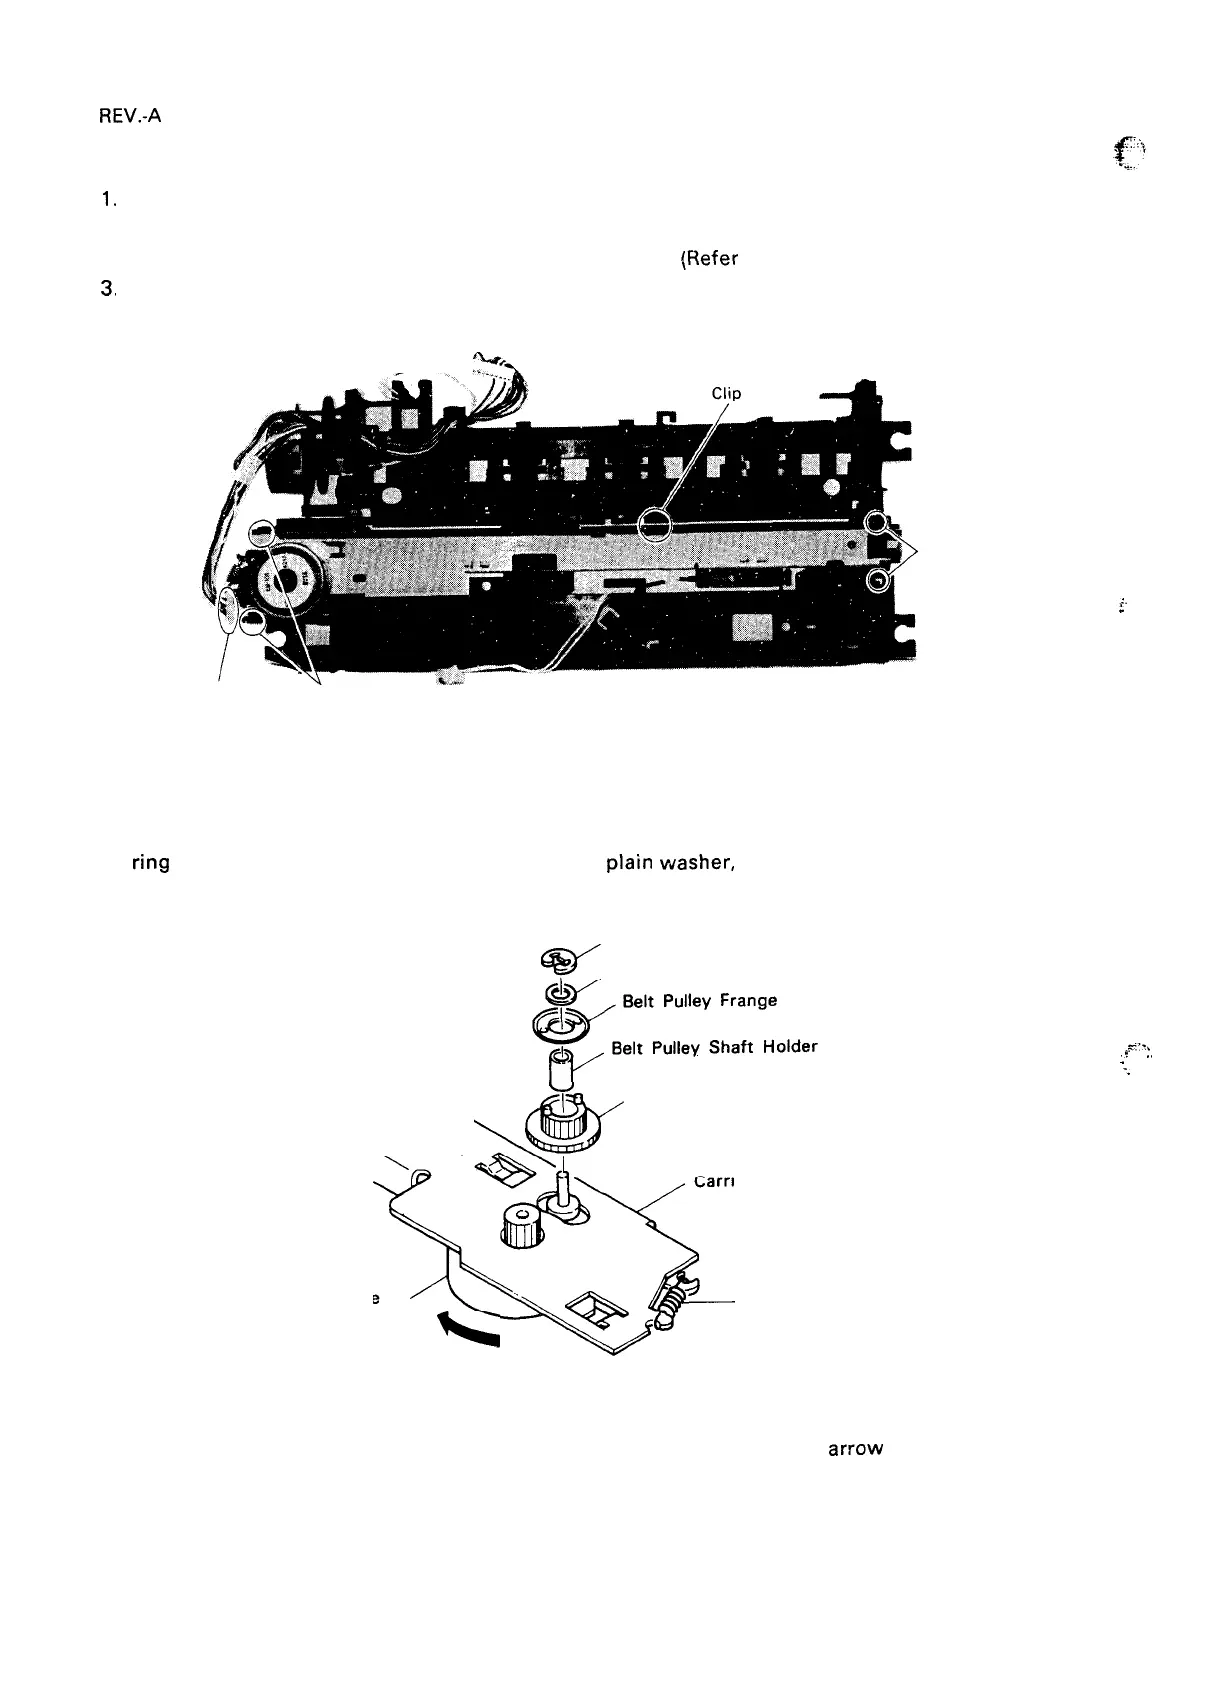
Remove the belt tension spring from the carriage motor frame.
Remove the E-type (3.2) retaining
ring on the carriage motor side, then remove the
Plain
washer,
belt pulley shaft holder, belt pulley,
and timing belt.
, Retaining E-Ring (3.2)
@“
, Plain Washer
Y’
Belt Pulley
\
\ \,
*&
X
Carnage Motor Frame
0
Carriage
Motor
x
+
Belt Tension
k
Spring
Figure 4-33. Removal of Carriage Motor
‘.
Remove the carriage motor by moving it in the direction shown by the
arrow
above.
*.:%
,?
.,
“f
.
-. .’
4-22
 Loading...