User Manual of Digital Video Recorder
210
11.7 Configuring Disk Clone
Before you start:
Connect a HDD to the device via the eSATA interface.
Purpose:
You can clone all the data stored on the HDD, which is installed on the device, to a connected eSATA disk
according to the actual needs or when the S.M.A.R.T. detection result declares the HDD is abnormal. For details of
S.M.A.R.T. detection, see Chapter 11.9.
The disk clone function is not supported by 9100HFI-RT/9000HFI-RT/7200HWI-SV Series.
For 9100HFI-XT/9000HFI-XT Series, the disk clone is only available when the RAID function is disabled.
Steps:
1. Enter the HDD Advanced Setting interface:
Menu > HDD > Advanced
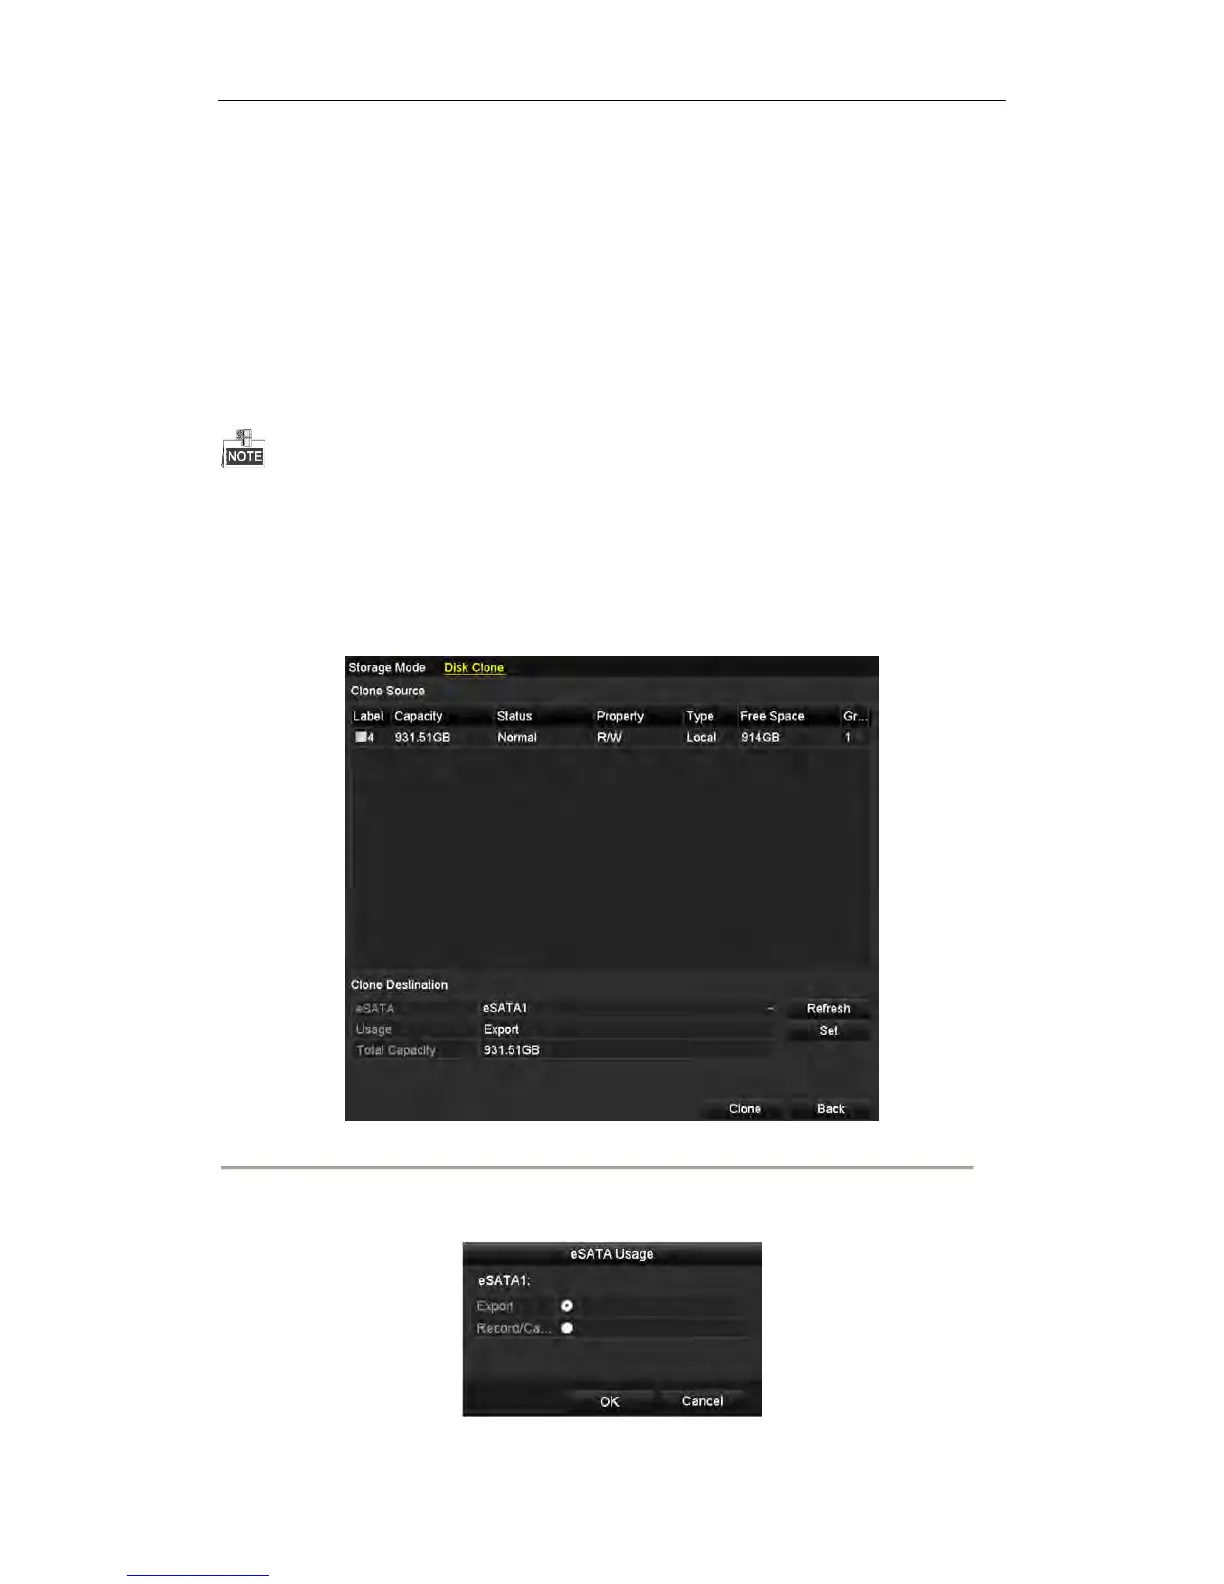
2. Click the Disk Clone tab to enter the Disk Clone Settings interface.
Figure 11. 25 Disk Clone Settings Interface
3. Make sure the usage of the eSATA disk is set as Export.
If not, click the Set button to set it. Choose Export and click the OK button.
Figure 11. 26 Setting eSATA Usage
 Loading...