2. Locate the hardware that is used to install the rails, including two rail springs,
two sets of eight bracket pins, and two M5 screws. Set the hardware aside for
use later in the installation process.
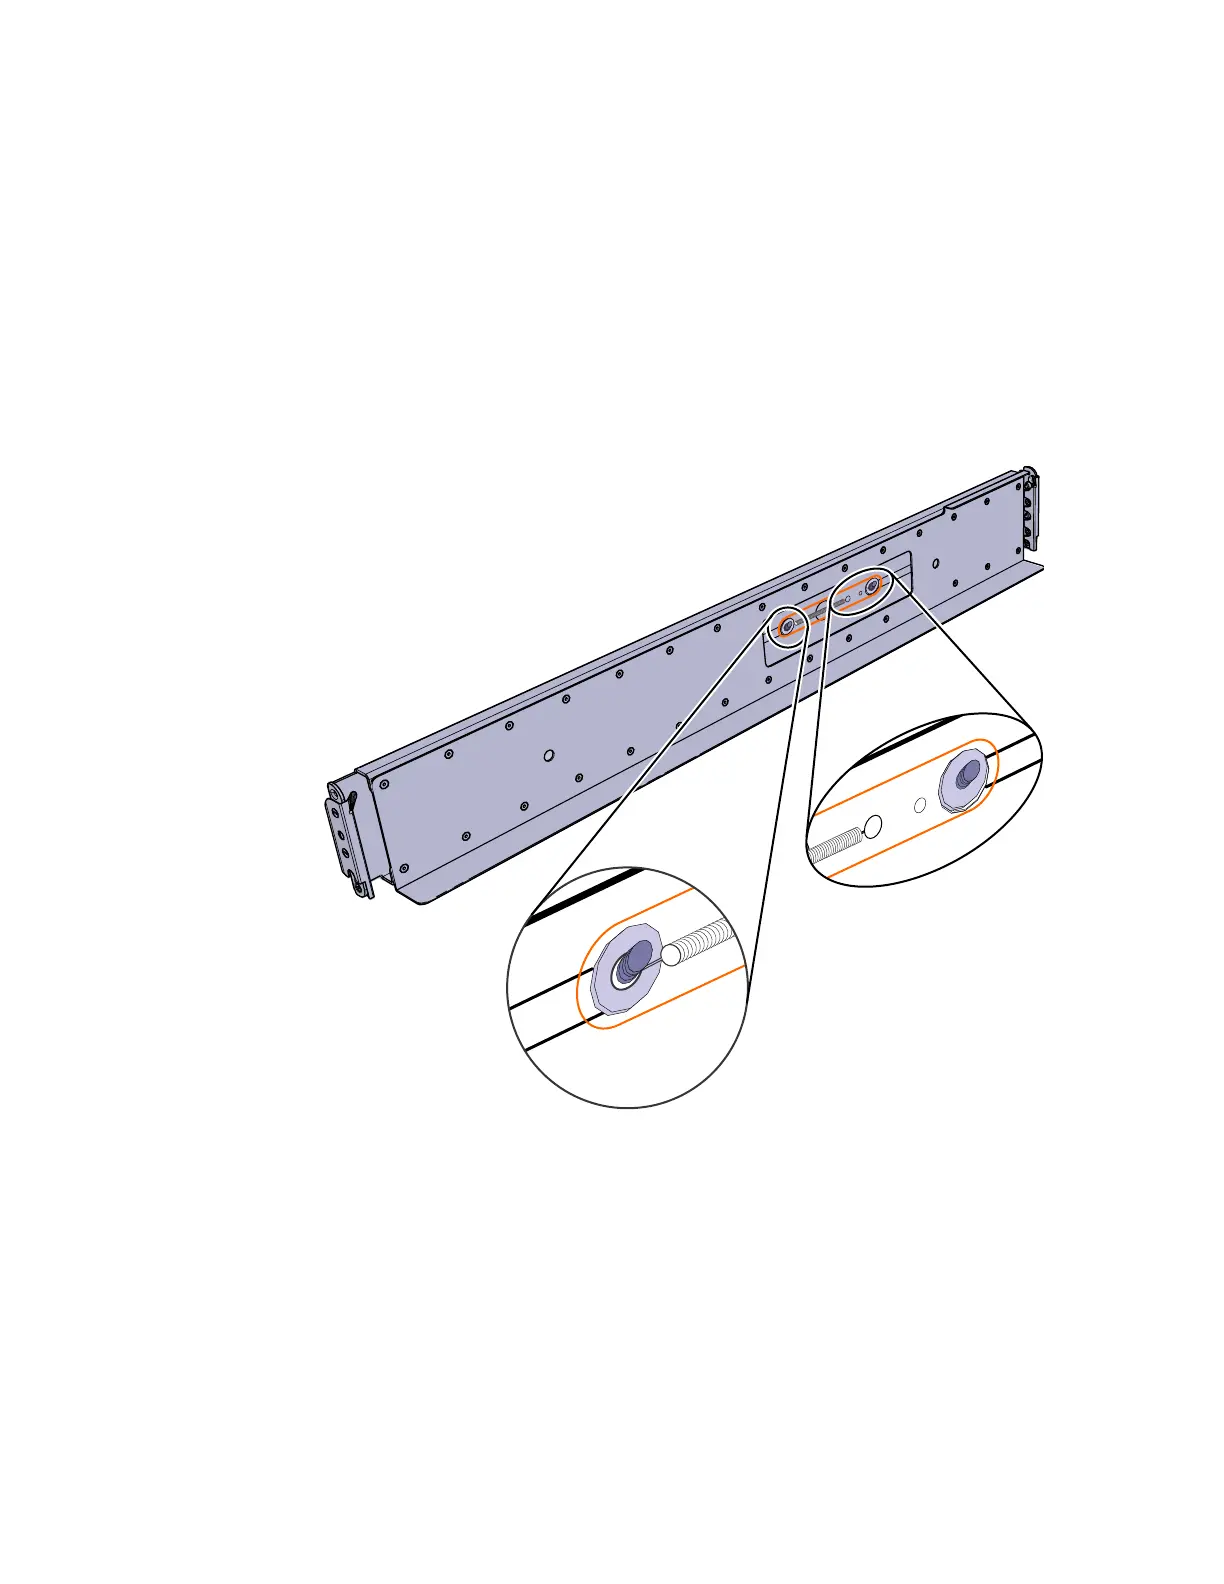
3. Install a spring on each rail.
a. Extend the rail to its full length.
b. Push one looped end of a spring over one stud on the inside of the rail.
(See Figure 33.)
Note: Some models of rail have the studs on the outside of the rail.
c. Stretch the spring slightly and push the other looped end of the spring
onto the other stud on the inside of the rail.
4. Working at the front of the rack cabinet, identify the two standard rack units
(2U) of space in the rack into which you want to install the support rails.
Figure 34 on page 31 shows two rack units with the front mounting holes
identified.
Figure 33. Installing the rail spring
30 SAN Volume Controller: Model 2145-SV1 Hardware Installation Guide
 Loading...