158
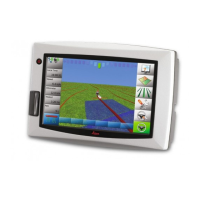
Leica mojo3D, Field Boundary
8 Field Boundary
8.1 Create a New Field Boundary
Benefits Field boundaries can be recorded and saved in the mojo3D. This means more precise
application can be performed with less wastage as the total field area is known along
with the area remaining to be covered. Operators not familiar with a field can load a
boundary created earlier to have the confidence to complete a field at night.
New field
boundary, step-by-
step
To create a new field boundary, carry out the following steps:
1. On the main navigation screen, tap the mapping button.
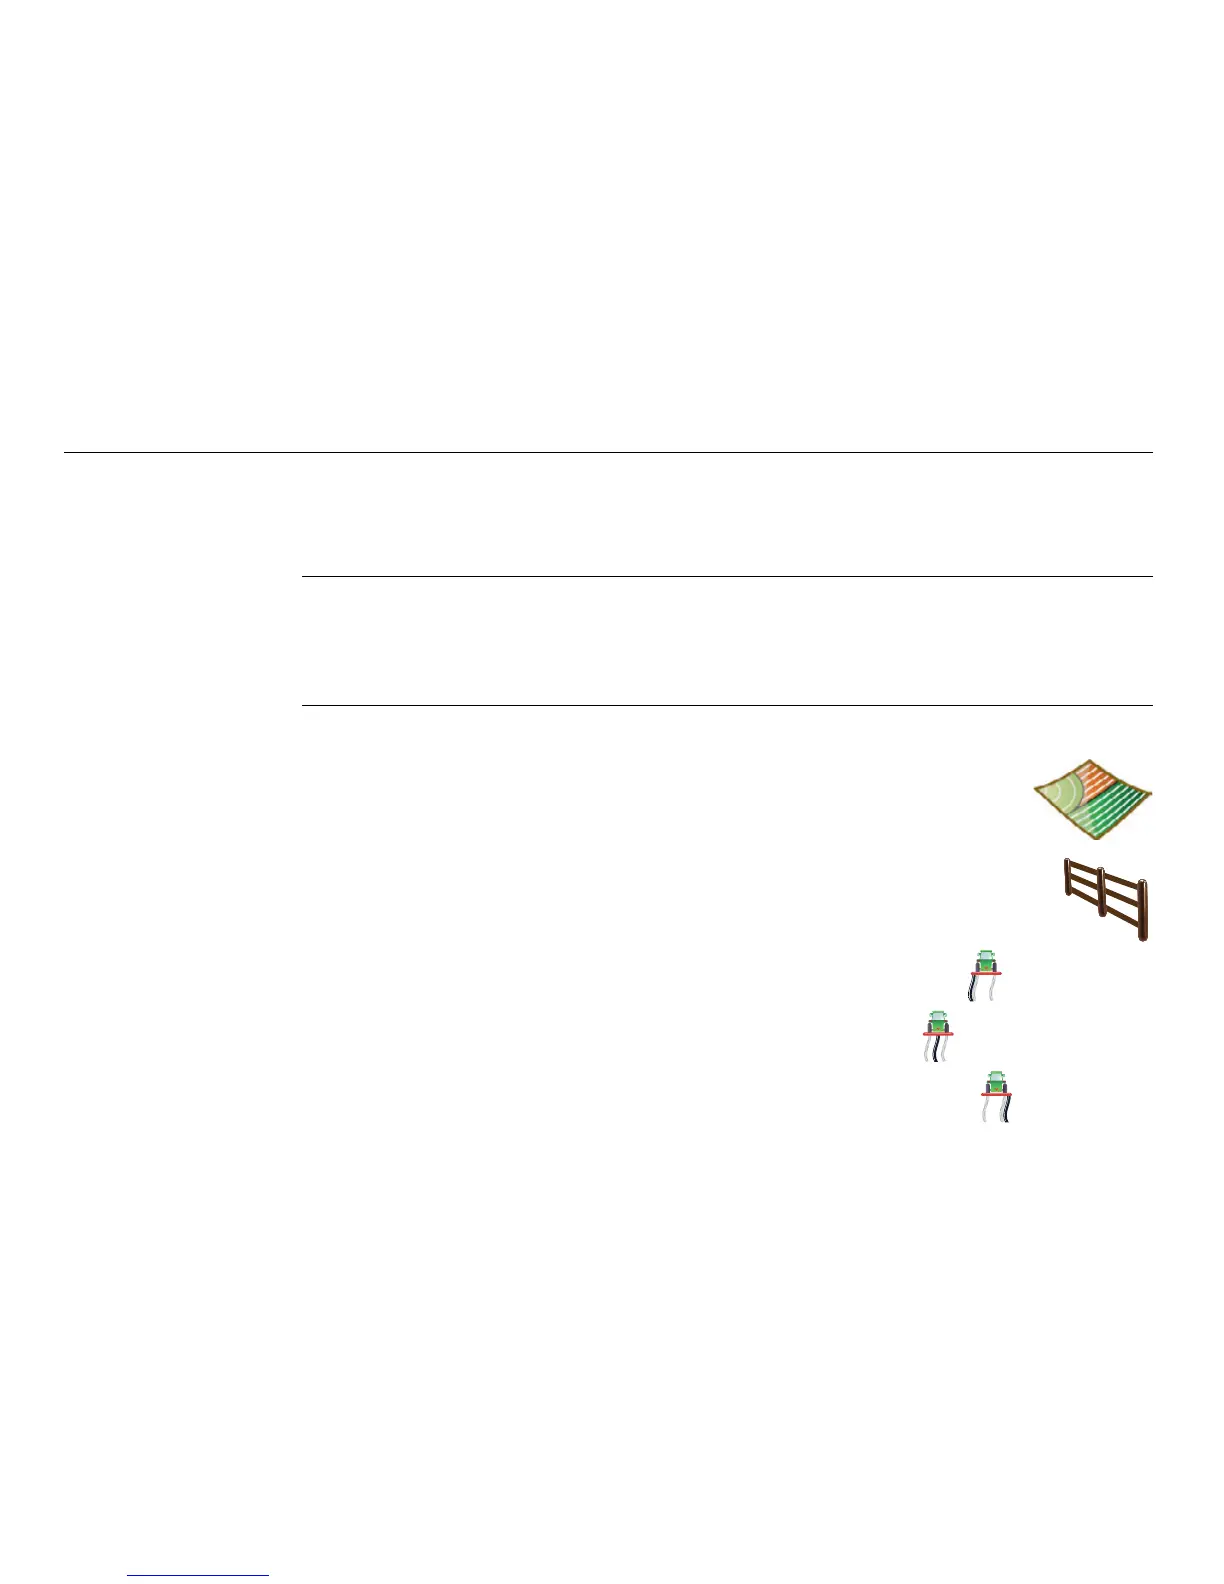
2. On the flyout menu, tap the new boundary button.
• To record the boundary to the left of the implement tap .
• To record the boundary in line with the antenna tap .
• To record the boundary to the right of the implement tap .
 Loading...