22
Leica mojo3D, System Installation
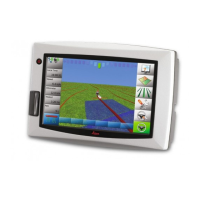
2.2 mojo3D Installation
RAM mount and
mojo3D display
installation
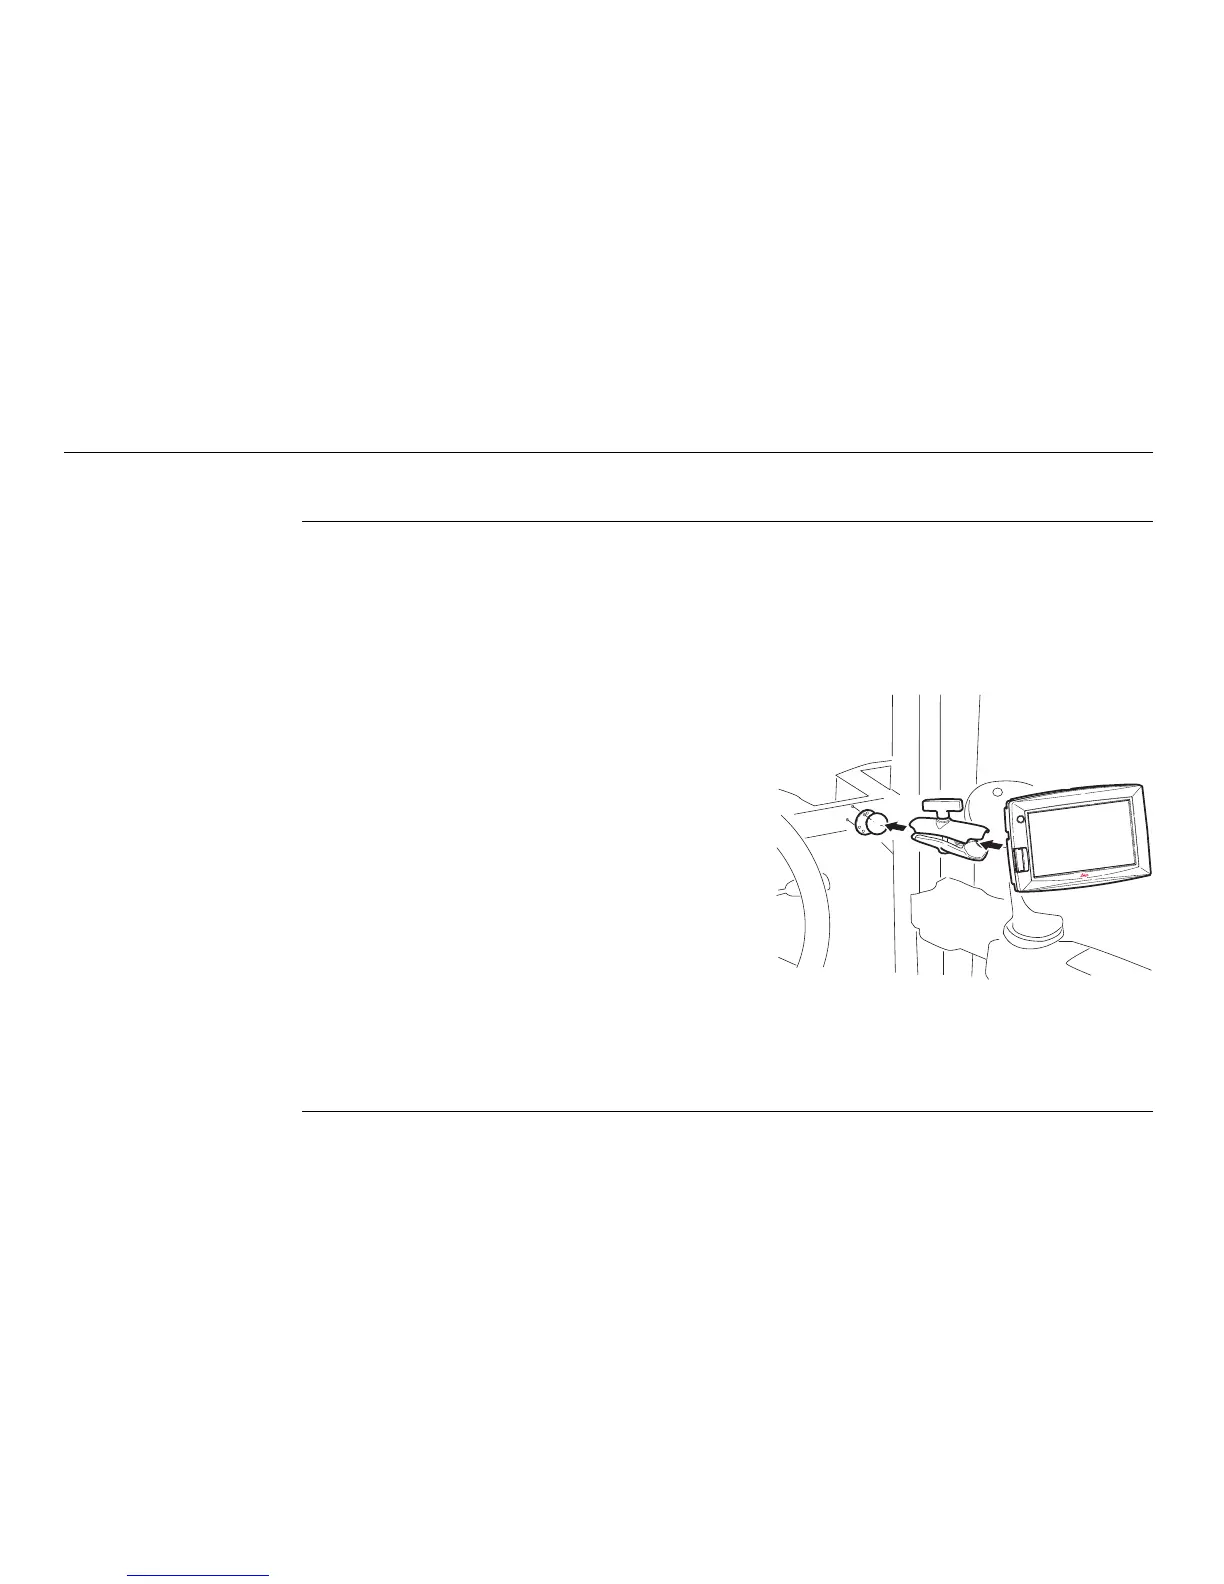
Select an appropriate place to mount the mojo3D display.
The display needs to be within easy reach of the operator when seated in
the normal operating position, and ideally it will be easily visible in the
forward field of vision of the operator.
1. Mount the RAM mount ball to the
vehicle in the required location. Use
extreme caution whenever drilling
holes or attaching any objects to
the vehicle as there may be
hidden cables or hoses. Never drill
into the ROPS (roll over protection
system) of any vehicle as this may
damage the integrity of the system.
Consult the vehicle’s operating
manual prior to drilling any holes.
2. Connect the RAM mount arm and the
mojo3D display to the mounting
point.
3. Once the display is situated in the correct position suitable for the operator,
ensure the RAM mount is tightly secured.
1
2
2
mojo3D_006
 Loading...